
EDIT: The Aria is on sale today 4/4/2025 for just $6. You may use my code LOVEMARY10LN for an additional 10% off.
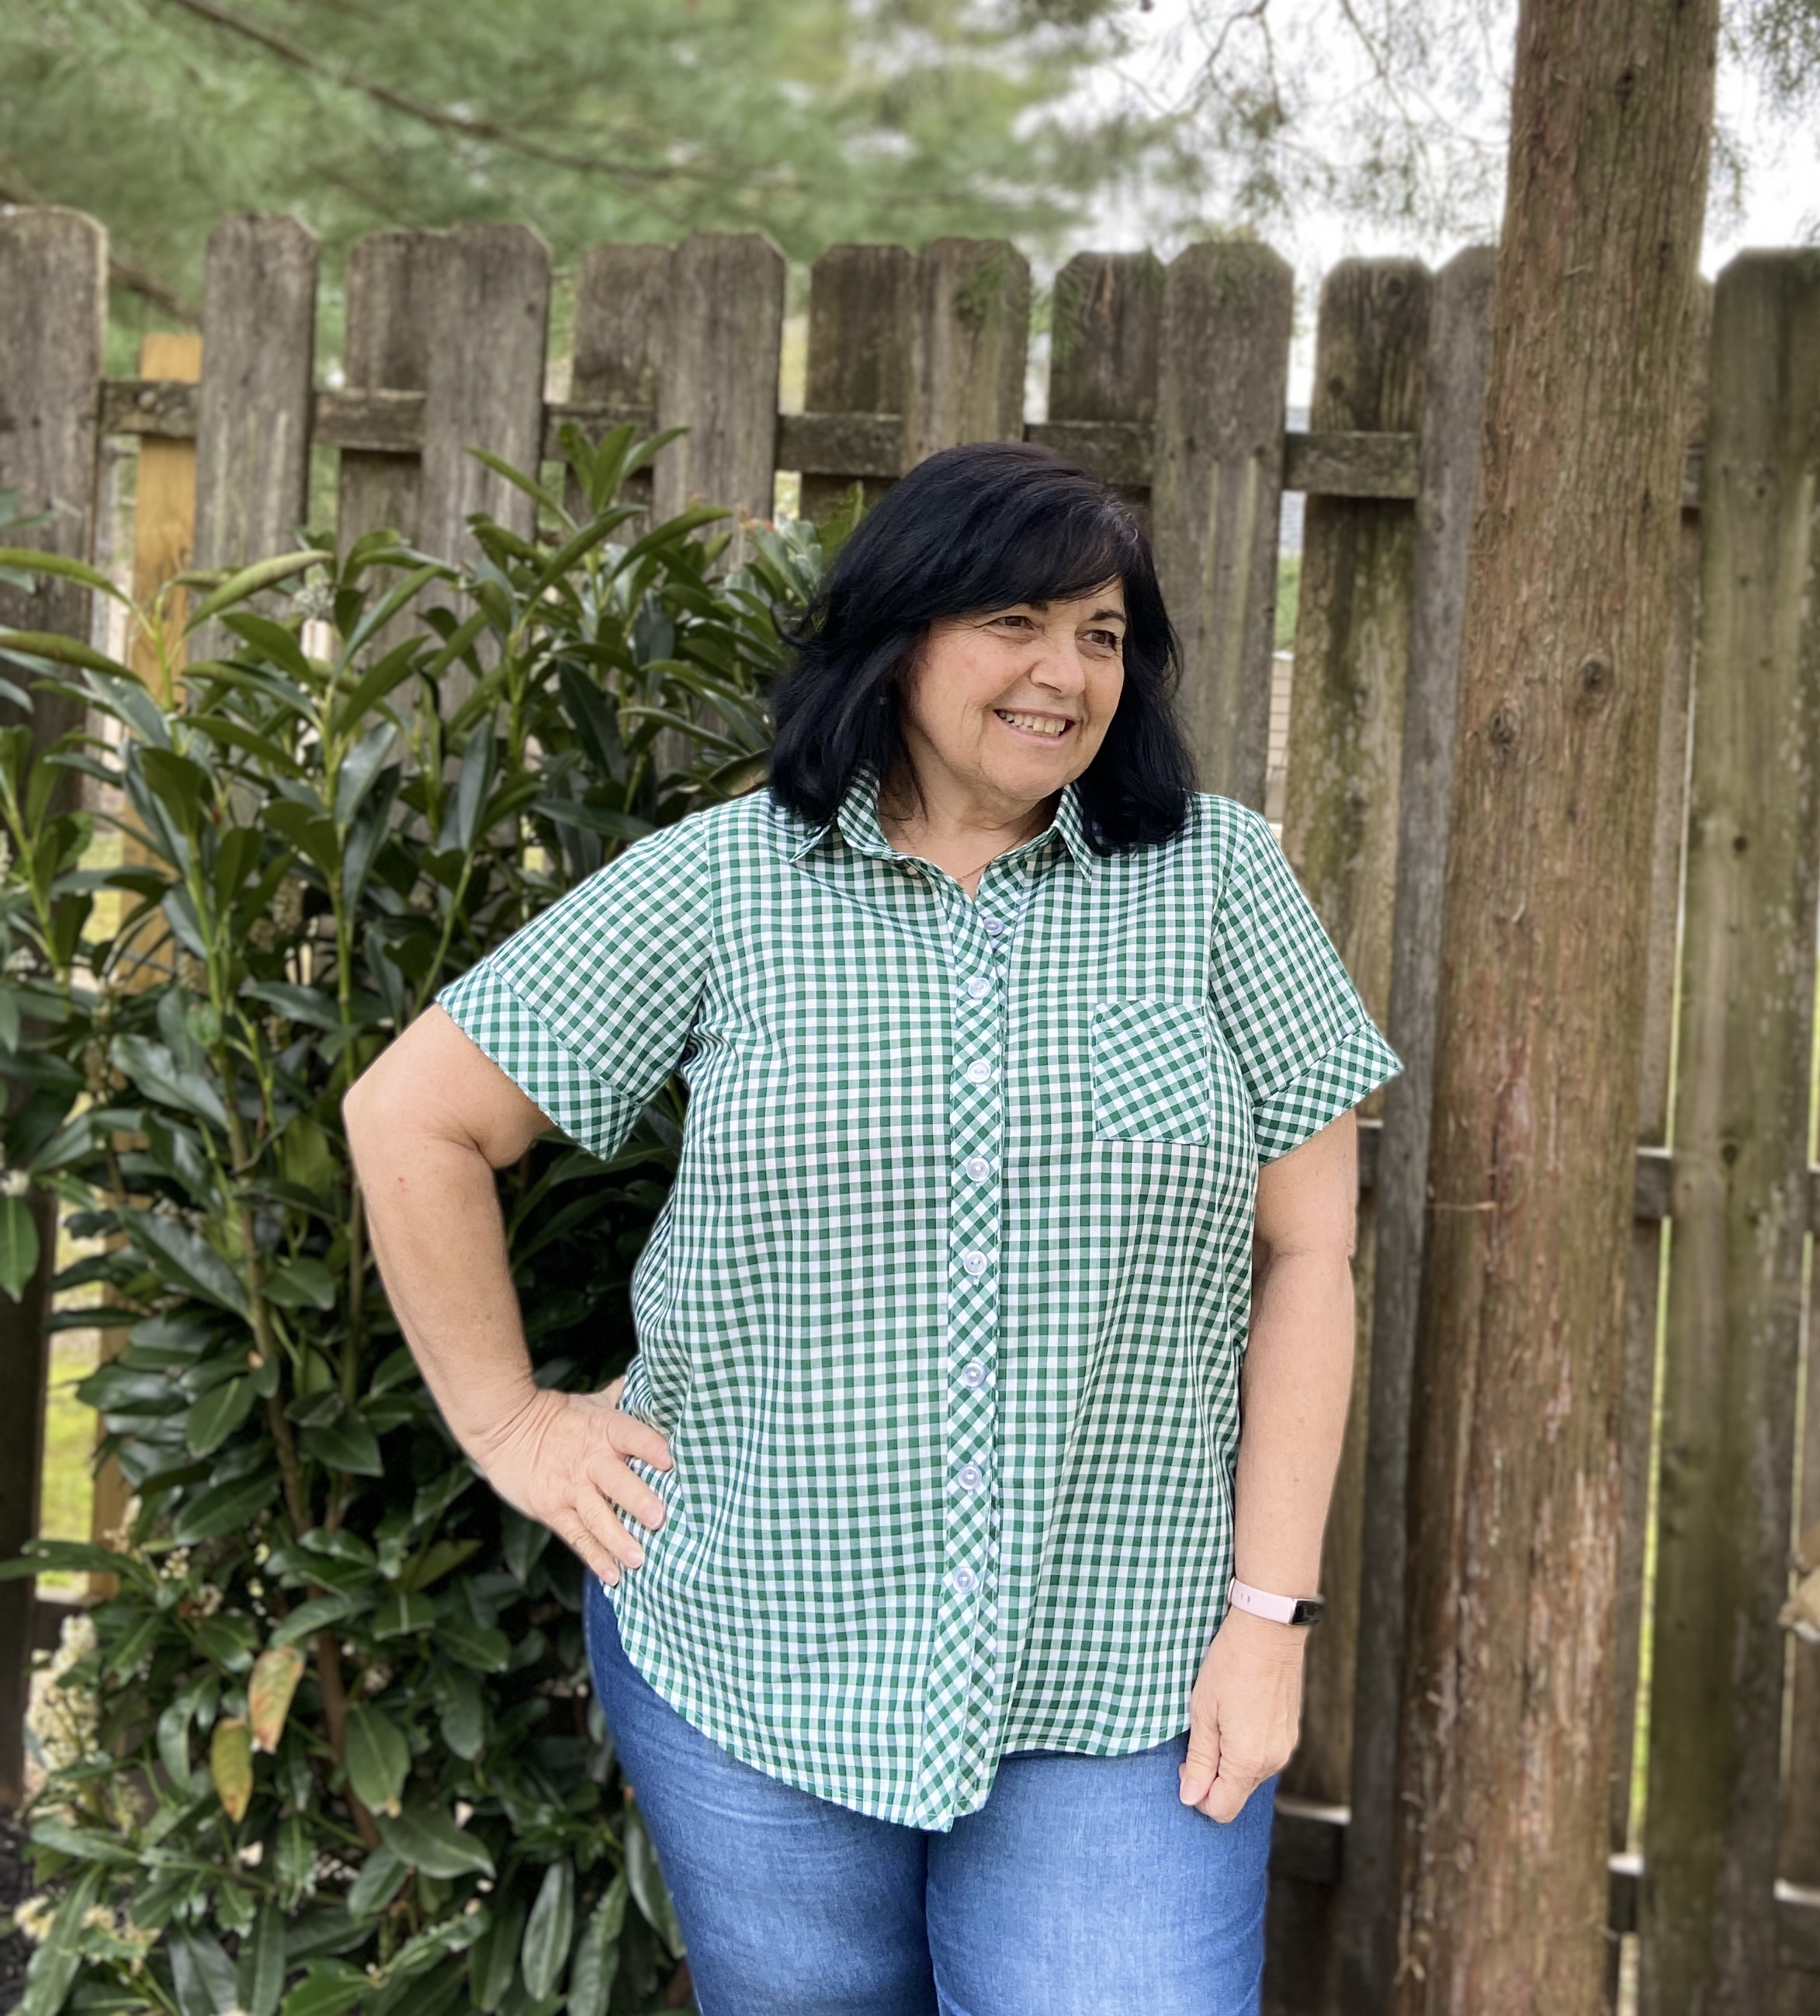
Have you heard? Love Notions has released a new blouse pattern, the Aria Button-down, and it’s LOVE! I received the pattern a few days ahead of it’s release (as a Love Notions Ambassador) and I’ve already sewn up 3 versions in my favorite fabric for summer ~ LINEN and I’m not done! (I also made a muslin which turned out to be totally wearable!)

Details
The Aria is a classic button down. It is designed for woven fabrics and is loaded with options.
- 3 Length Options: Shirt, Tunic and Dress(knee length)
- 3 Sleeve Options: Sleeveless, Short, Long
- 2 Collar Options: Banded and Standard Collar
- Dress Options: Tie Belt or Drawstring Waist
- Full Bust pattern piece included.
The tunic and dress options feature deep side vents. The standard collar piece includes the stand, making it a great pattern for someone newer to shirt making.
The construction details on this pattern are amazing! The “Burrito Method” for the yoke is one of my favorite sewing techniques and it helps to make the inside of your garment as pretty as the outside. If you’ve never done the Burrito method before, no worries, there is a link in the tutorial to guide you.
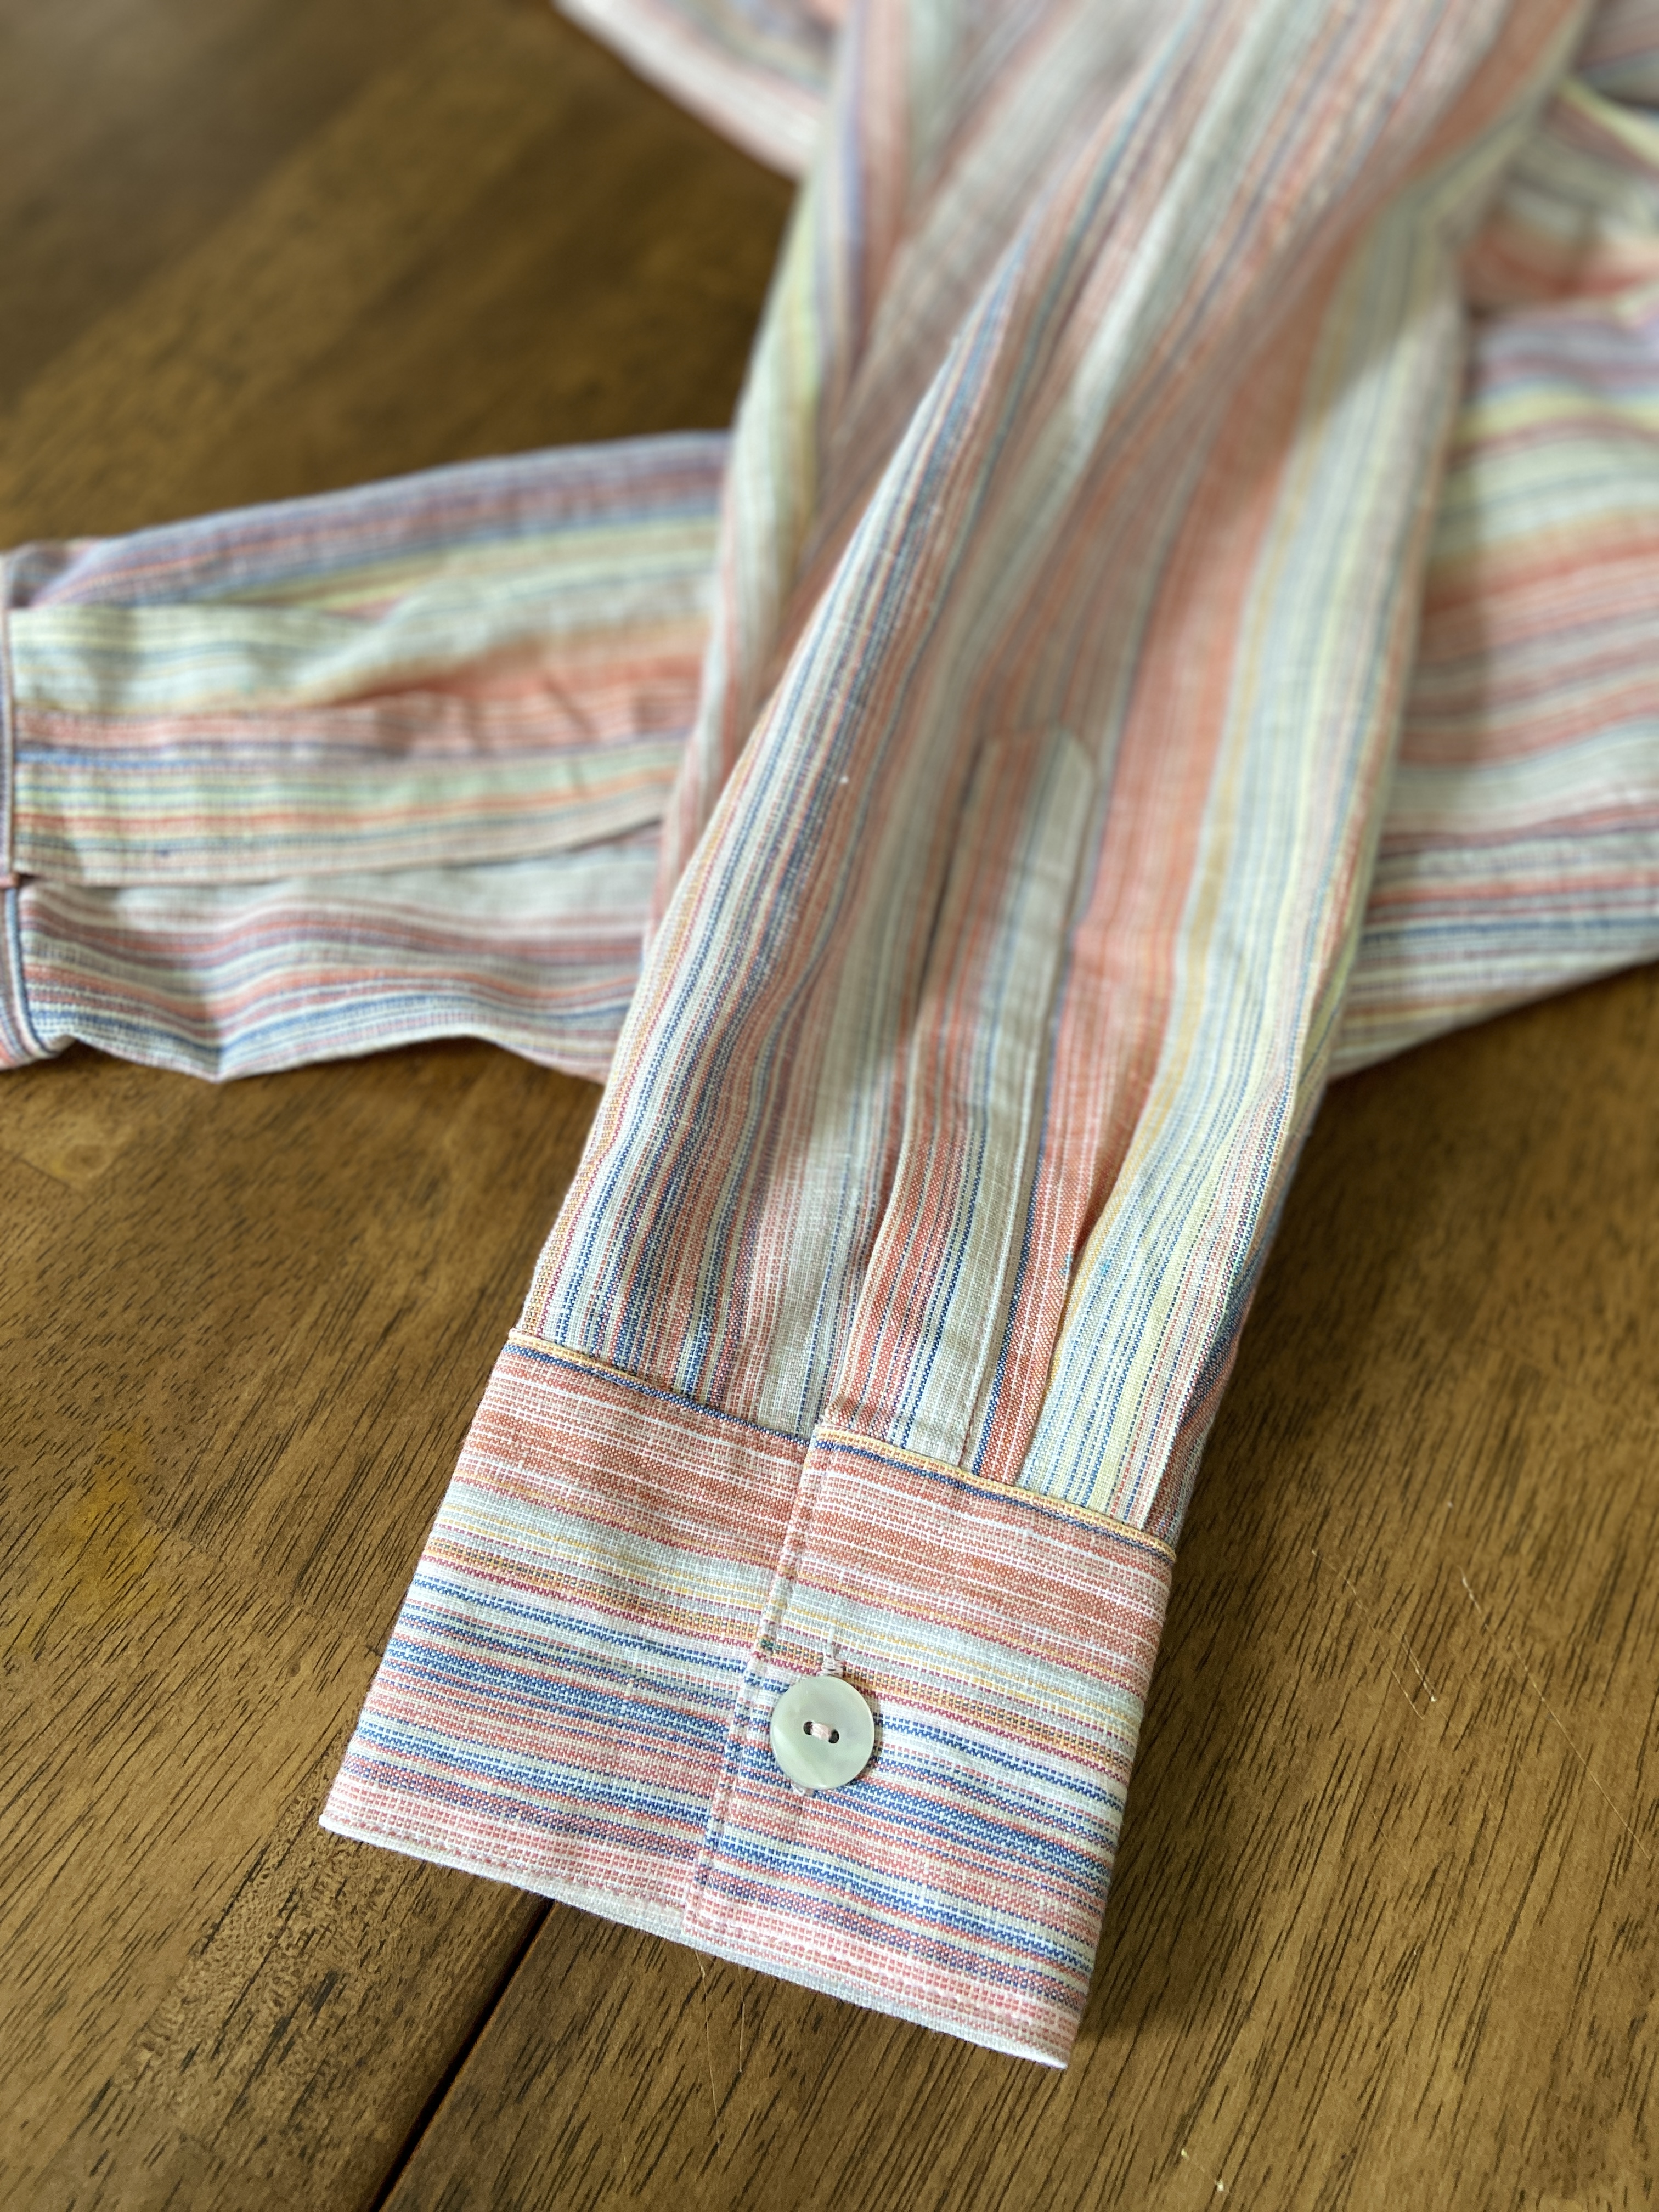
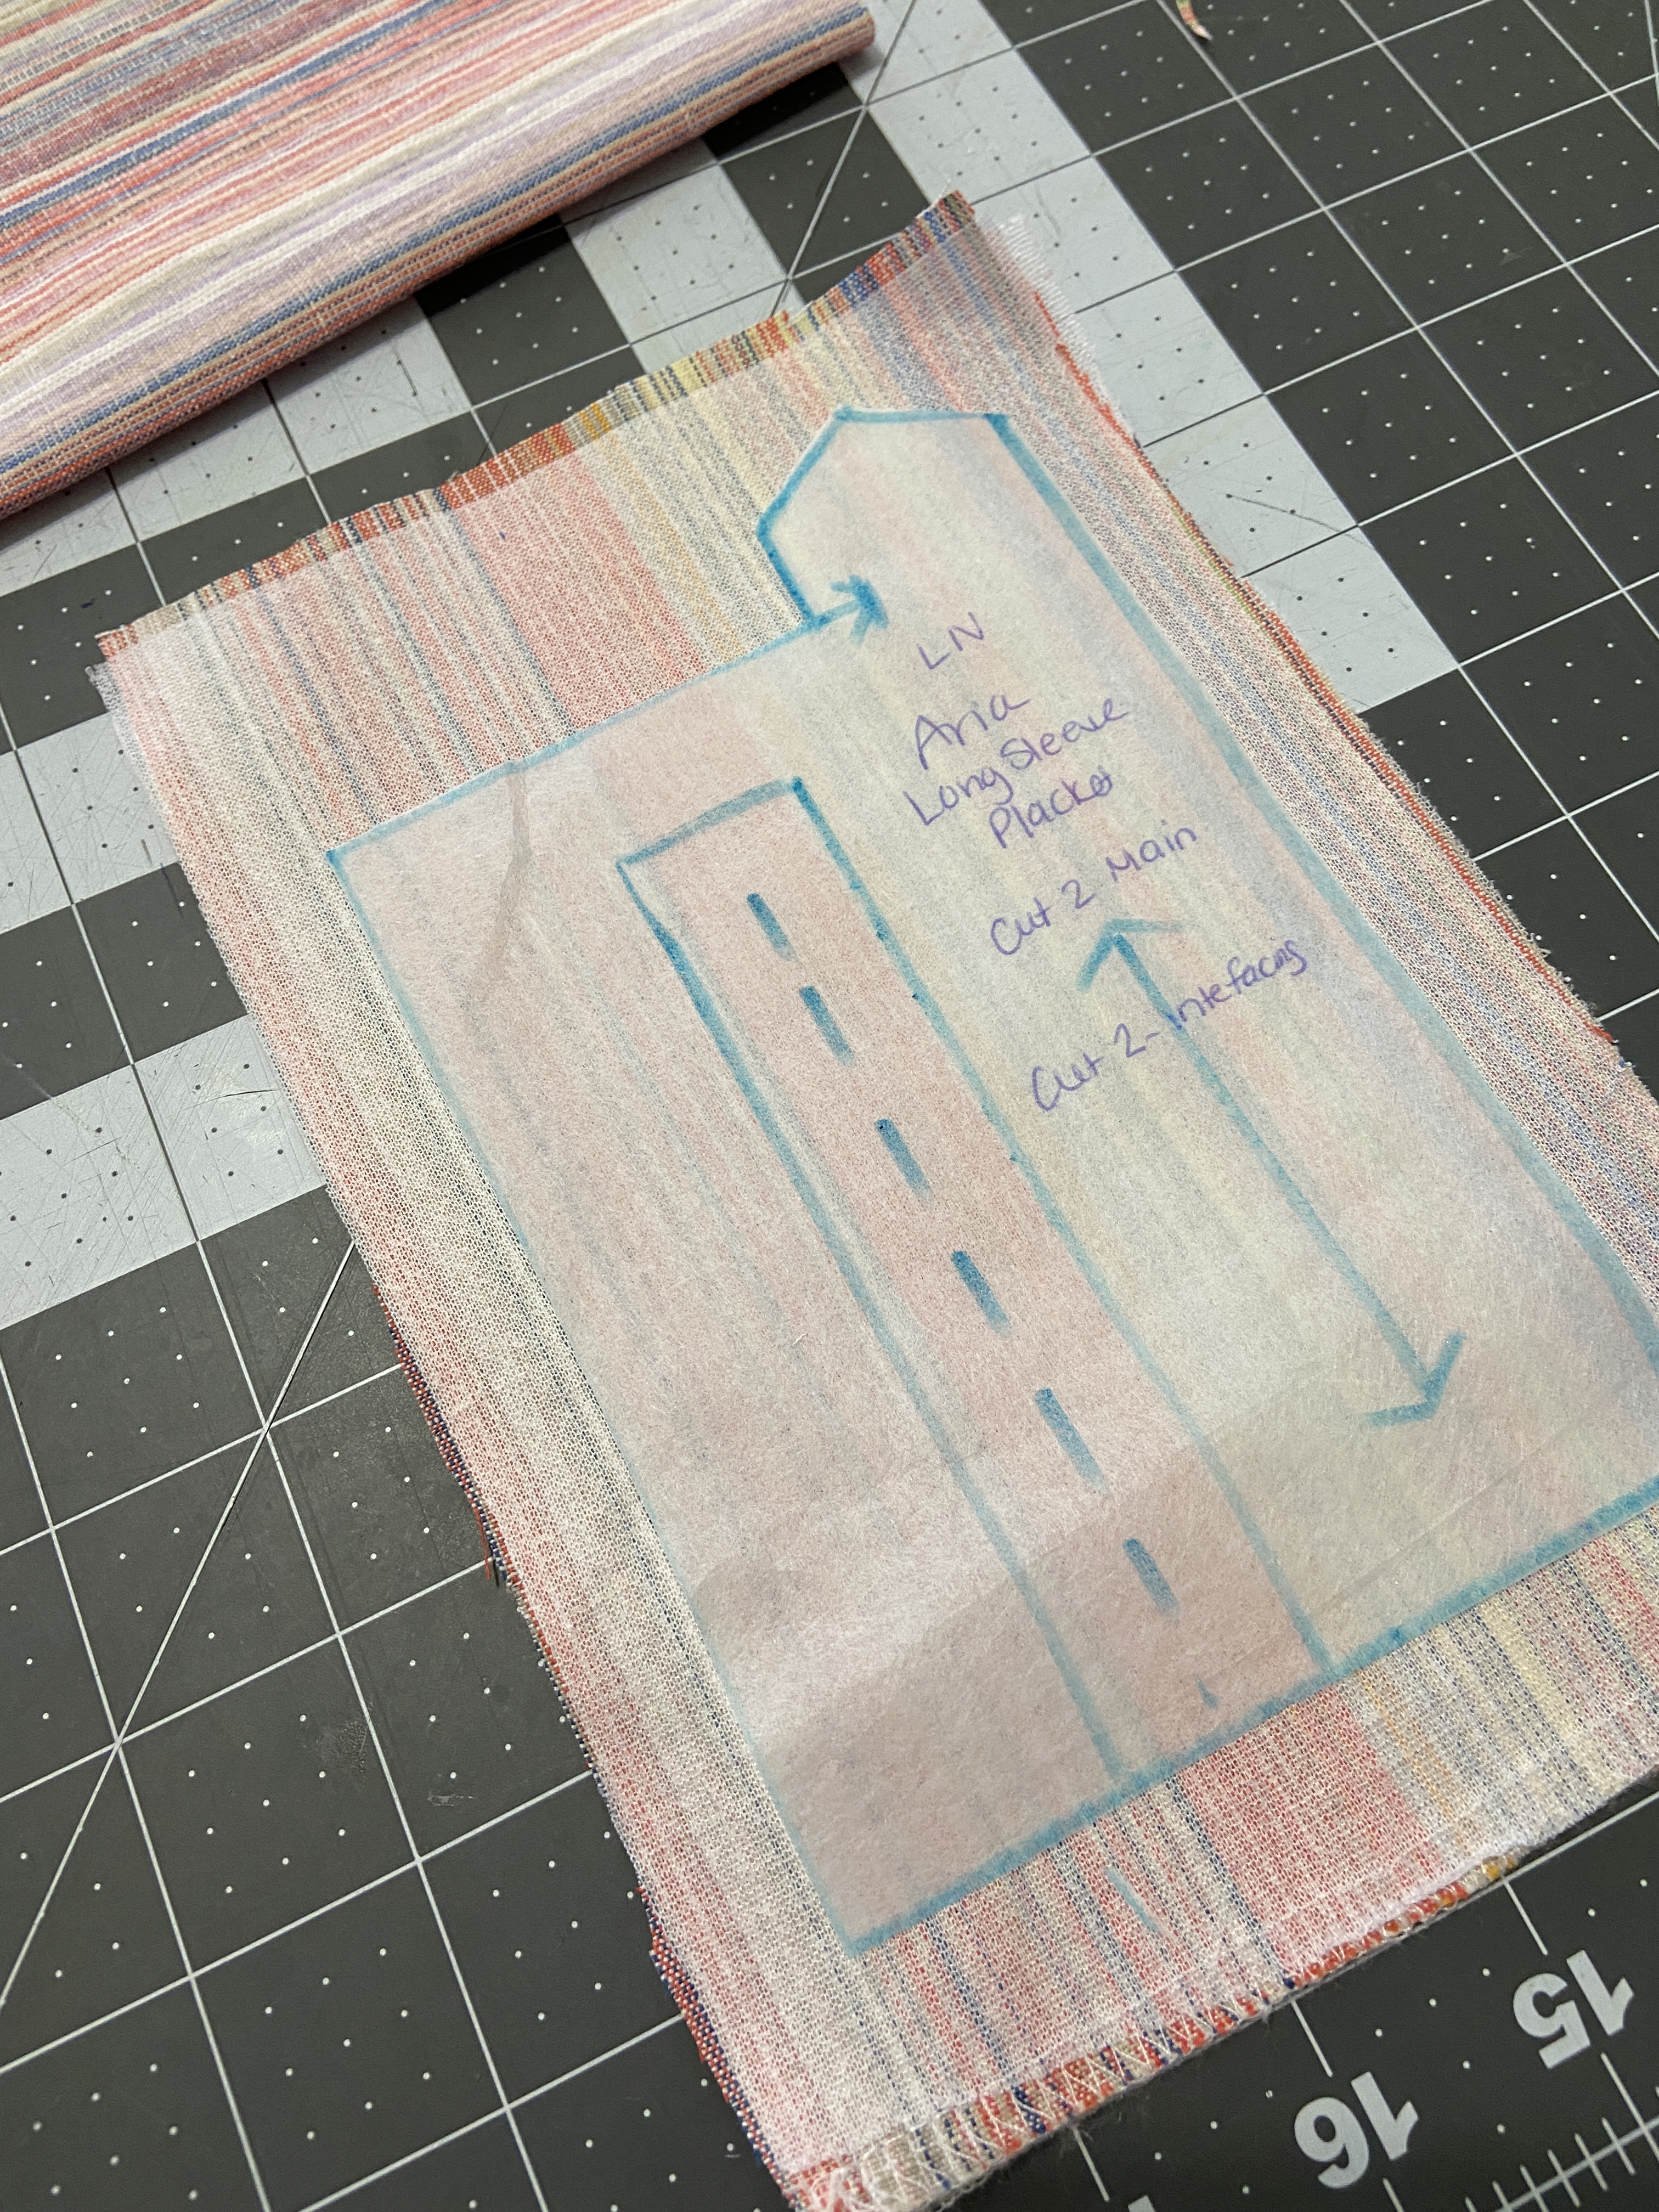
The long sleeve has an amazing placket, which was fun to sew and looks so professional!

Sizing and Alterations
The Aria is available in sizes XS- 5X. As in all newly released Love Notions patterns, a Full Bust pattern piece is included. The FBA front piece includes a dart, which helps to create a classic fit shirt.
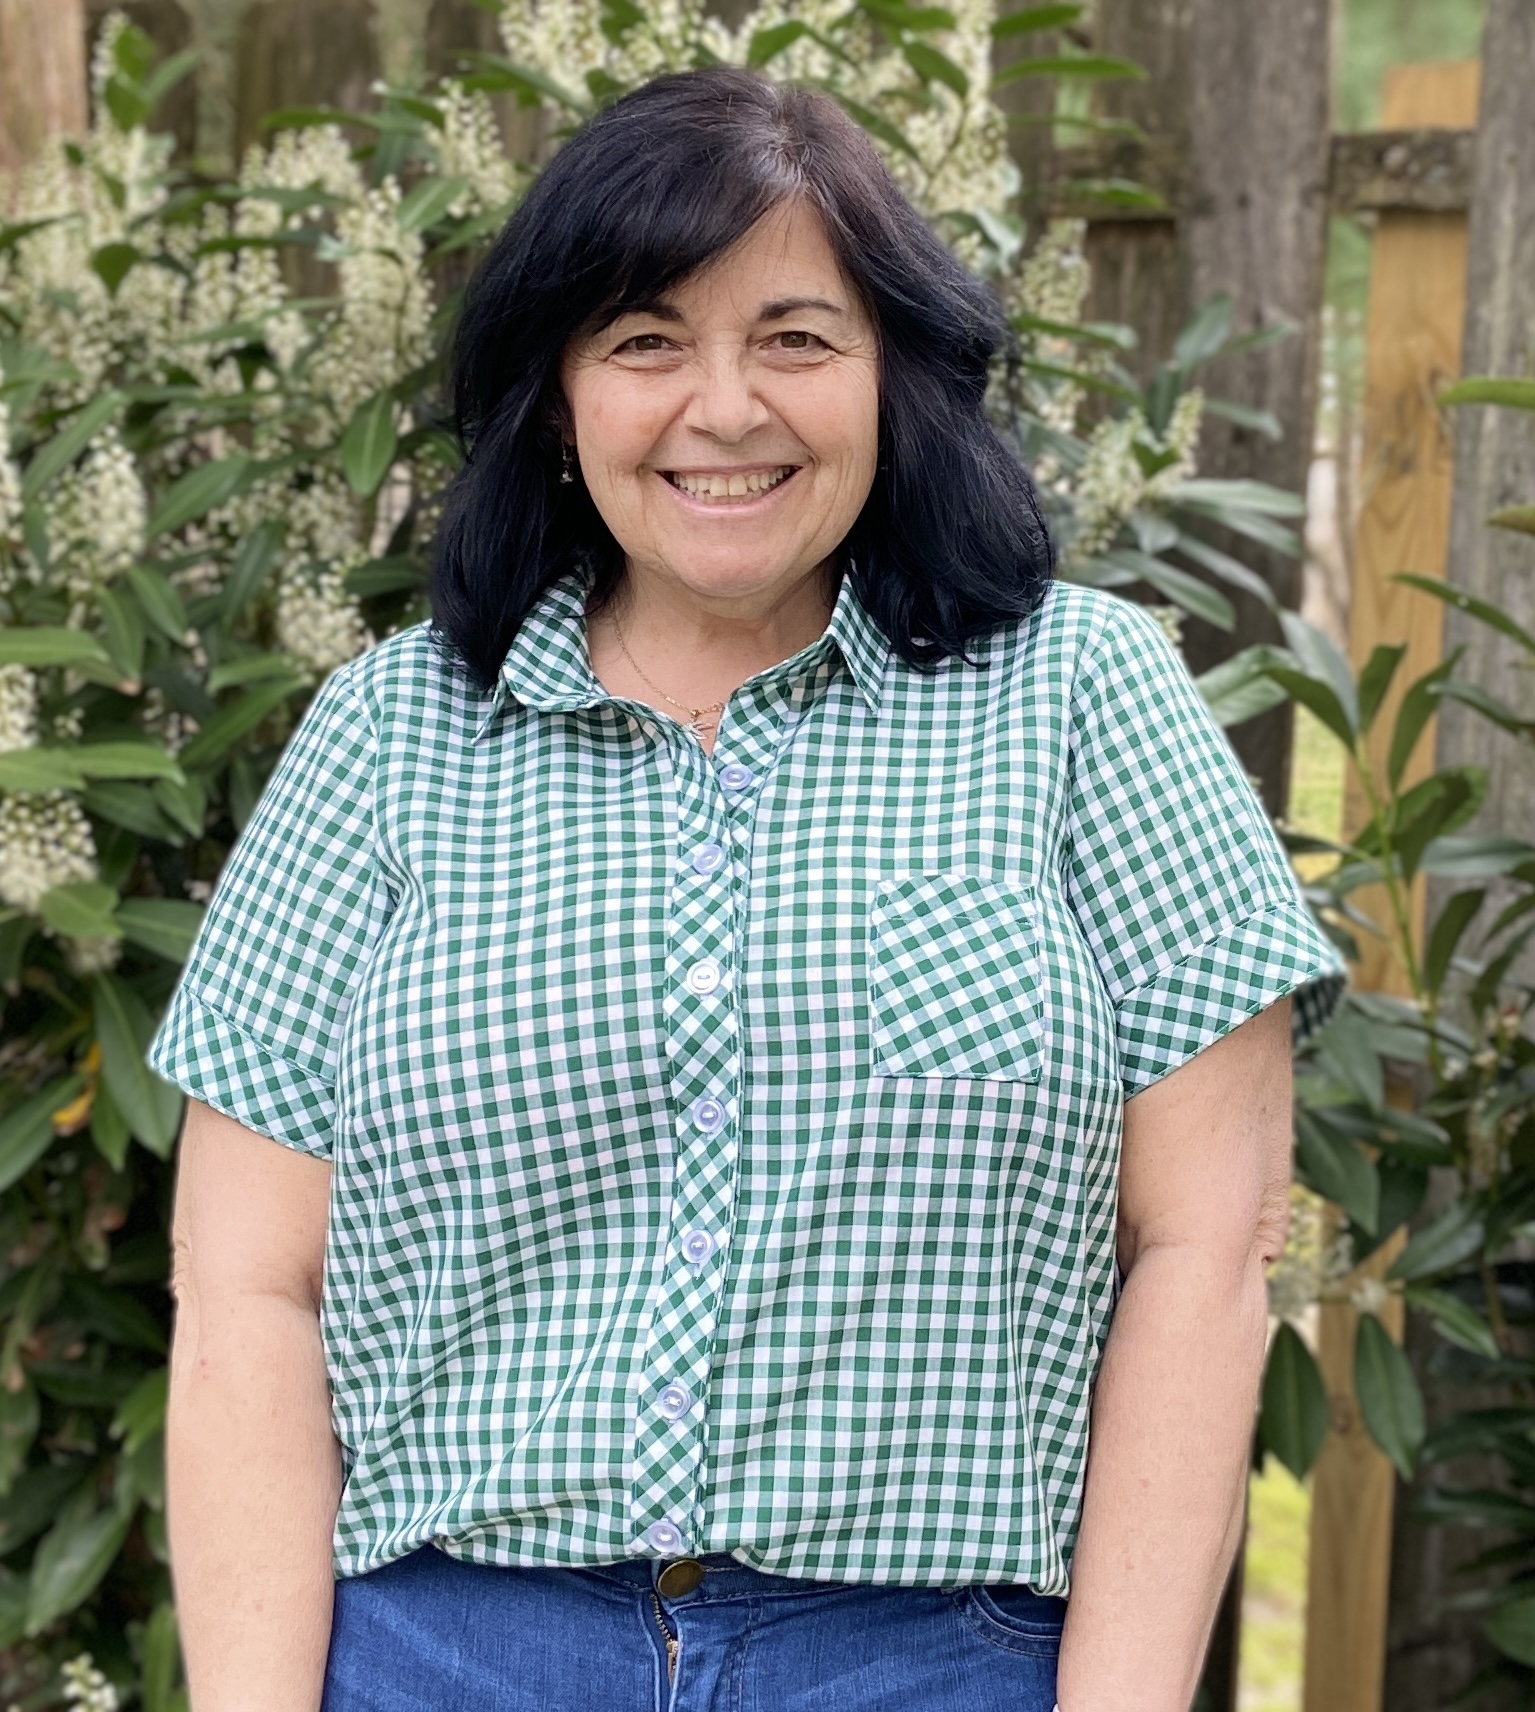
I highly suggest making a muslin for the Aria first. I chose to use a piece of gingham from my late mother’s stash, so it could be wearable. You can use any woven fabric- a sheet, cheap quilter’s cotton and thrift store finds are perfect for making muslins. This is especially important if you’re making the full bust front piece~ you want to make sure that the bust dart placement is right for you. Raising or lowering the dart is a very simple alteration. You can find more info about this on the Love Notions Blog HERE.

I made a XL with the Full bust piece graded out to a 2X for my hips. This is exactly where my measurements fall on the sizing chart and the shirt/tunic/dress fit me perfectly. Remember that the full bust piece gives you an additional 2″ at the waist and hips than indicated on the finished measurements chart.
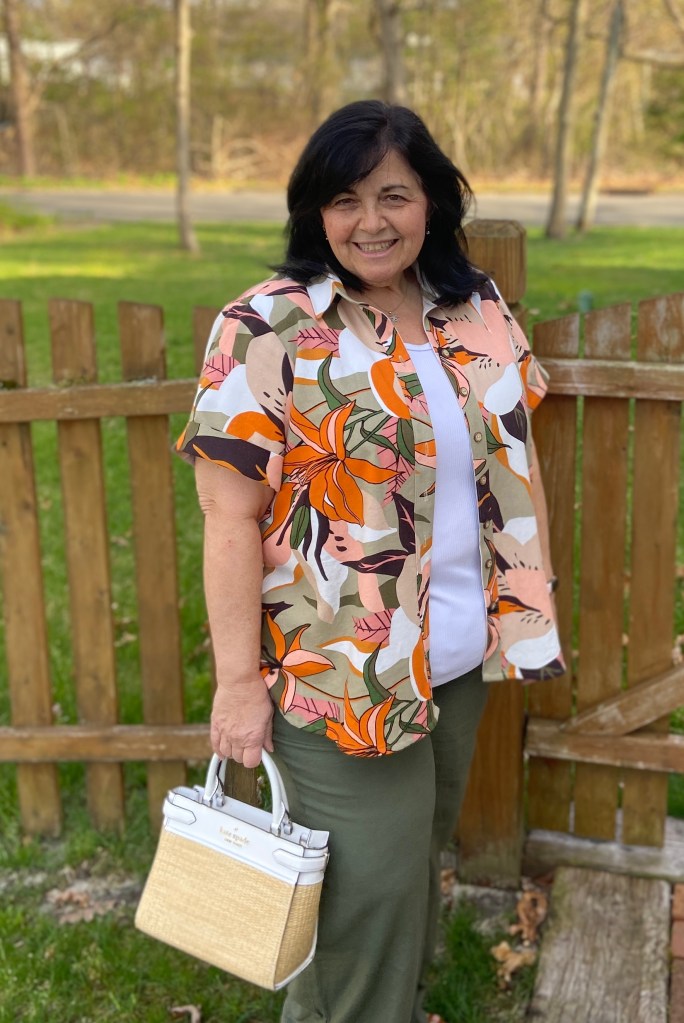
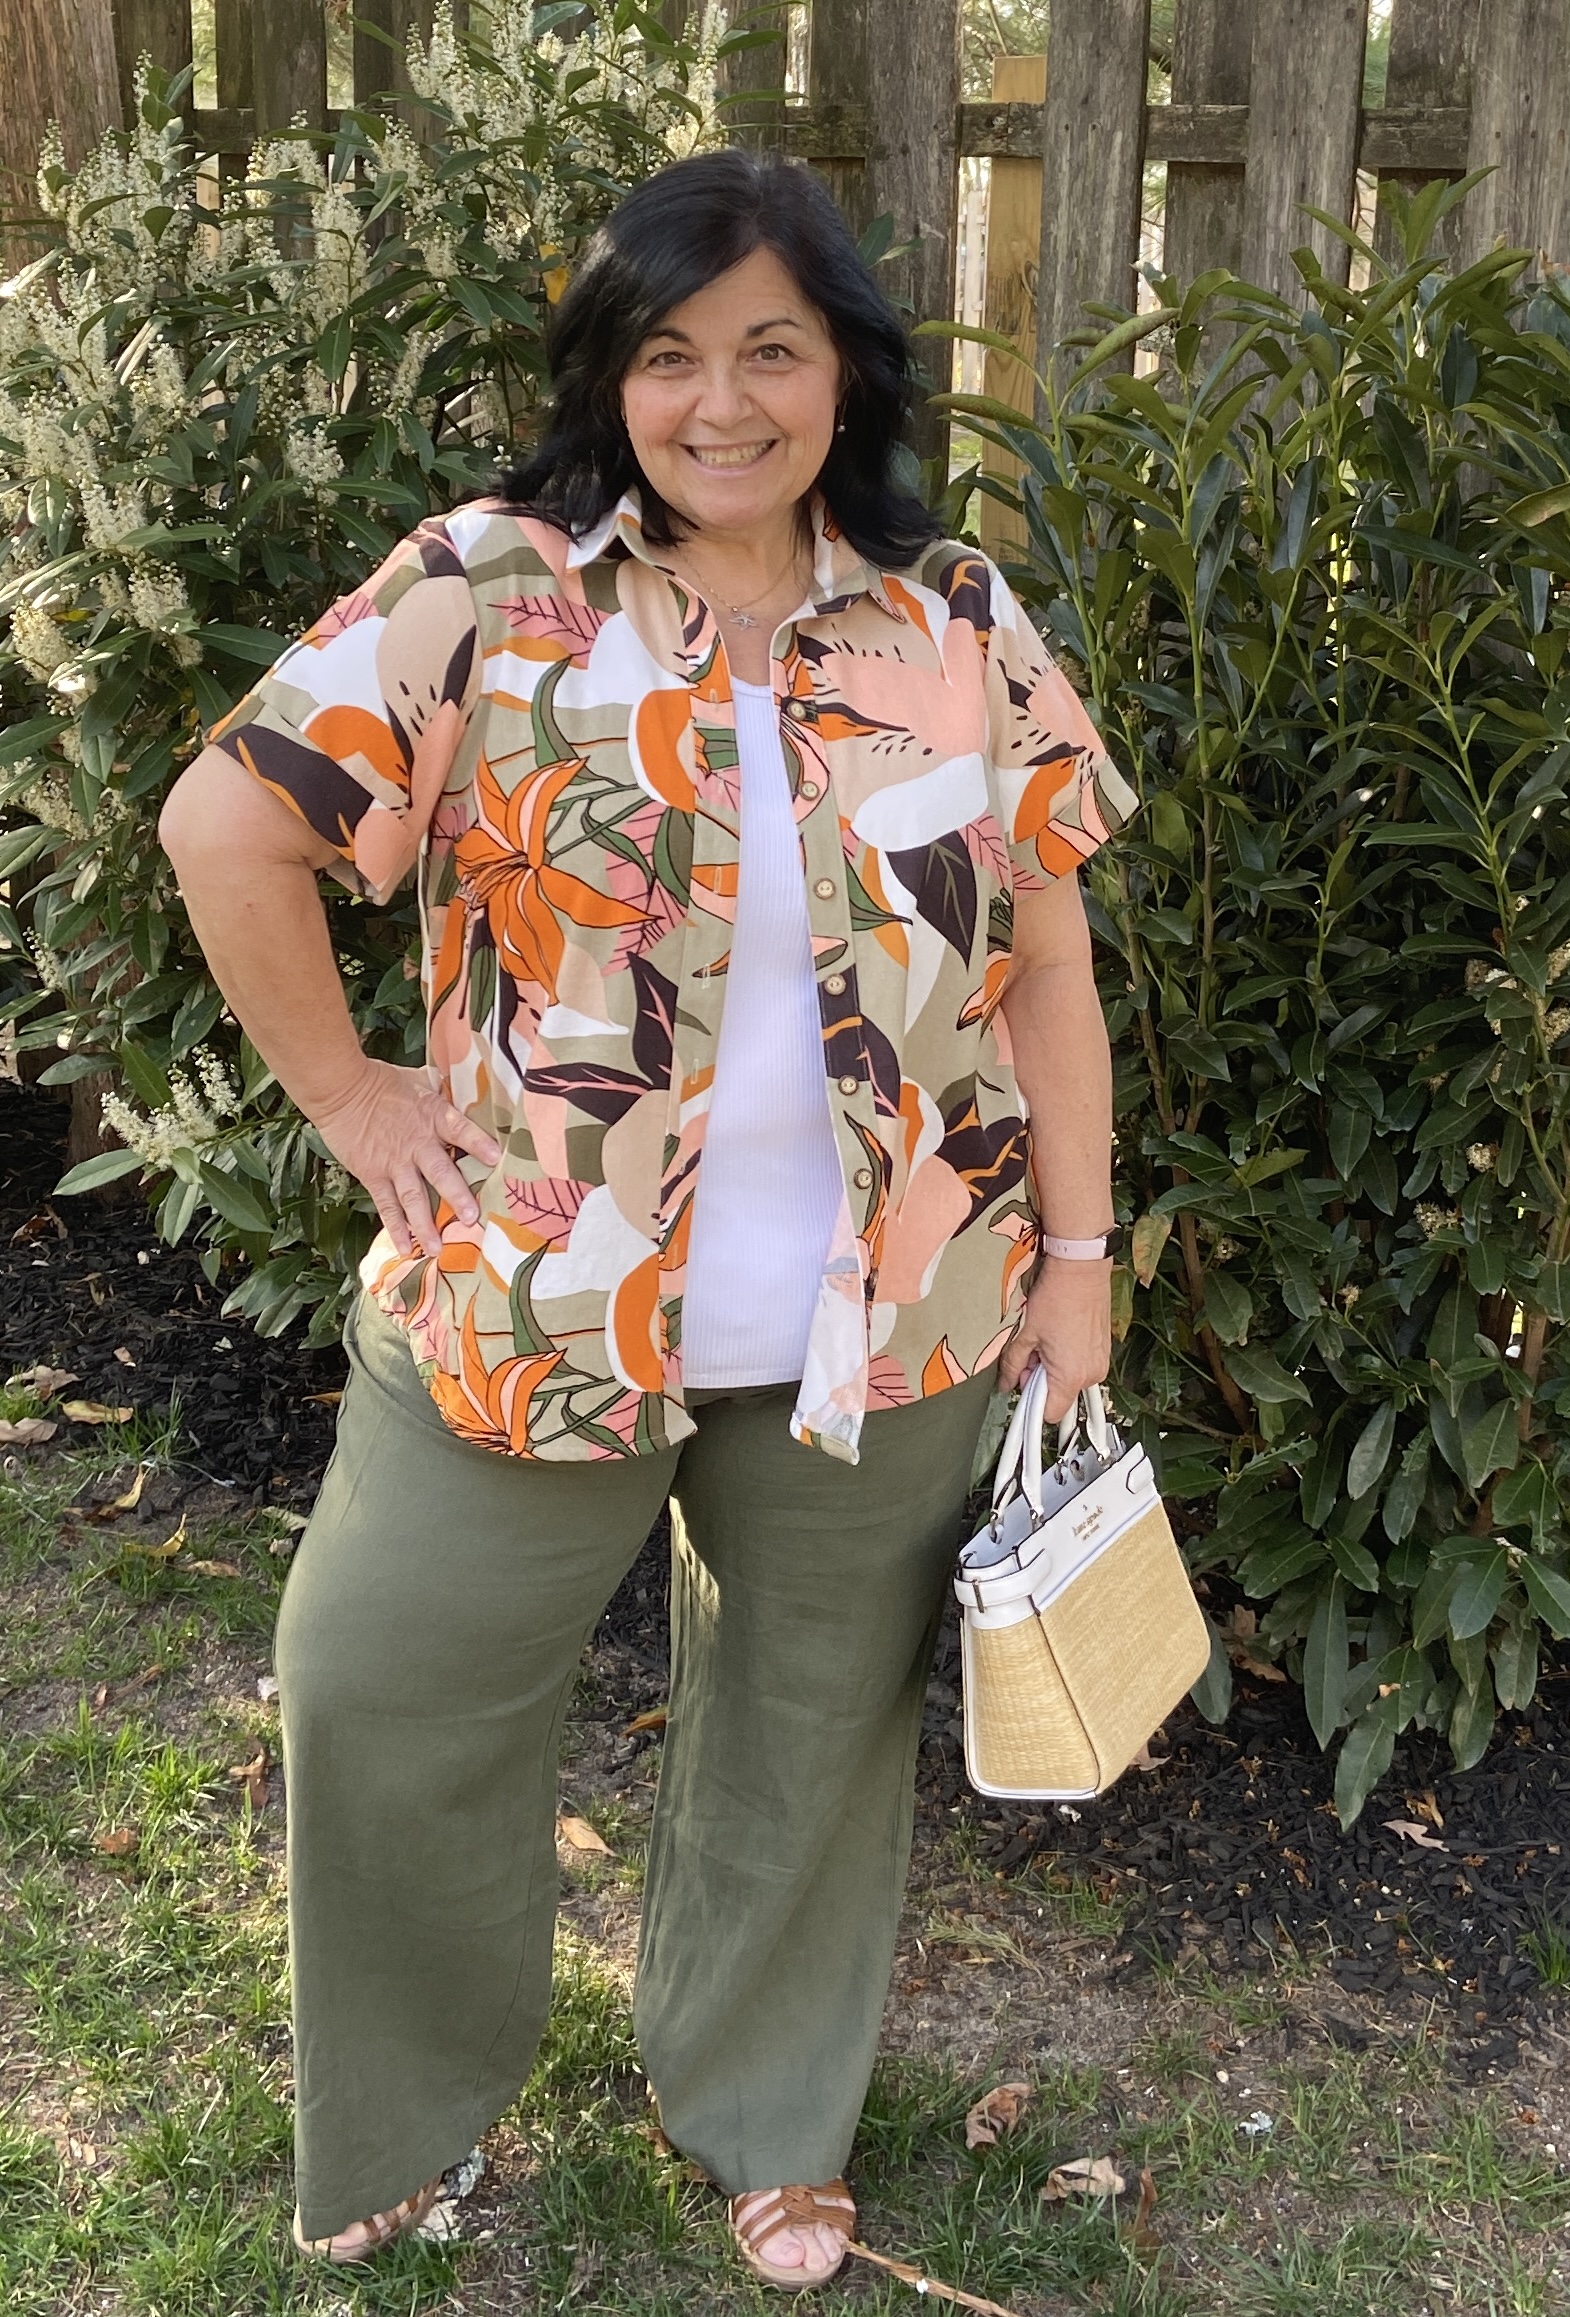
Love Notions pattern are drafted for a height of 5’5″. The shirt is designed to hit between the high hip and full hip. I am only 5 feet tall and I prefer to wear my shirts a tad longer. I did not shorten my olive print shirt.

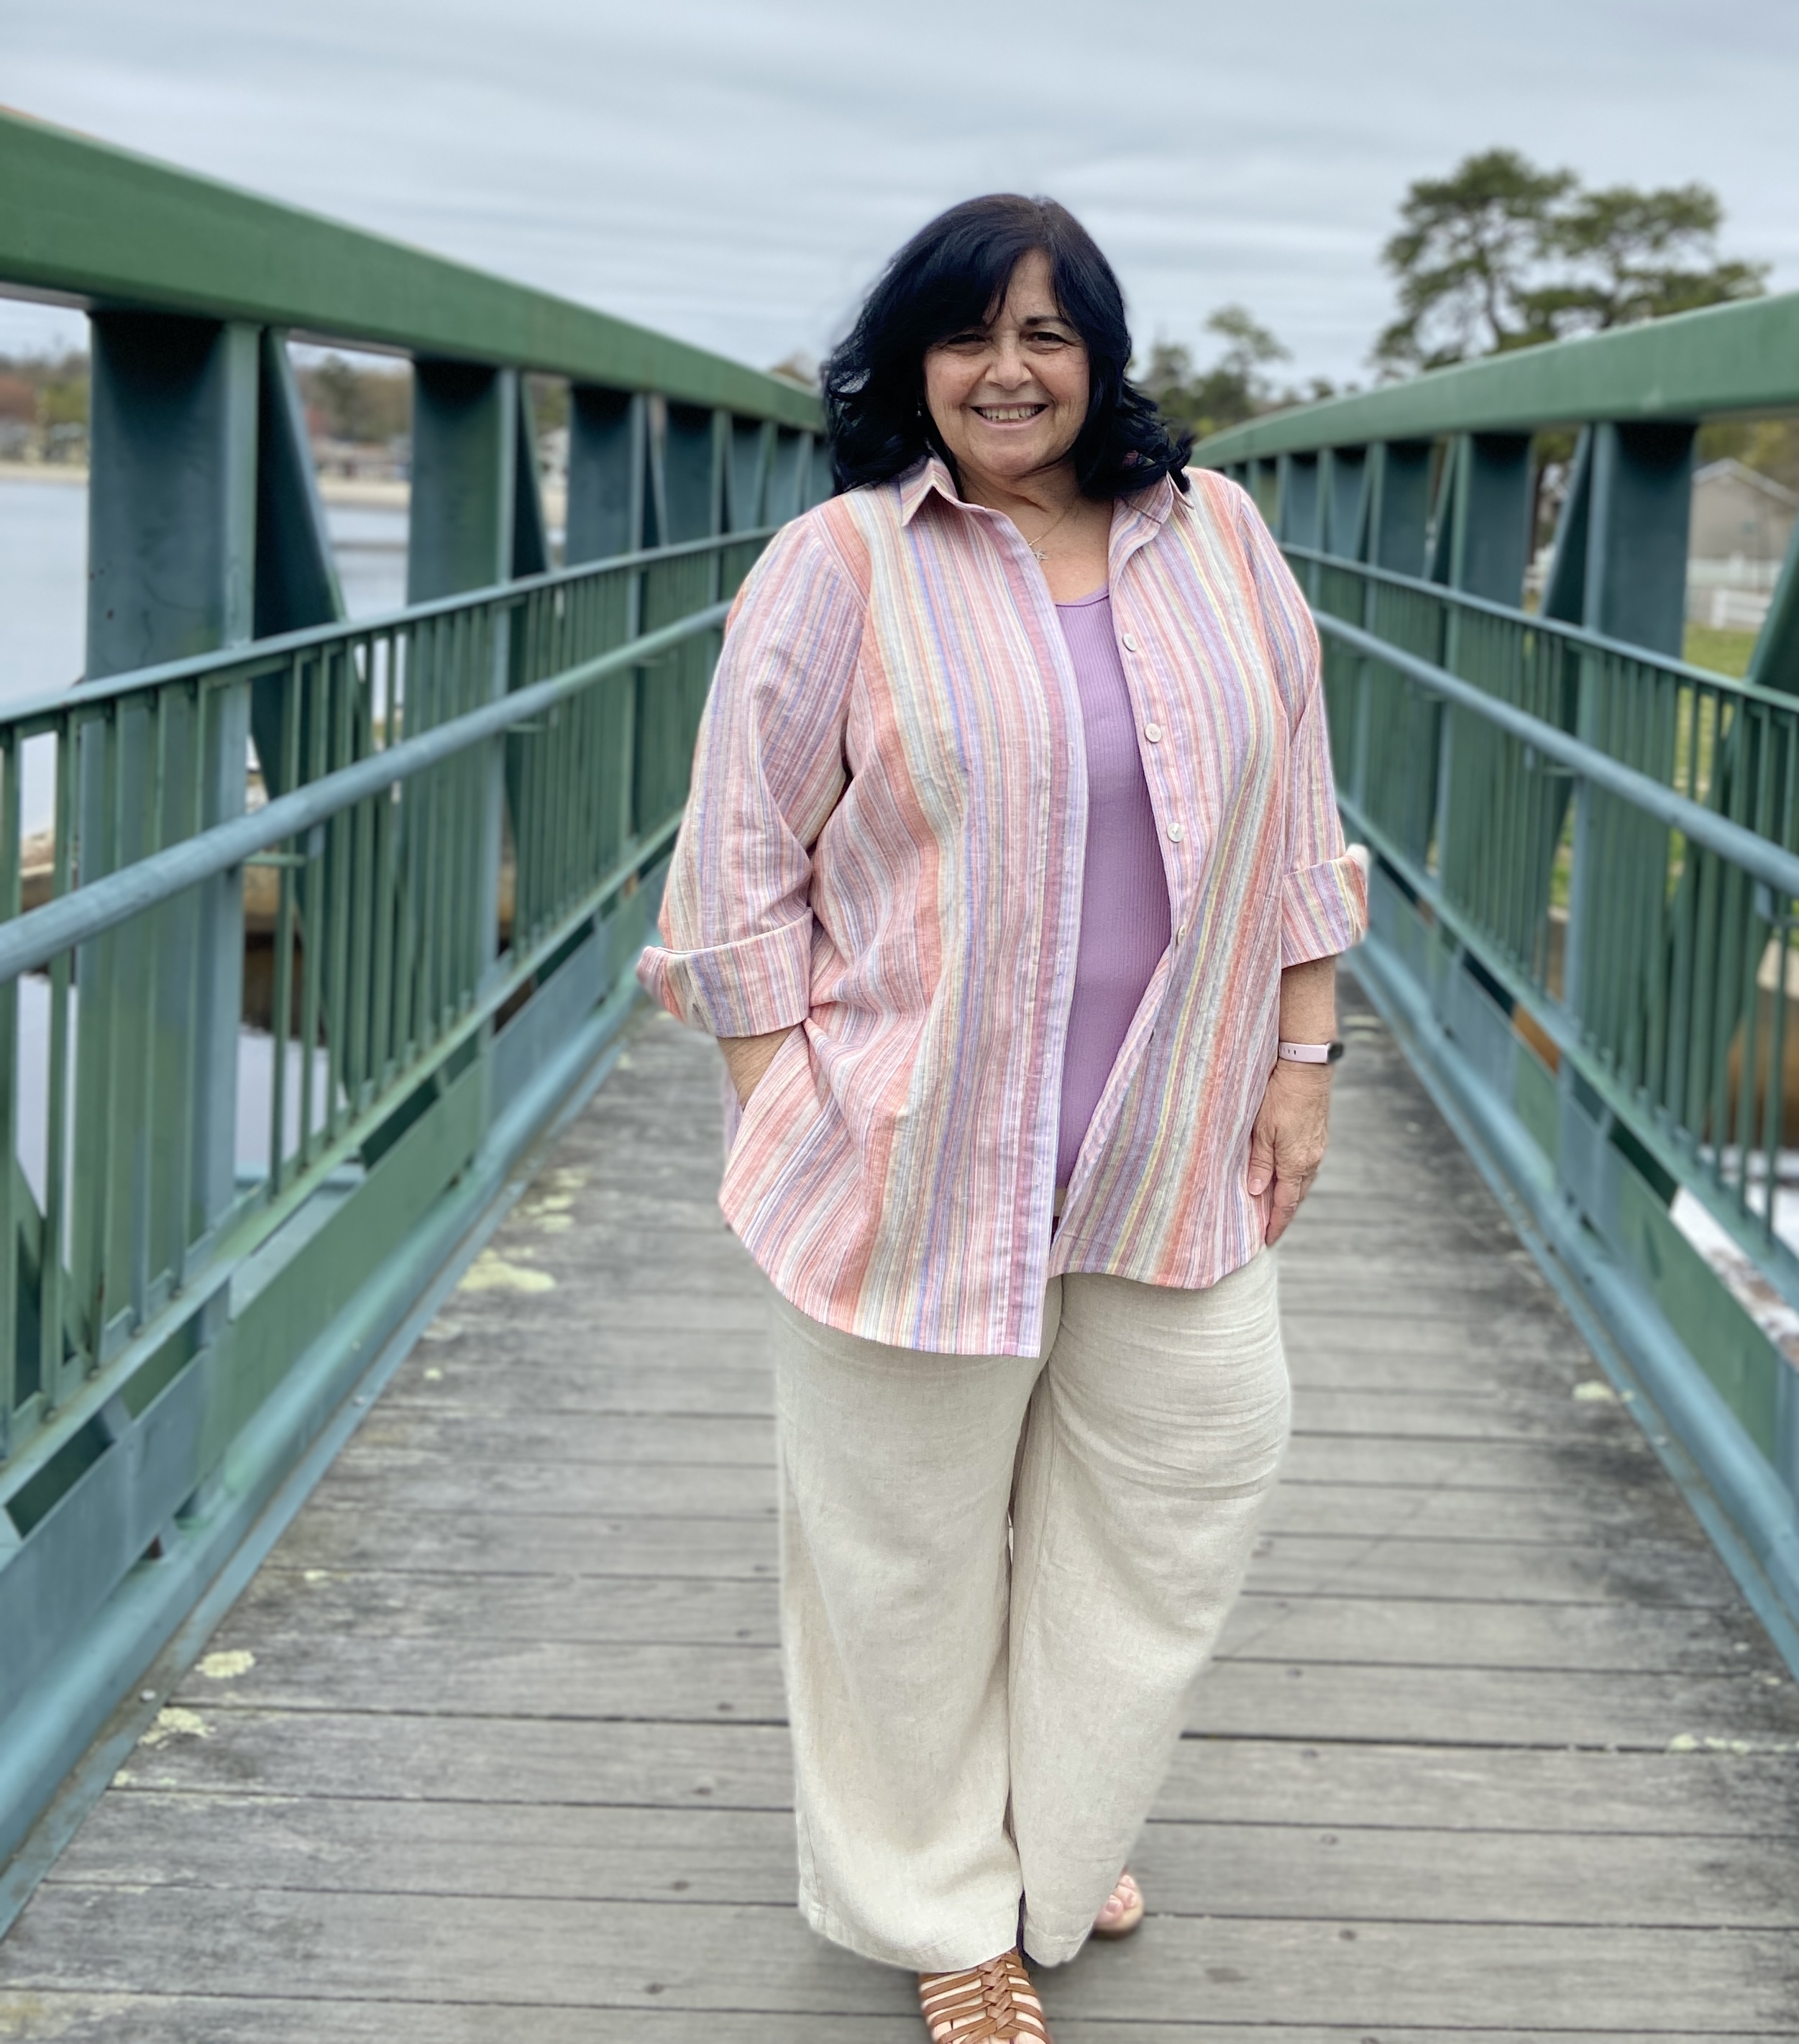
The tunic is designed to hit below the full hip. For my long sleeve tunic, I did shorten the length by 1″. When I make the tunic again, I will shorten it a bit more. I shortened the long sleeves by 1 1/2″ which is my standard alteration for long sleeved tops. I love wearing linen shirt sleeves rolled up~ but I had to show off the awesome placket.

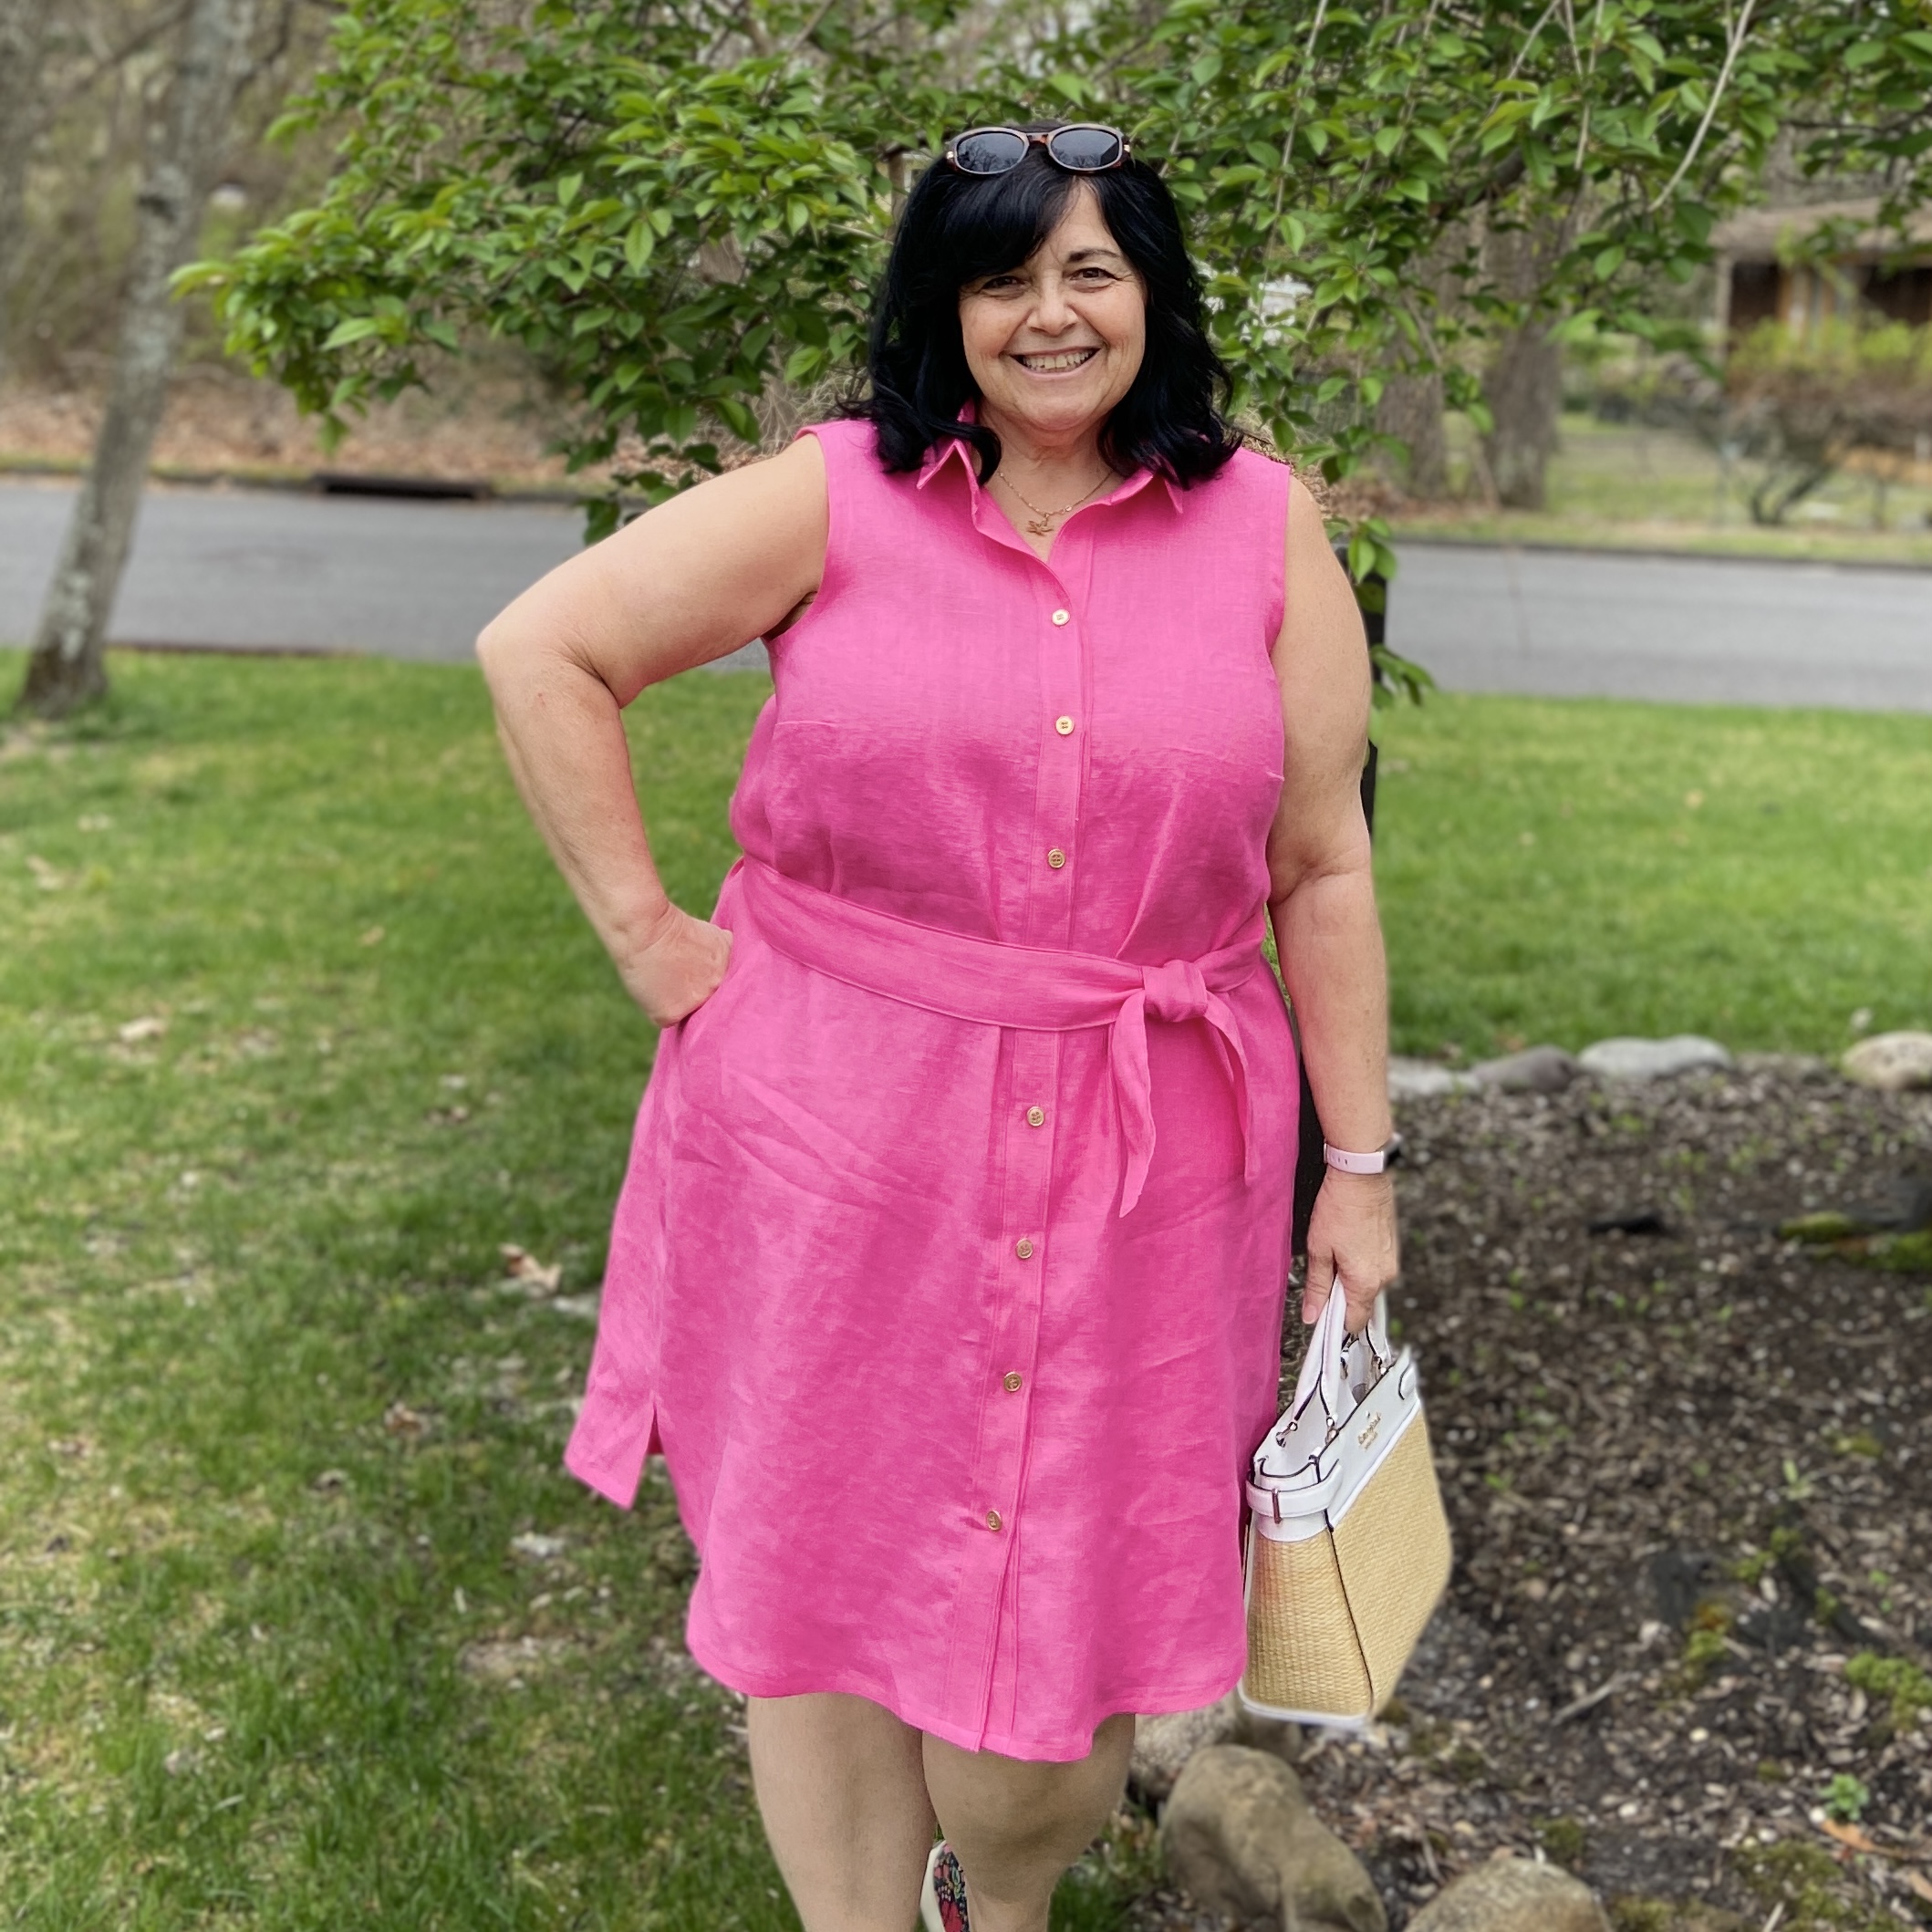
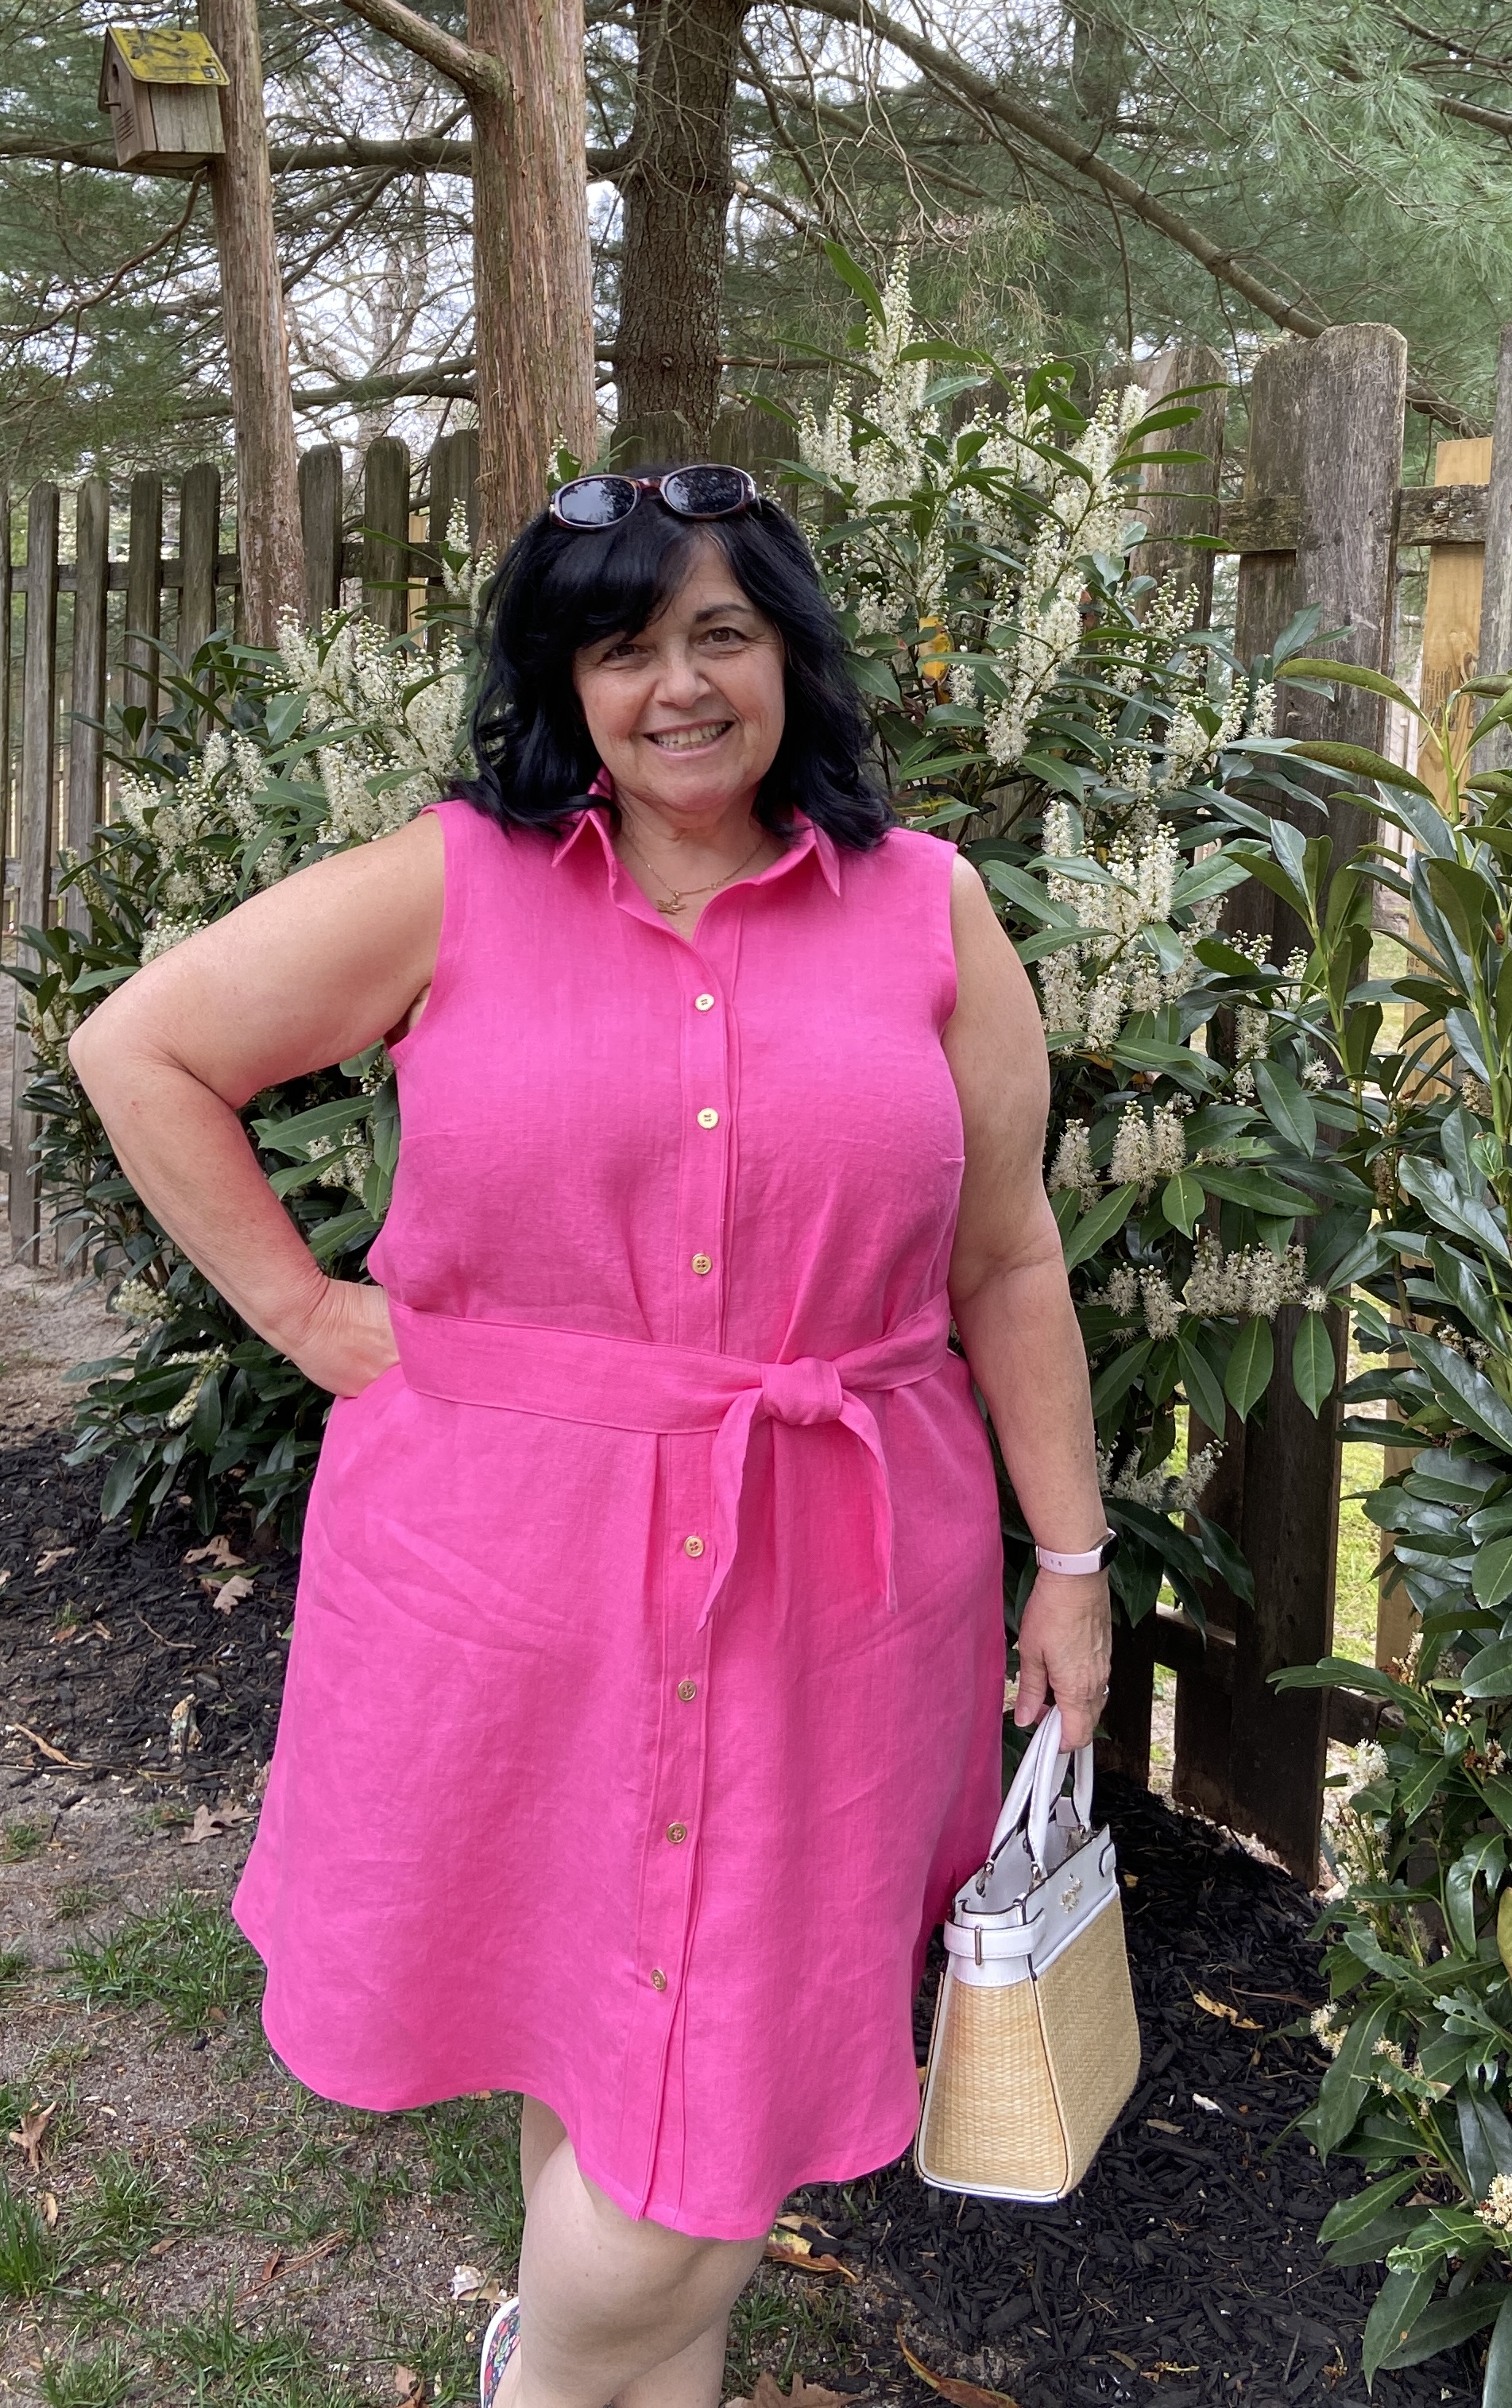
The dress version is designed to hit above the knee. I did not shortened my pink linen dress. If you like where this hits on me, you might consider lengthening the dress.
Fabrics and Notions
The Aria is designed for woven fabrics. Light to medium weight fabrics work best. Fabrics such as chambray, shirting, quilters cotton, poplin and lawn will all work perfectly. My personal favorite fabric for the Aria is linen. I have loved linen since I was a young child, and it has always been my fabric of choice for summer. I sewed up three linen versions and I have several more planned.
The Aria is a great pattern to color block or stripe play. On my gingham muslin, I chose to cut the front band, yoke, sleeve cuff and pocket on the bias for fun. For my striped linen tunic, I cut the yoke and cuffs horizontally. The possibilities are endless. I want to make a color blocked seersucker version soon!
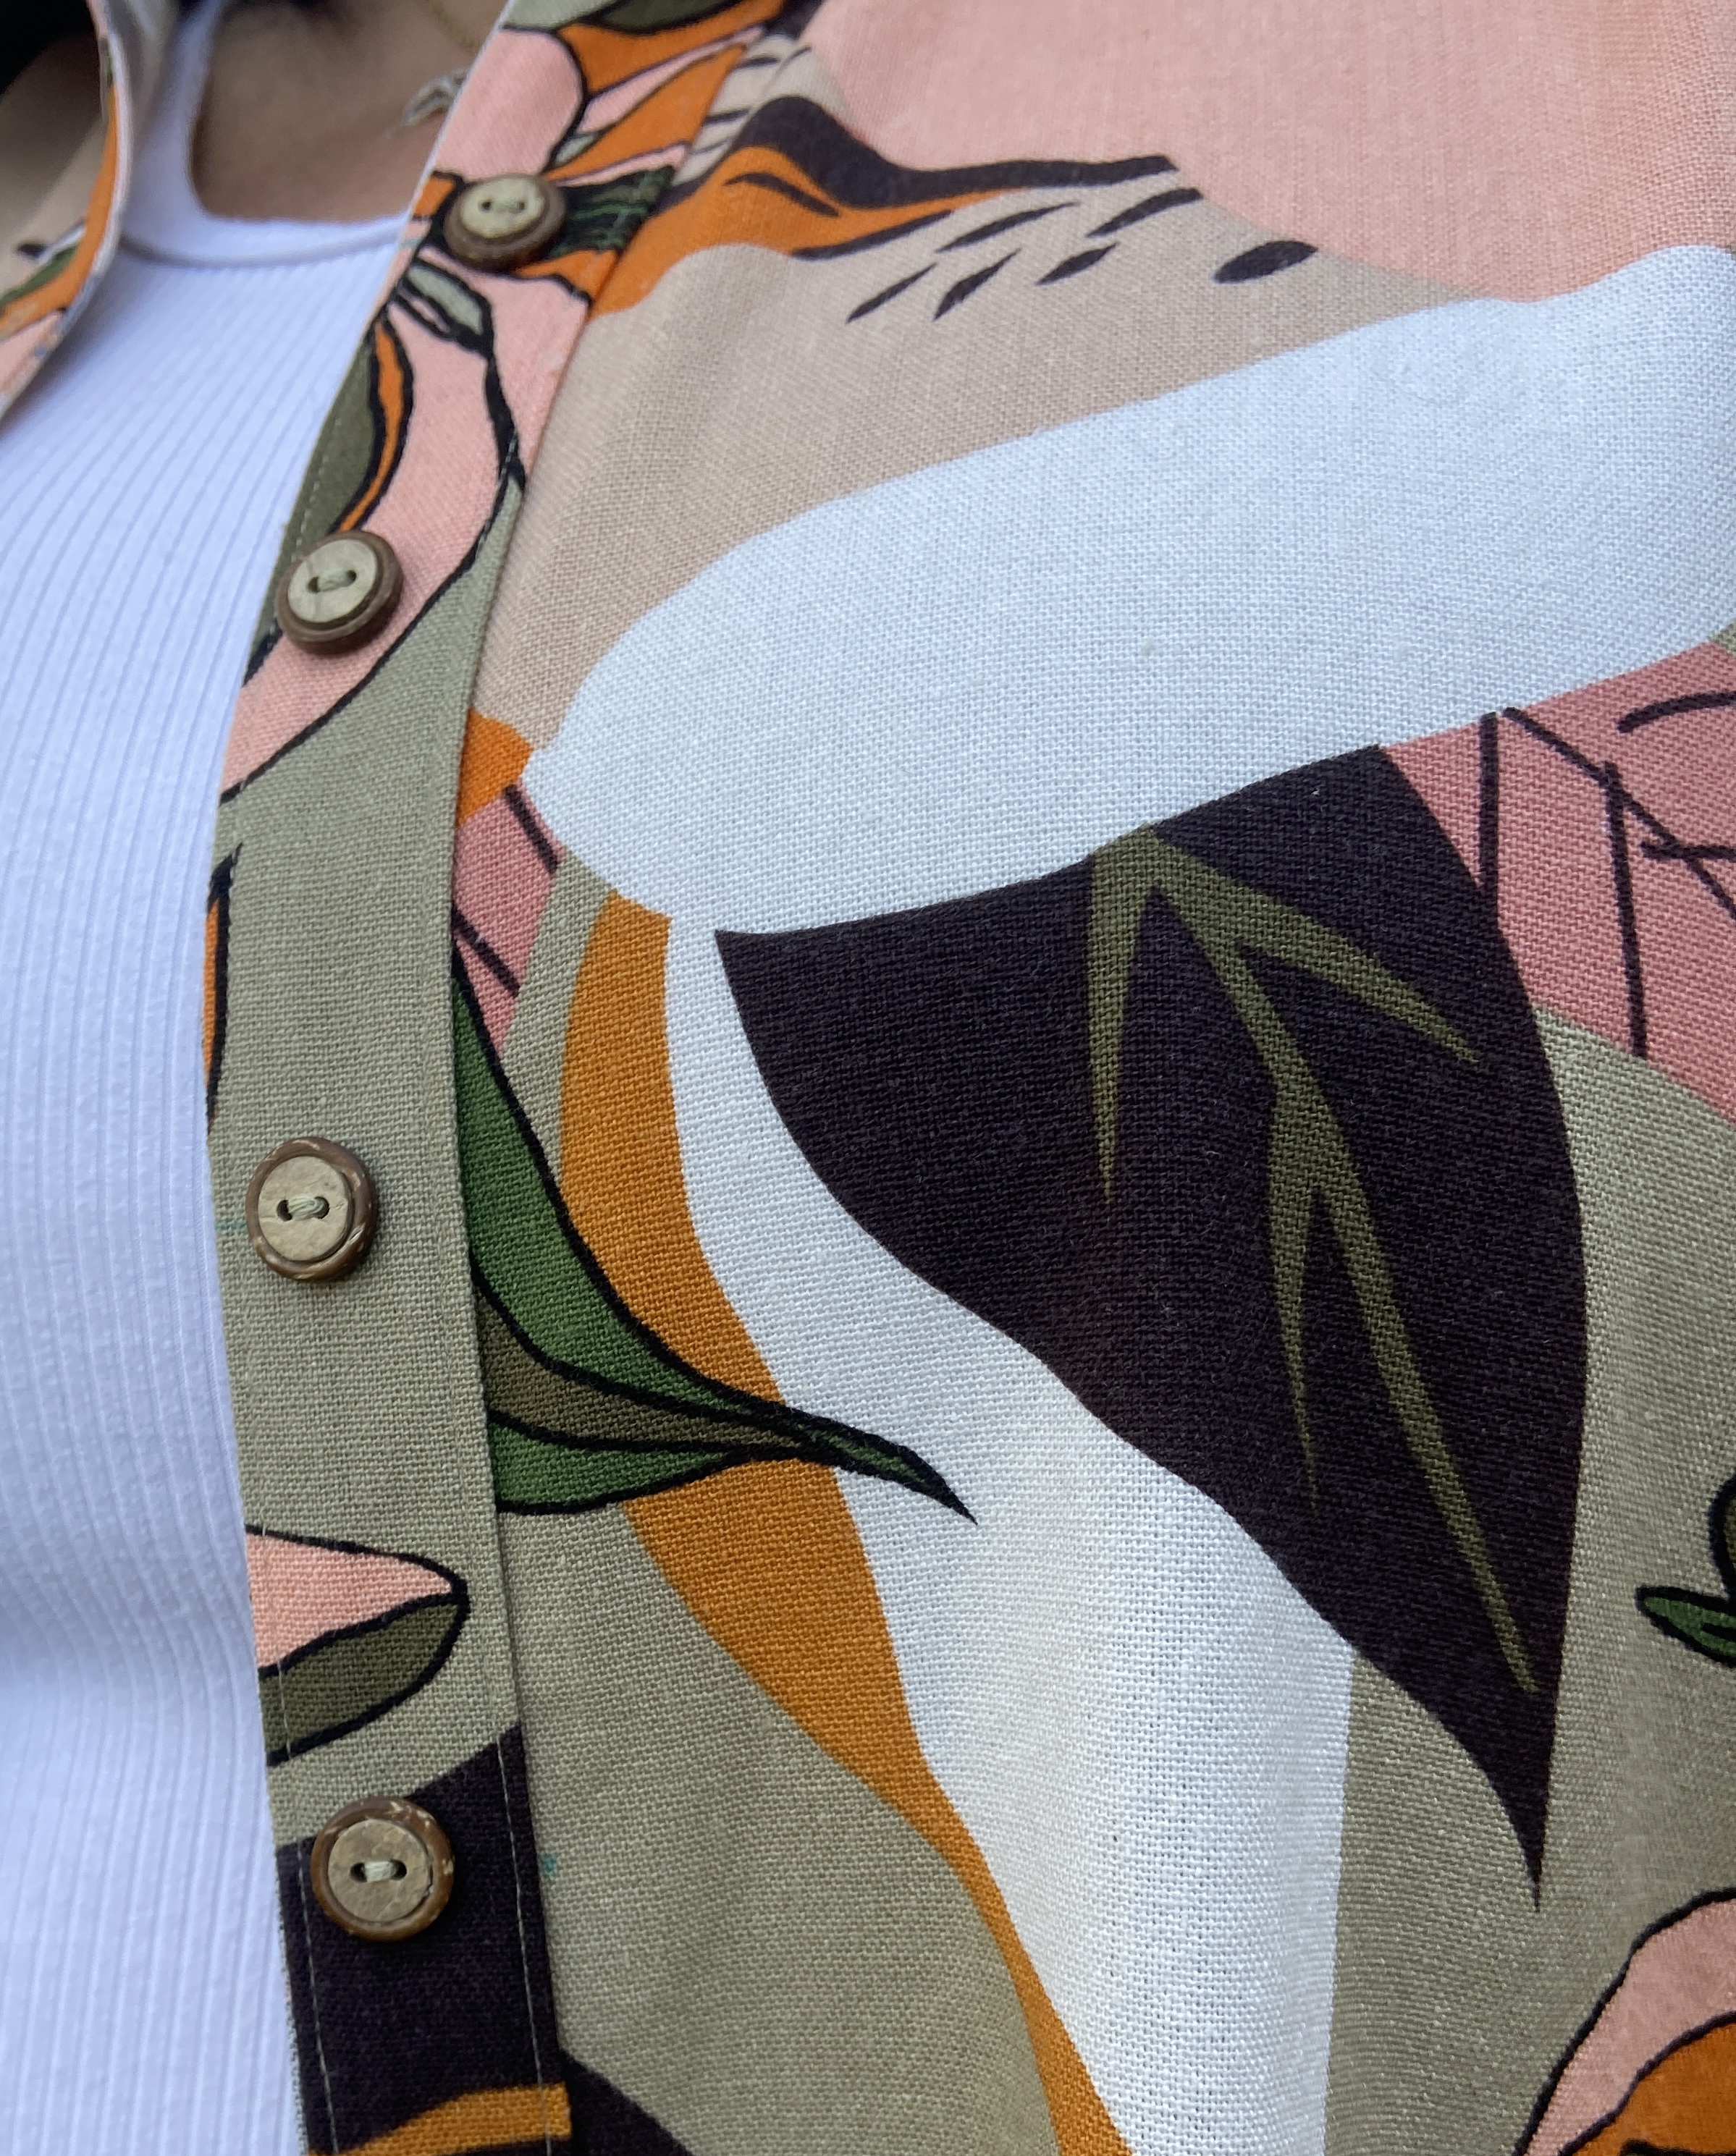
Notions needed are interfacing and 1/2″ buttons (6 – 13 depending on which version). If making the sleeveless version you need 1/2″ double fold bias tape as well. I like making my own bias tape, you can see how HERE.
Sewing with Linen
- Always prewash your linen!!! Linen shrinks and you don’t want to make something, wash it and then have it shrink on you. I always wash my linen in warm water and machine dry on low. After I’ve made a garment I wash it in cold and hang to dry. Yes, it needed to be ironed, but call me crazy, but I love ironing linen. There is just something so satisfying about it.
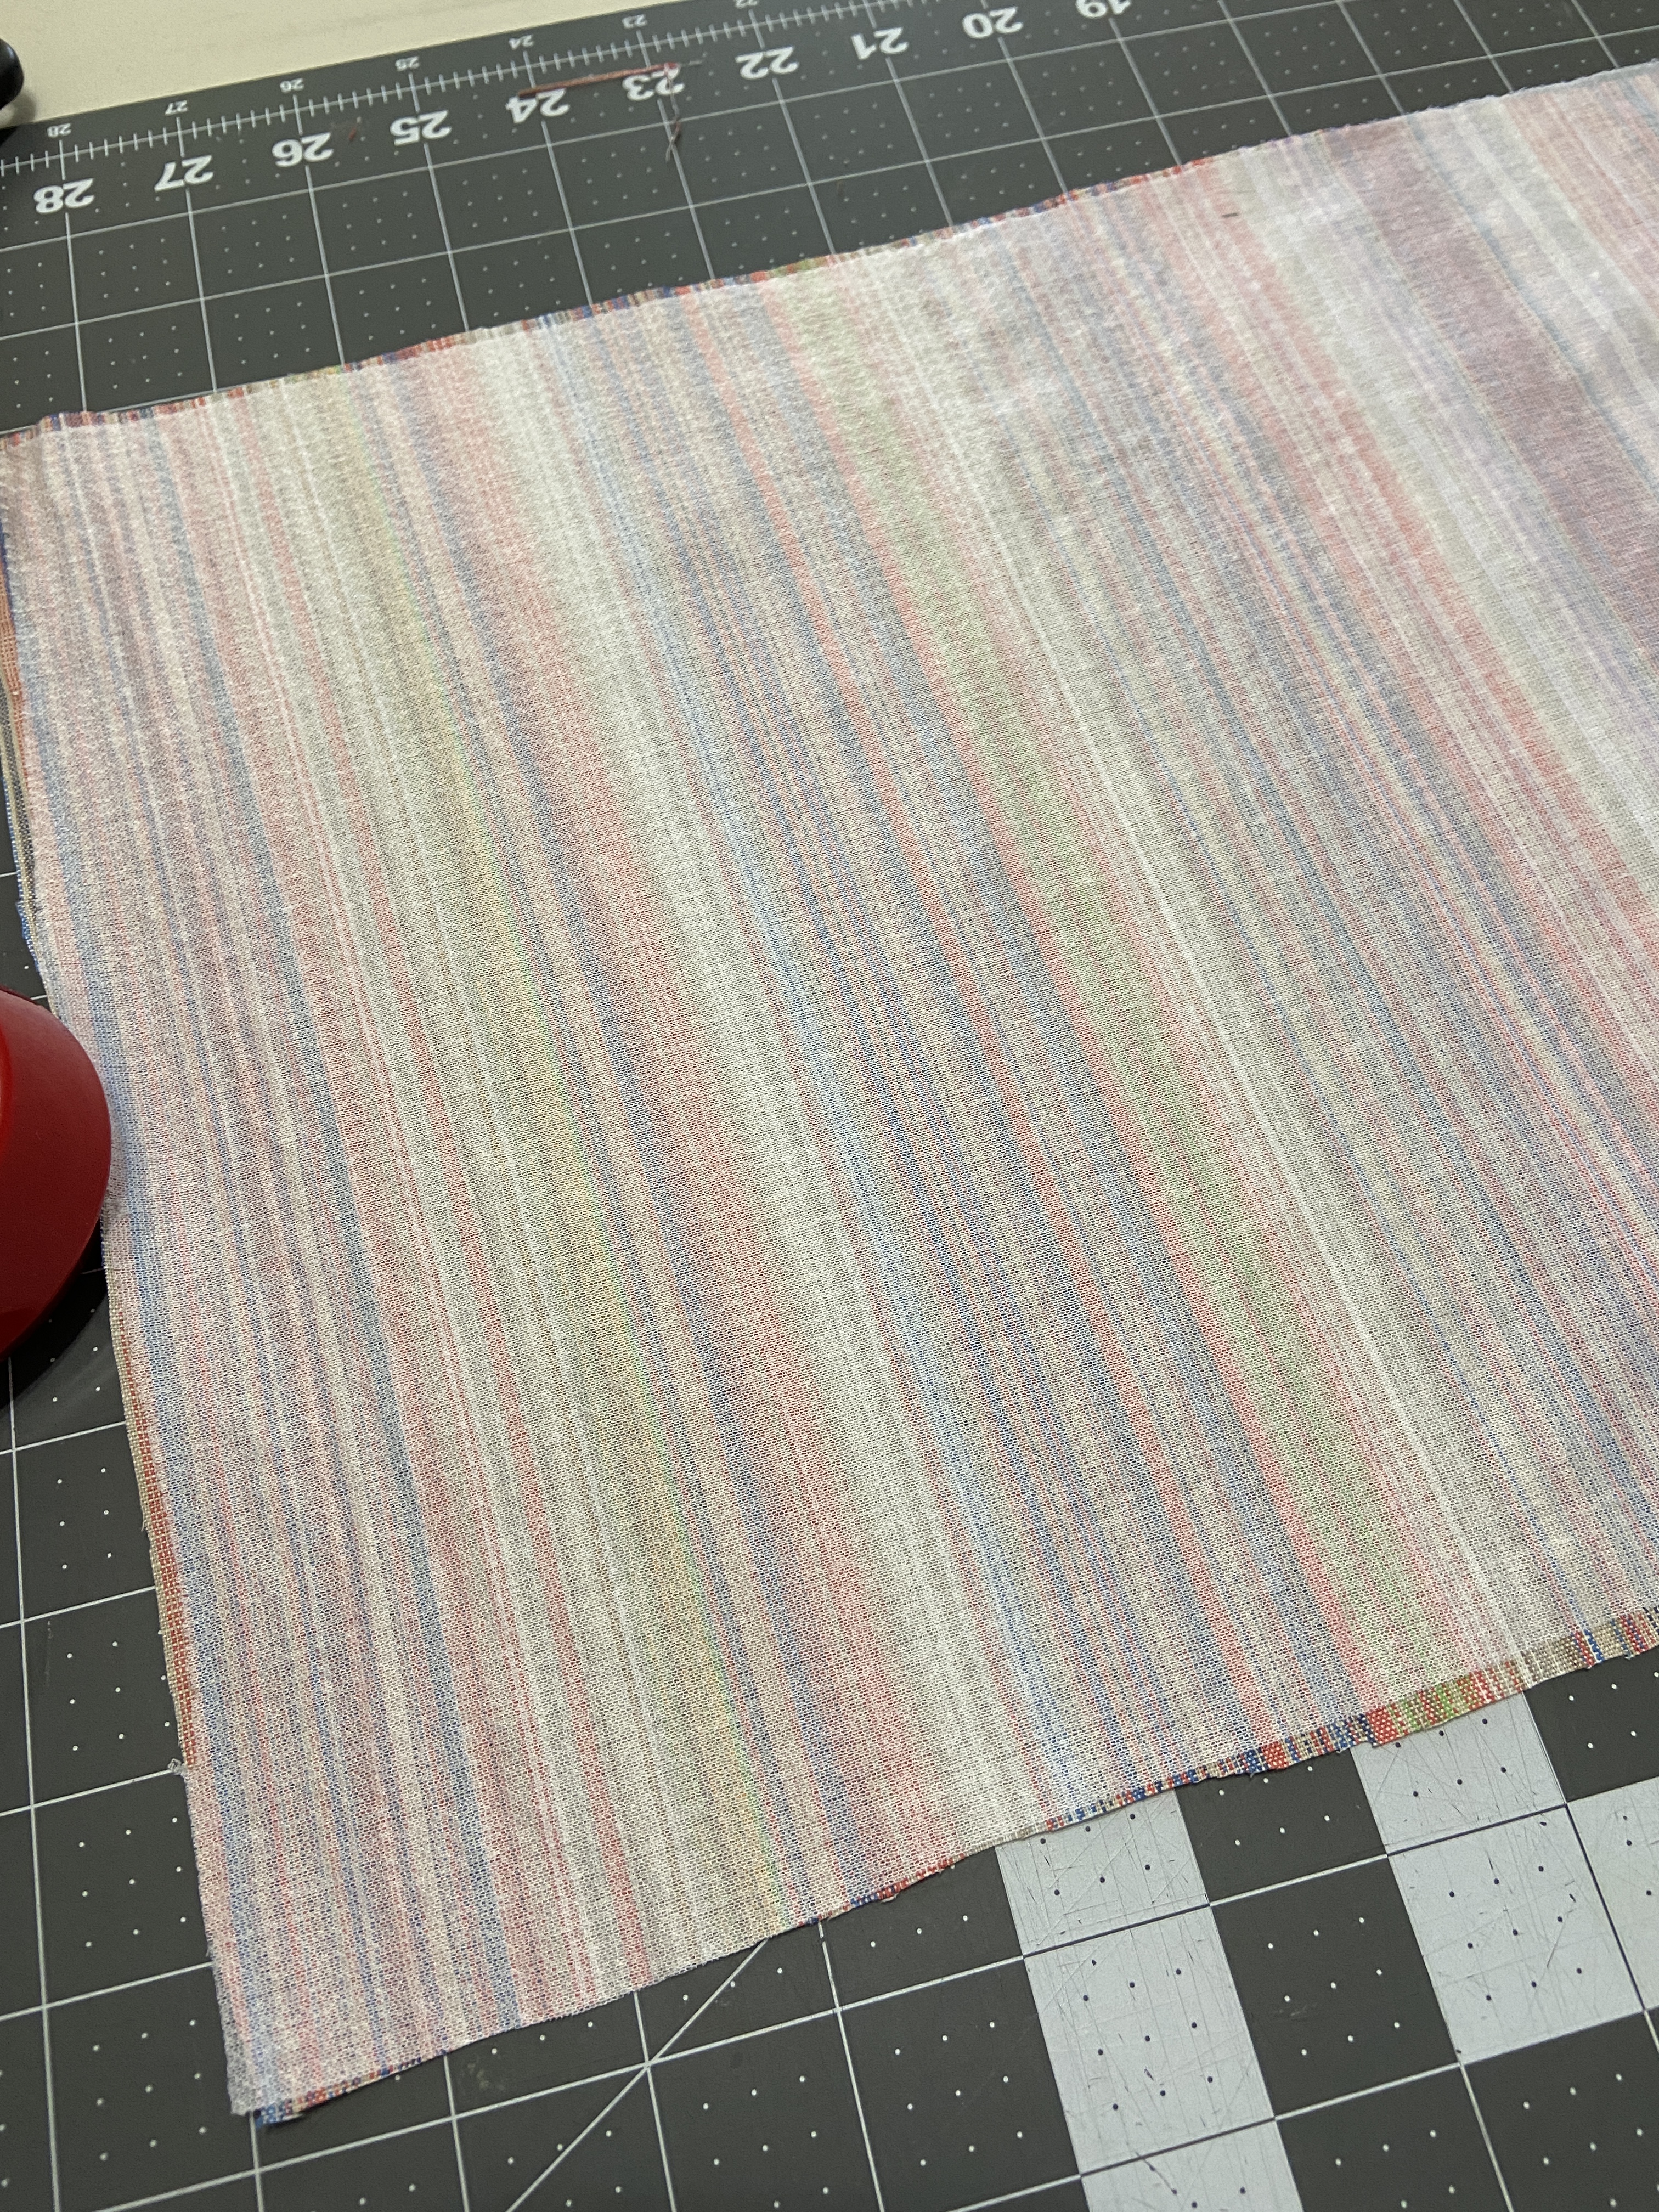
- Before you wash your linen, finish the cut edge with your serger. Linen frays very easily, so if you don’t, you’ll have a big mess to untangle. I do this to all of my wovens before I prewash them, it also lets me know what I’ve prewashed and what I haven’t.
- Handle your cut pieces as little as possible. As I stated before, linen frays easily, and can stretch out of shape.
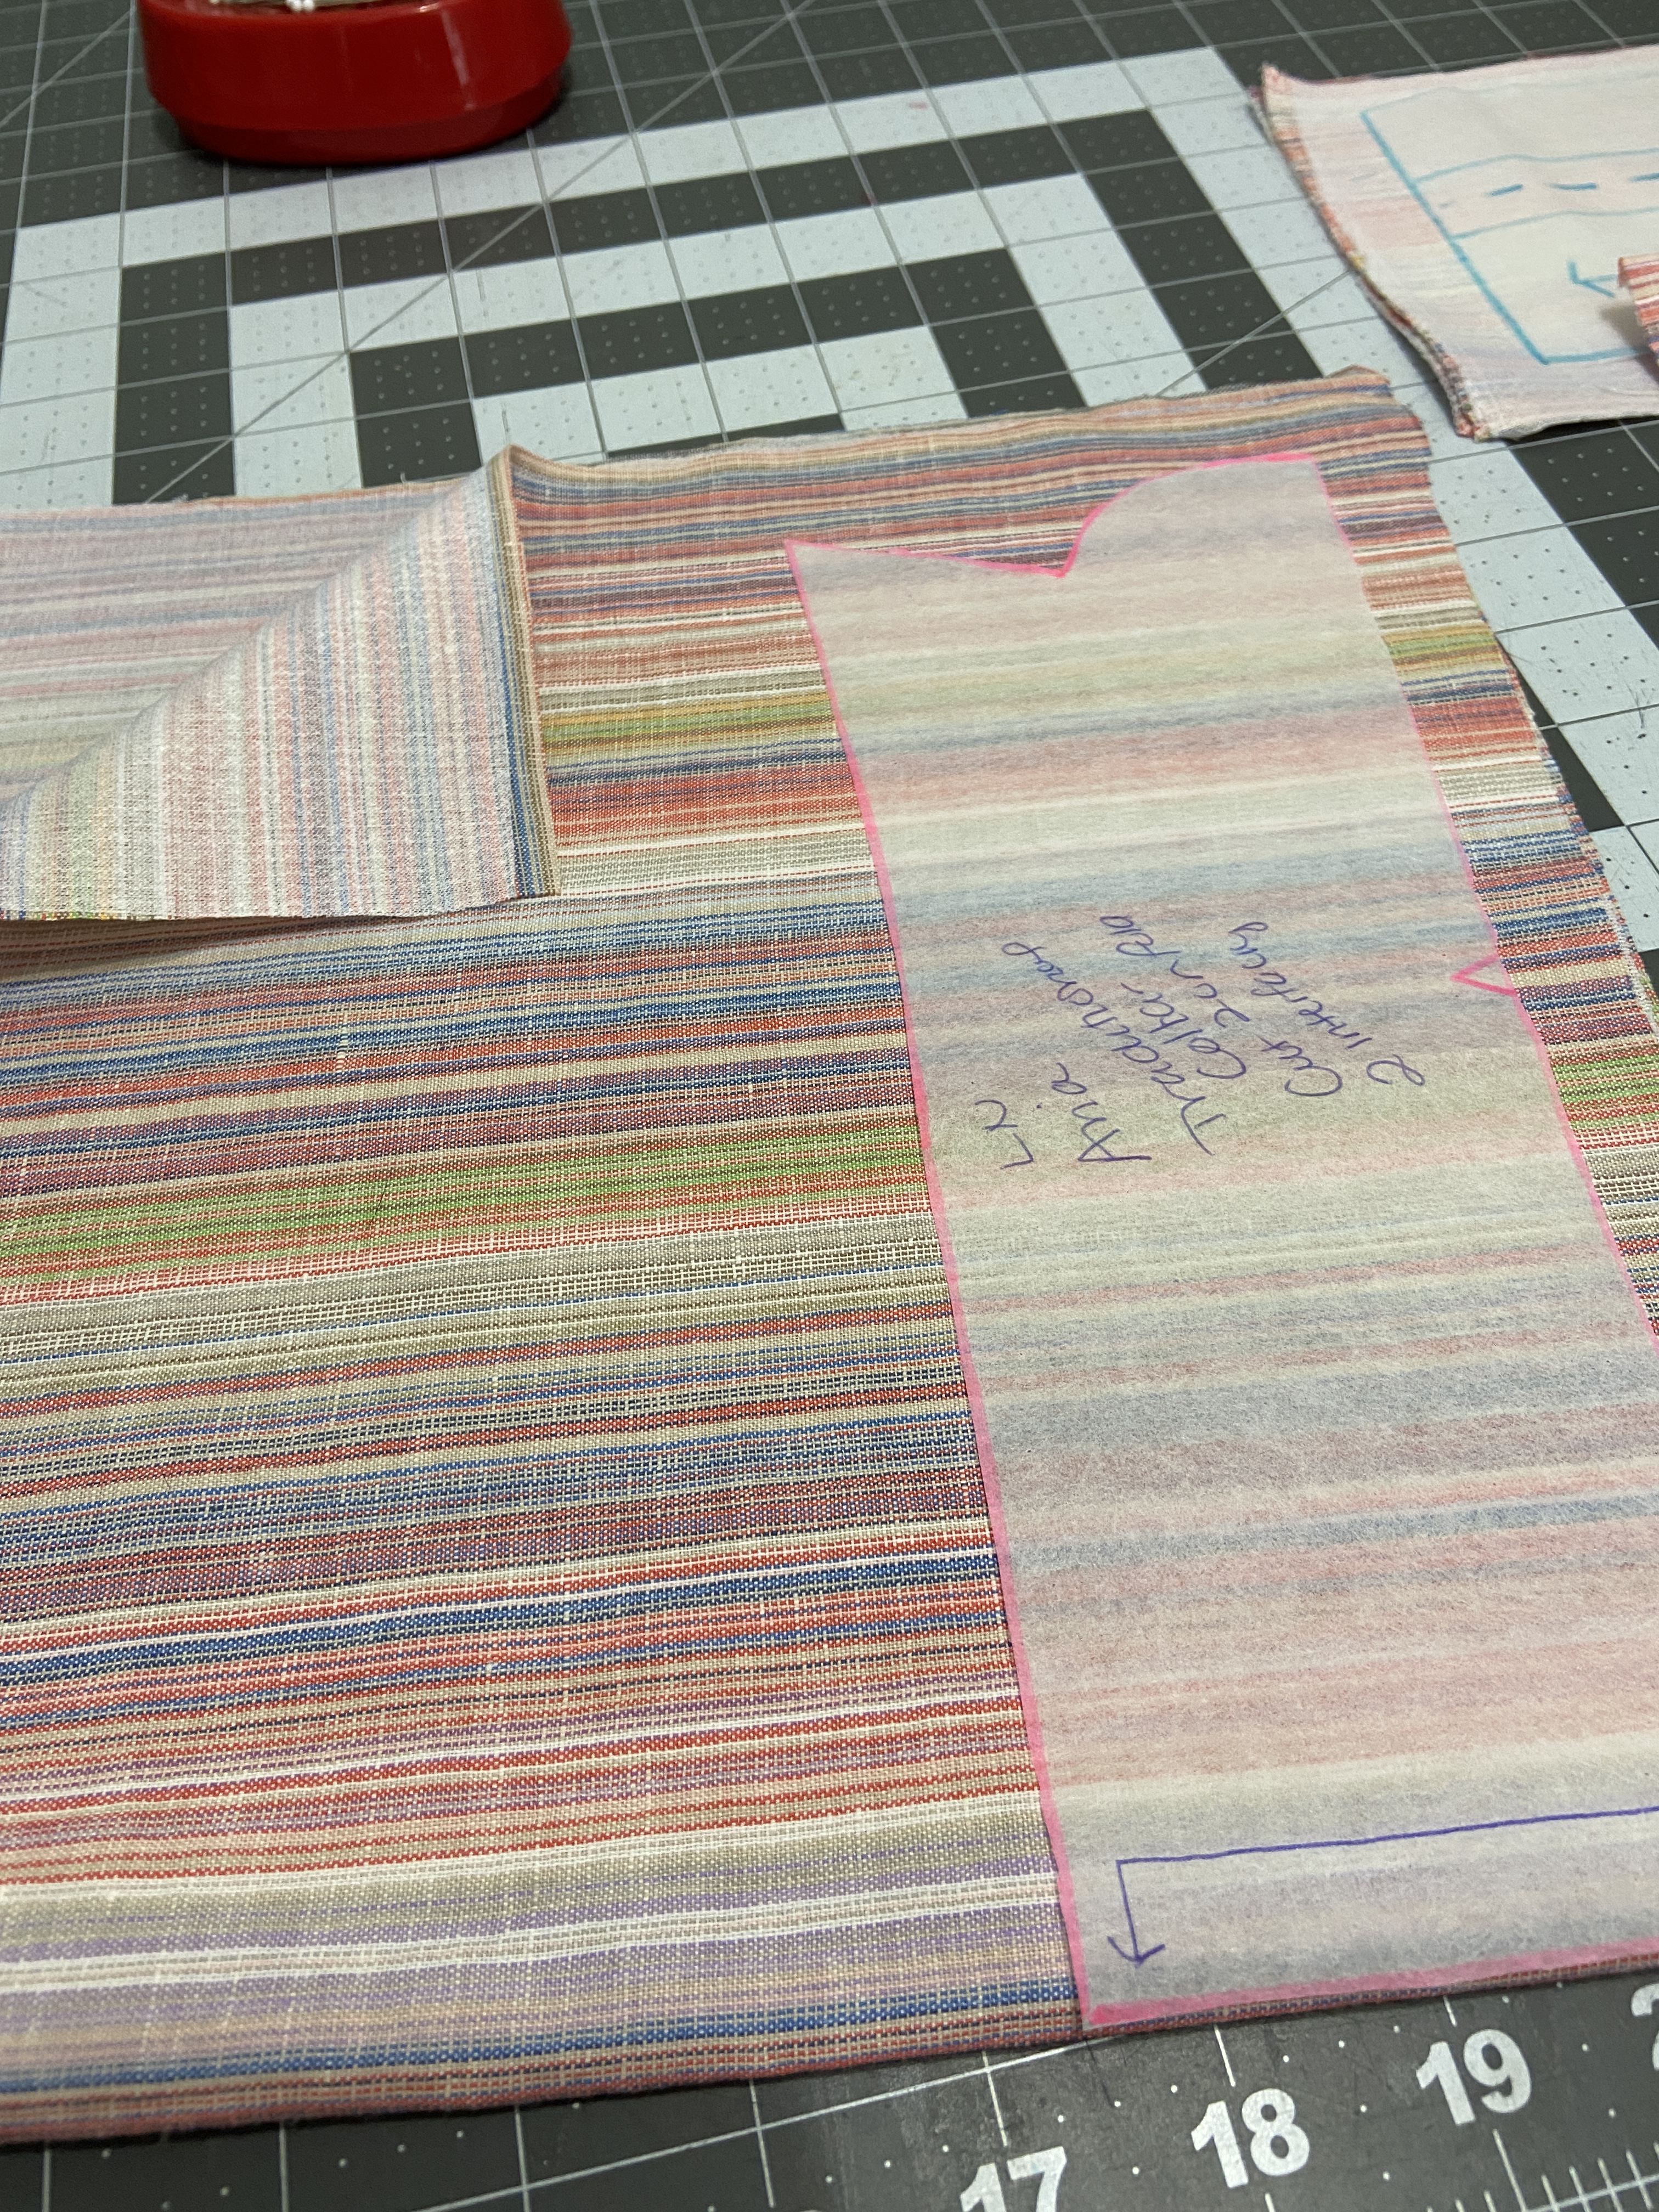
- Consider “Block Cutting” your collar/interfacing pieces. This method consists of attaching the interfacing to a block of fabric (big enough for your pattern pieces), then cutting out the required pieces. I also used this method for the long sleeve placket pieces. See photos below.
- Staystitch your neck edges immediately after cutting them out.
- I hemmed my shirt/dress immediately after I sewed the side seams. The more you handle linen, the more the bottom edge is gonna fray.
- Do NOT just serge any seams. Stitch on a conventional machine and then serge just to finish the seam allowance.
- When pressing, use a damp press cloth. Linen has a tendency to “shine” when pressed.
- After sewing buttonholes, I highly suggest using Fray Check on them before cutting them open.
Sew MaryMac’s Tips for Sewing the Aria
- Note on the Cutting page (page 7) there are Piece Prep instructions at the bottom of that page. Don’t skip the stay stitching step!!!!
- On page 13, step #4~ I found it helpful to use a water soluble marking pen to draw my stitching line for the collar notch area.
- Page 13, step #5~ PRESS!!! When topstitching this step, I found it helpful to begin at the center back of the collar/yoke and work my way around.
- PRESSING!!! This can really make a difference in your completed garment. I am definitely team press as you go. There are times when you just can’t wait until the end to press everything. Making a classic shirt like the Aria really calls for pressing. It truly can make the difference between handmade and homemade.
- Remember that the button placement markings on the front band piece are just a suggestion. I rarely follow these. I try on my garment and start by placing a button at my bustline to avoid gaping. I actually used 8 buttons on my shirt instead of 6. This is the advantage of sewing our own clothes. I have NEVER been able to buy a classic button-down shirt that I can button or wear comfortably.
Thanks for visiting my blog! To see all my latest makes, consider following me over on Instagram @sewmarymac
Mary Anne 🙂
The Aria Course
Tami has outdone herself. I got access to the course this past weekend and let me tell you~ it is amazing. This on demand course is a complete step-by-step video course that shows you every single step at your own pace. You can view or purchase the Aria Course Here.
The course is divided into 7 lessons:
- Fabrics and Notions
- Taking Measurements and Choosing Your Size
- Using the Pattern Files
- Common Pattern Adjustments
- Cutting the Pattern Out
- Preparing Your Pattern Pieces
- Sewing~ 12 topics
You can purchase the Aria Button Down pattern HERE.
You can purchase the Aria Button Down Course HERE.
These are an affiliate links. It costs you nothing to purchase from these links, it just helps fund my fabric addiction which allows me to test and review more patterns.
To receive an additional 10% off the pattern price, use this coupon code LOVEMARY10LN. This coupon code can be used at anytime on any pattern….even a $6 Feature Friday pattern. My code does change quarterly, so please always check the newest blog post for an update if you find a code isn’t working.
Since I am currently a Love Notions Patterns Ambassador, I was given this pattern. As always all opinions are my own.
Fabric Resources
My pink and striped linens were both purchased in the garment district in NYC on a recent trip to Broadway.
Metro Textiles is one of my favorite shops. You can purchase from Kashi online~ make sure to use a coupon code. He almost always has one available, check the website or Instagram. This is my “raspberry rose” pink linen. It is available in many colors.
https://metrotextilesnyc.com/shop/ols/products/raspberry-rose-linen
The striped linen in from GrayLines Linen. They have an online shop, but currently none of the stripes are available online. They do have a huge selection of solid colors.
I have a few online shops that I follow. When I see a good linen or rayon/linen blend I usually grab it for my stash. These are a few of the other shops I like for linens.


Oh, I love this!! And each piece looks awesome!
LikeLike
Thank you! I am really loving my Arias! I’m on a getaway right now and have 3 with me! Wearing the bright pink dress tonight!!!
LikeLiked by 1 person
Awesome!
I am getting back into sketching and sewing, among other things. Really considering and revamping my wardrobe into my own makes.
And ran across your post, and loved it.
Have a very lovely time, tonight!! I’m sure you will look very pretty!
LikeLike
Thank you! Since retiring I have revamped my casual wardrobe into all memades!
LikeLiked by 1 person
What better way to spend time, and escaping the realities of life…? A wonderful way to relax and sew.
LikeLike
It truly is!!
LikeLiked by 1 person
Pingback: The 5 Love Notions Patterns I’m Sewing This Fall |
Pingback: Sewing For My Post-Holiday “Fluffiness” |
Pingback: Create a Coastal Preppy Wardrobe with Me and Love Notions Patterns |
Pingback: Focus On Fabrics: Linen |
Pingback: Sew a Coastal Preppy Wardrobe for Fall with Sew Mary Mac |
Pingback: Warm Up With Love Notions |
Pingback: Sew A Vacation Wardrobe With Love Notions & Mary Mac |
Pingback: Sewing A Classic Fall Wardrobe With Love Notions Patterns |
Pingback: Get Creative With The Aria For Spring & Summer |