
As a Love Notions Ambassador, I was lucky to be able to test the new Lincoln top pattern! If you’re looking for something quick, a little different and the perfect sew to get you out of the mid-March slump–this is the pattern for you! Believe it or not, It’s a fast and fun sew!
Make sure to grab the pattern today (2/09/24) for just $5! Use my code, 10MARYMAC for an additional 10% off at any time.


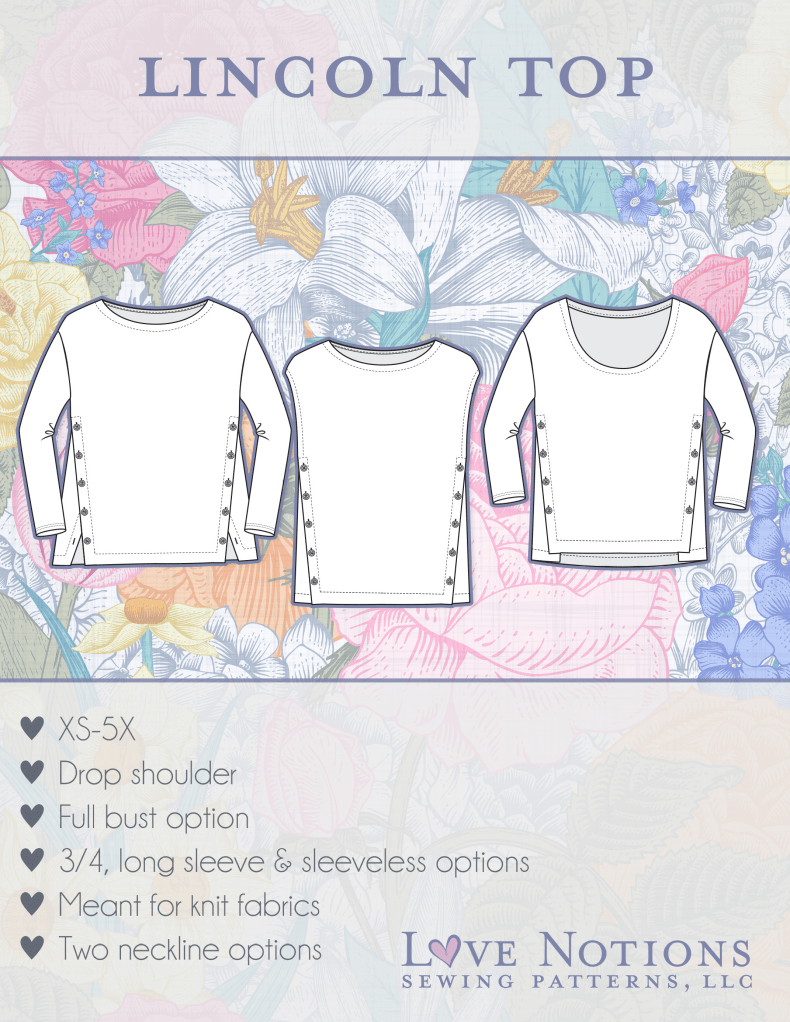
Details
The Lincoln Top is a boxy fit drop shoulder top with the cutest side button plackets! It is the perfect transitional piece we all need this time of year! There are two neckline options- a boatneck or scoop neck- both are finished with a binding. Three sleeve options include 3/4 sleeves, long sleeves and sleeveless. The Lincoln is designed to hit at the high hip- there is also an option for a cropped front piece.
This top is so versatile! Depending on your fabric selection it can be dressy, casual or sporty! It looks so cute with high waisted pants. The button plackets can be fully functional — or not! You can wear them fully buttoned or leave one or more buttons open. The choice is yours! Picking out buttons was my favorite part of making this top! You can go with buttons that blend in, or go with something that makes a statement. Some of the testers used snaps on their versions, be sure to check them all out.
The sleeveless view makes the cutest vest or can even be worn as an exercise topper!
Fabrics
The Lincoln Top is designed for light to medium weight fabrics with at least 25%, 4 way stretch. Fabrics such as French Terry, Ponte, cotton lycra, jersey blends and double brushed poly would all work well.
Remember that your fabric choice can make a big difference in how any garment will fit and drape. More stable knits will create a top that is dressier, while soft drape knits will look a bit more casual.


Sizing and Fit
The Lincoln is available in sizes XS through 5X. A full bust option is available. Remember this top is designed with a boxy fit. Because of the side button plackets, you CAN NOT blend sizes, therefore you will want to take several things in consideration when selecting your size.
It is recommended that you select your size according to your high hip measurement. If your full bust measurement is 4″ or more than your high bust you should use the Full Bust option.
Things can get a bit tricky if you typically blend sizes like me. I am smaller though my shoulder area and fuller through my hips. Therefore, I typically grade out one to two sizes for my hips- which I couldn’t do for this pattern. During testing I made my first version in a 2X (according to my high hip measurement). It fit nicely through the hip area, and I was able to button all 5 buttons easily without any pulling. However, I wasn’t happy with how big it was in the shoulder and high bust area. For reference, my high bust is 39″, full bust 44″ and high hip is 49″.
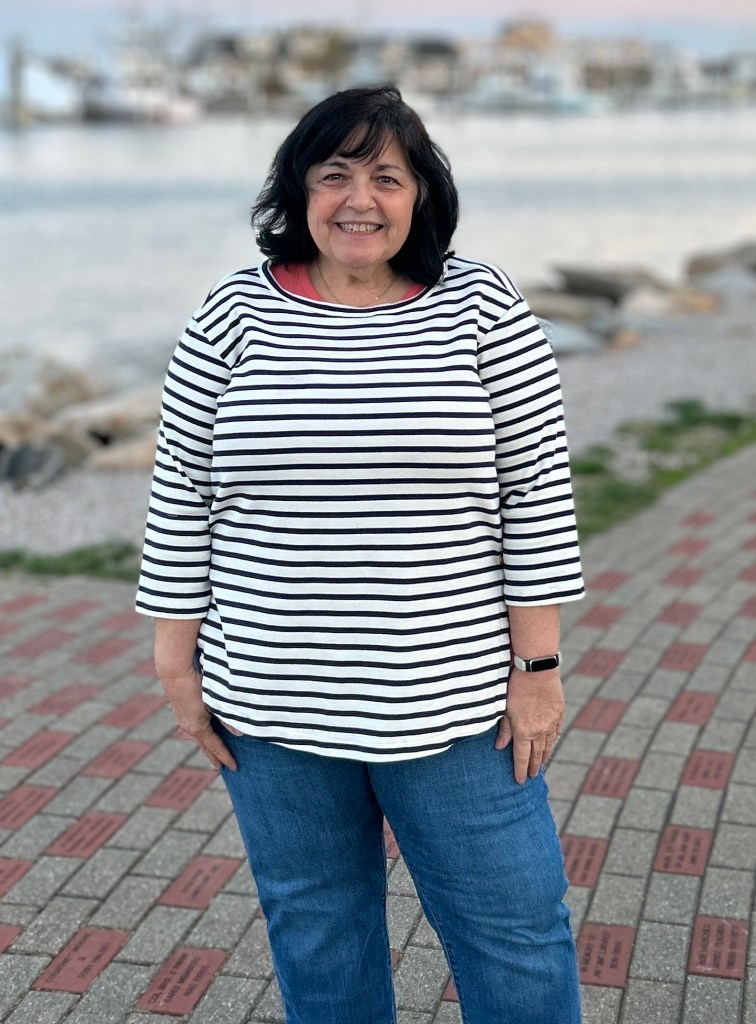
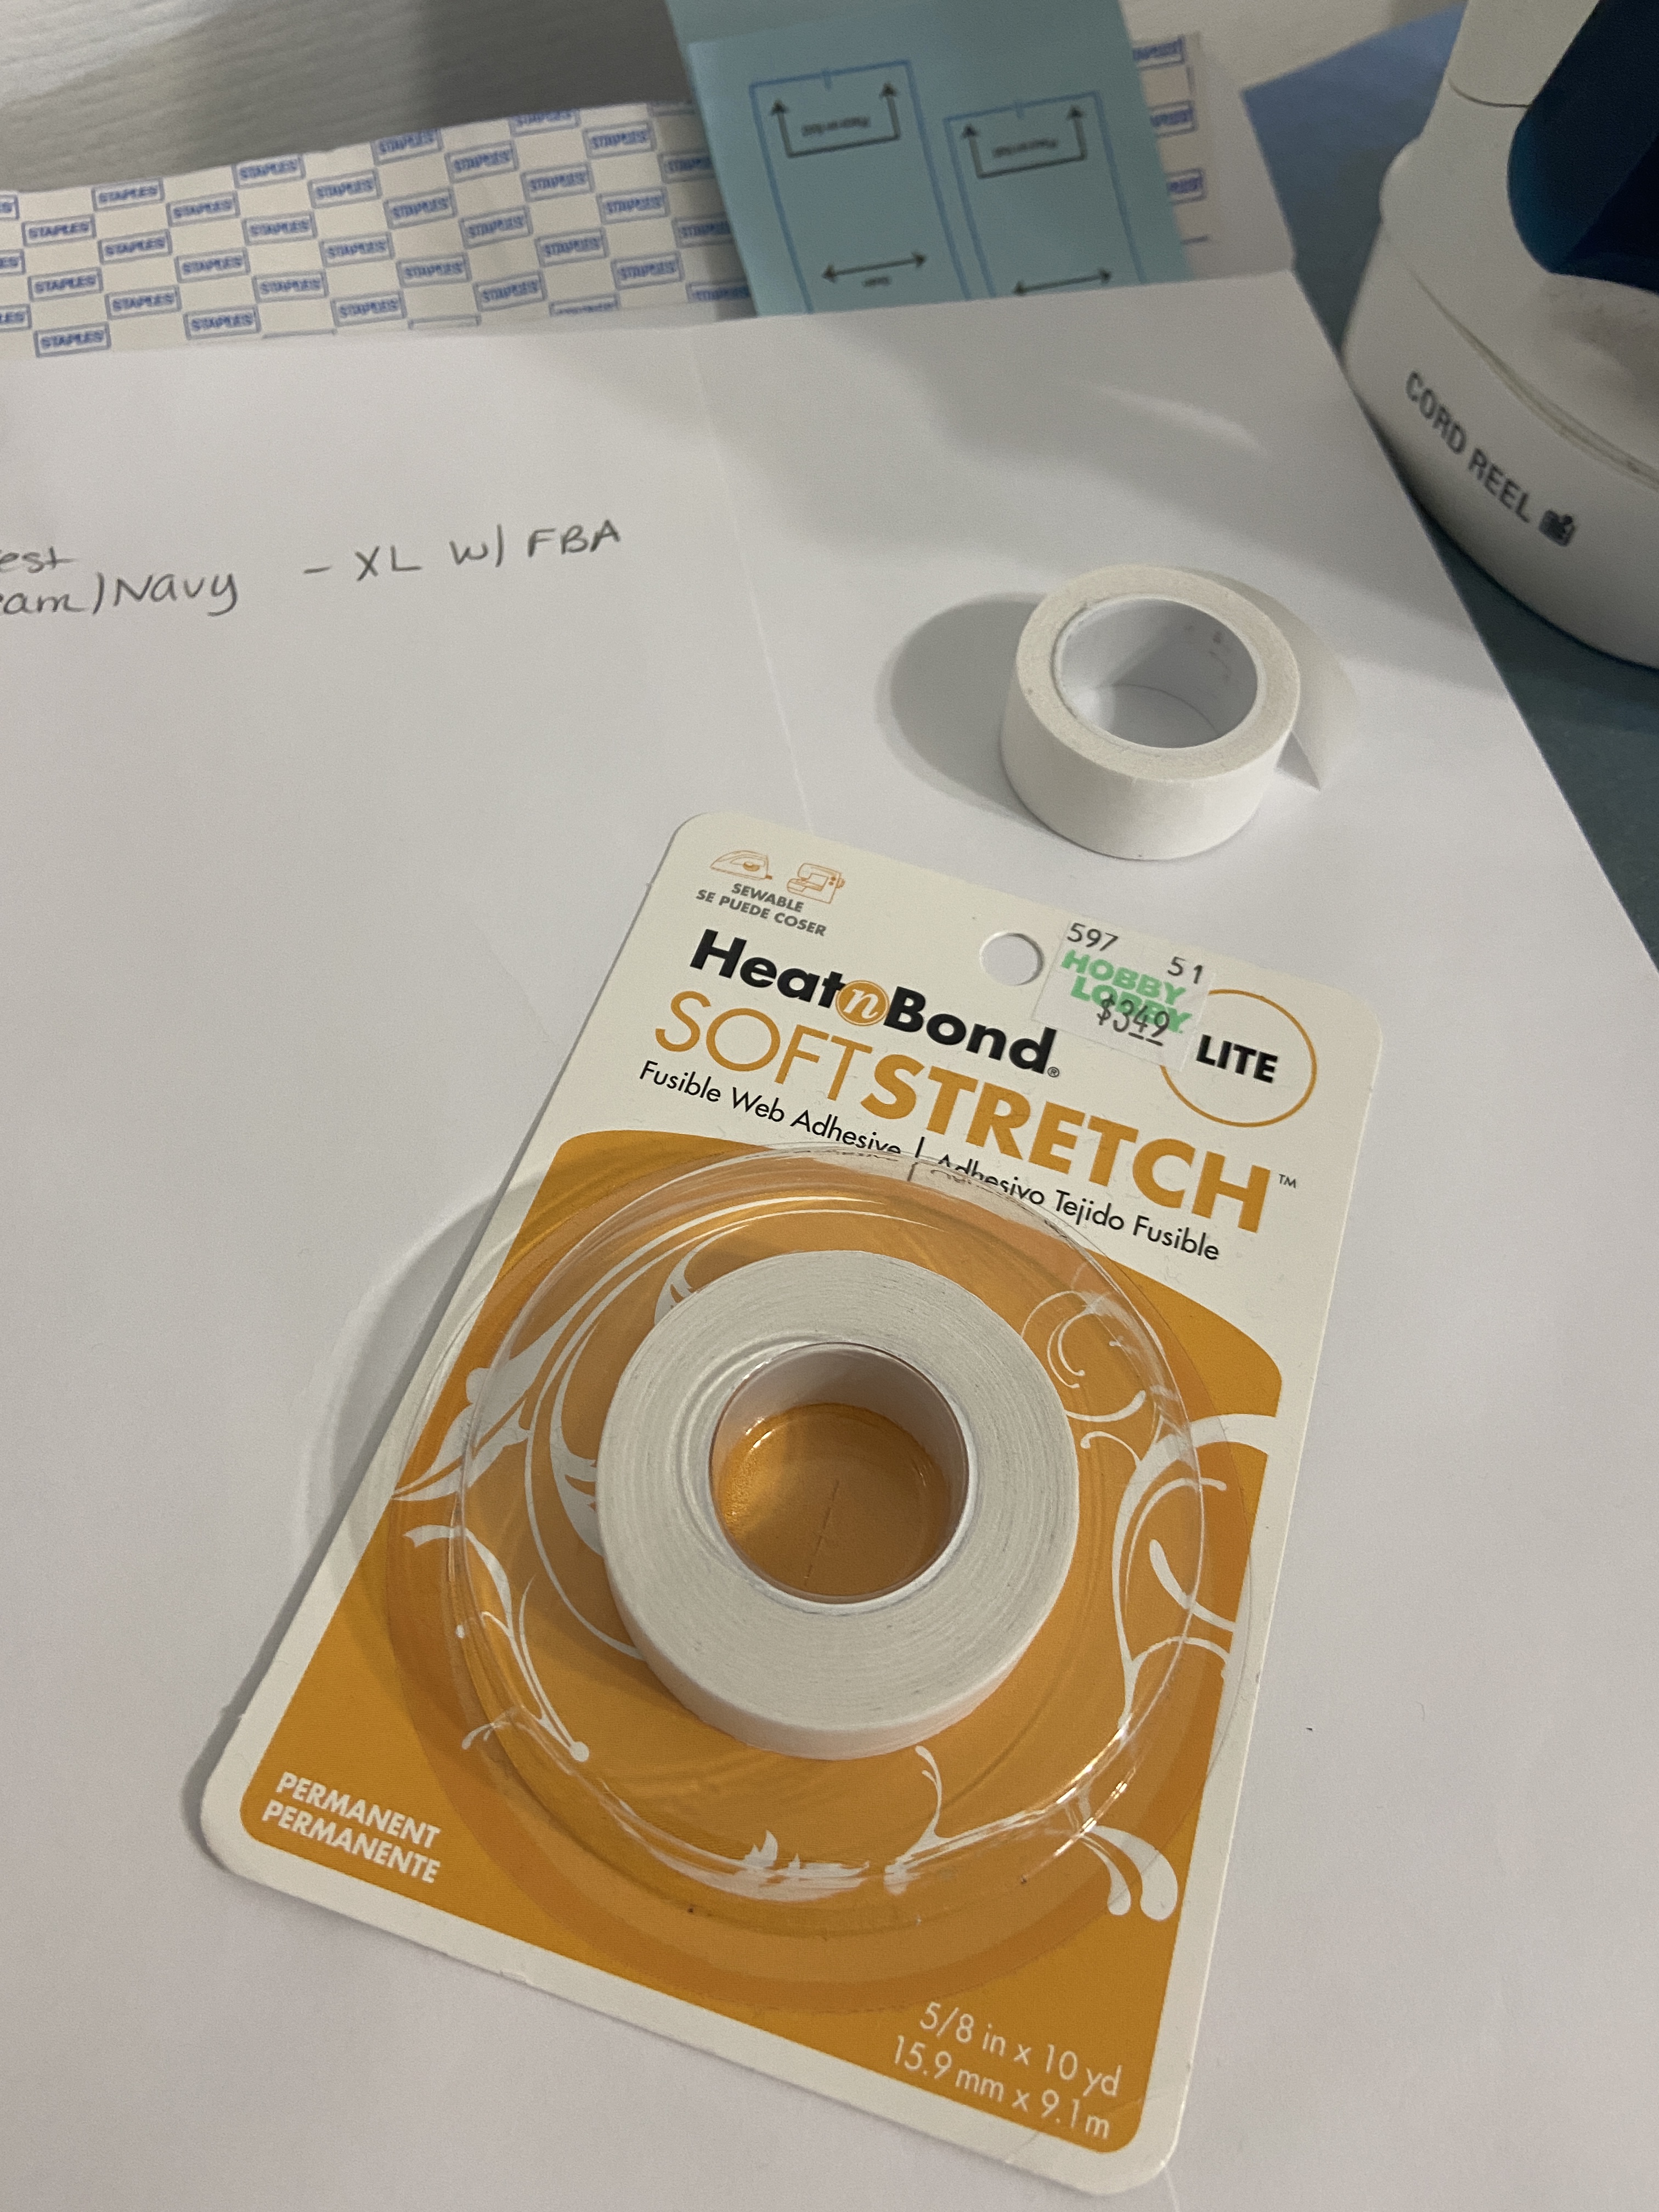
For my final tester version (the navy and cream version) I made an XL with the Full Bust option. Remember the Full Bust option adds 2″ to the finished high hip measurement. Because of this, I was able to wear the XL- even though my hips measure 49″. I do not, however button the bottom button. I loved the fit of this so much- I immediately made another version.
I would STRONGLY suggest making a muslin of this top if you typically blend sizes- smaller up top and larger on the bottom. You can simply make a quick sleeveless version to just check the fit before you cut into your good fabric.
Note: I did NOT shorten my Lincoln Top, even thought I am only 5 feet tall. I did not want this to be as short on me. Please check the finished length of the top listed on the pattern against your body!
UPDATE: I just recently made a lengthened Lincoln top. If you’d like to read more about this top visit this blog post.


Sew Mary Mac’s Construction Tips for the Lincoln Top
- If using a lighter weight knit or less stable knit, I recommend using a fusible web adhesive when when hemming and finishing the side plackets. (Step 3 on page 9). I found this kept my knit from rippling when topstitching and added support for my buttons as well. My favorite product to use for this is HeatNBond Soft Stretch Lite. You can read more details about this and how to use it on this blog post
2. Side Seams: I found it easier to sew the top side seams (Step 7 and 8) before attaching the sleeves. You would then stitch the underarm seam of each sleeve and attach then in the round to the top. This method might help you to get a smoother underarm area.
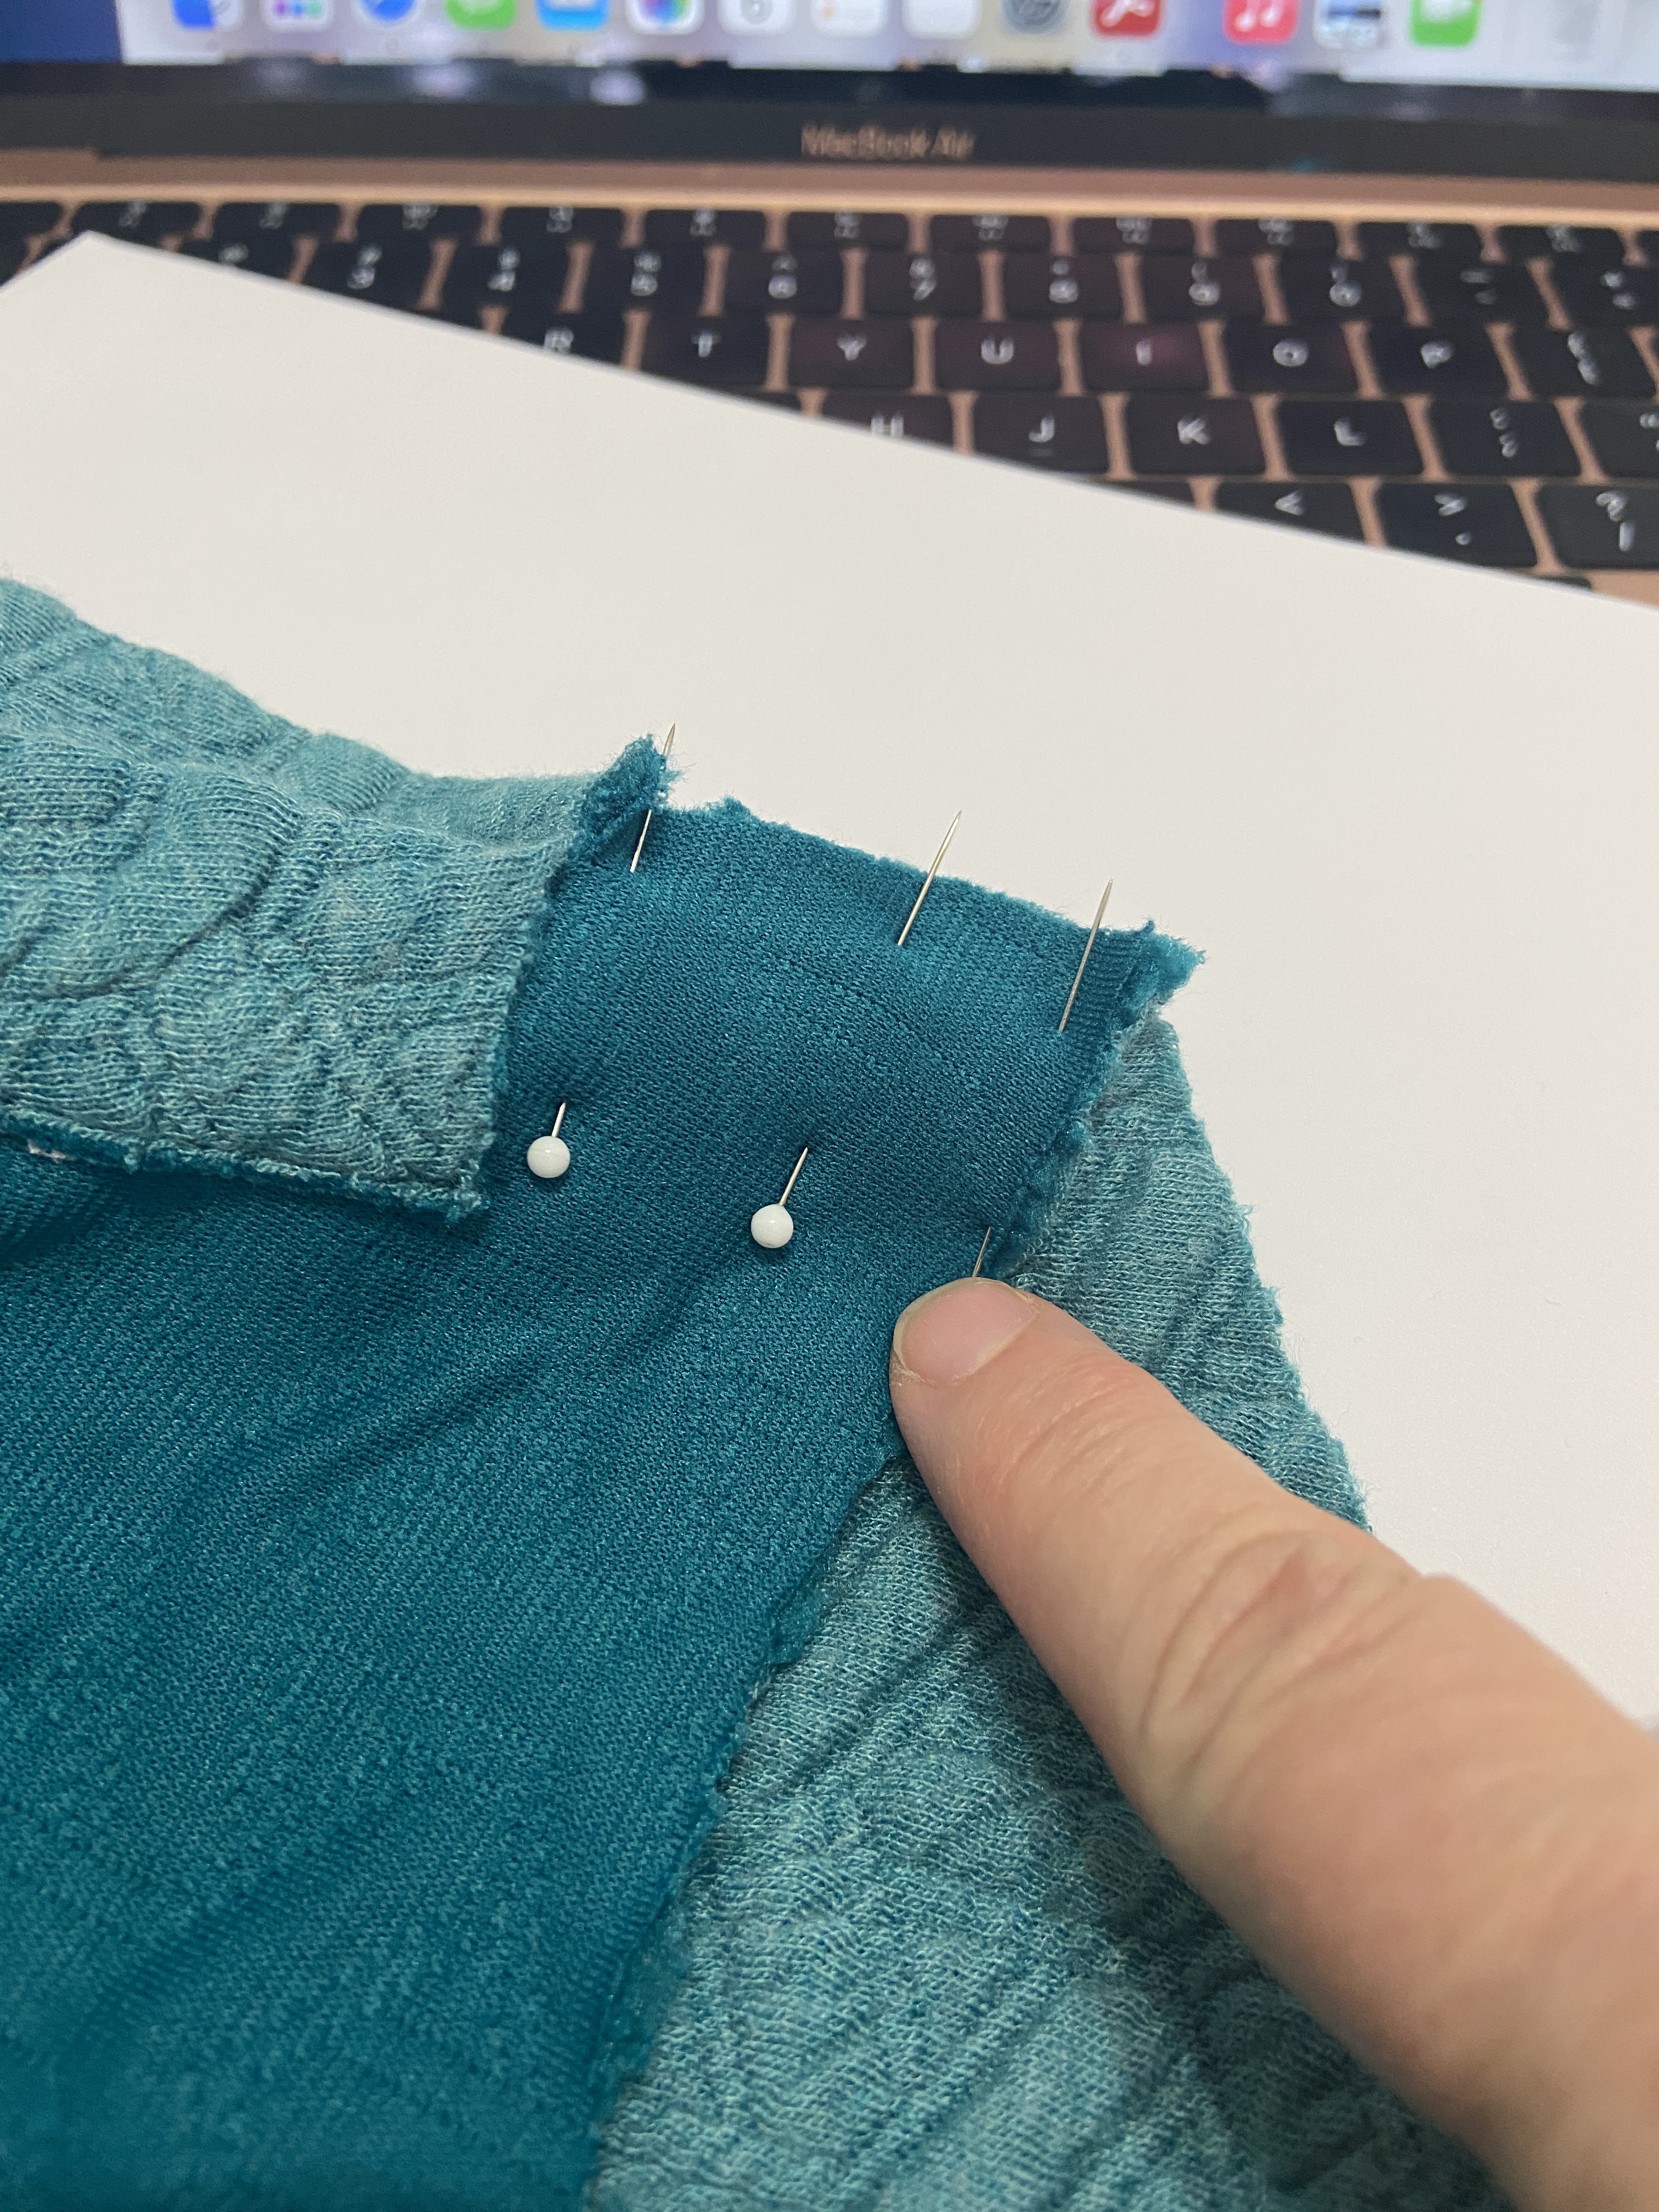
3. Neckline: if you are using a fabric that is a bit thicker(like my navy version), it might be helpful to use a thinner fabric for the neck binding. (It does not show on the outside of the top). At step 3(on page 12), I recommend using a regular stitch not an overlock. A serged seam can add extra bulk to the neckline, causing your neck binding to “stick out”. If this does happen to you, press your neckline with steam to get it to lay flat.
After topstitching the neck binding down, I trimmed the excess with my “duck billed” scissors- often called appliqué scissors for a nice clean finish. You can find these scissors at your local sewing shop or HERE online.


4. Button Placement: I adjusted the spacing on my buttons since I planned on leaving the bottom button open. I didn’t want the 4th button down to be up too high- if I didn’t adjust it I would have been showing some tummy! This is the tool I use on every buttoned garment that I make. I rarely follow a pattern’s button placement guide. I find it easier to mark the placement of one button and then work from that point. For the Lincoln, I determined where I needed the 4th button to be- and used that as my starting point.
Note: I find this tool extremely helpful for any button down shirt or dresses that I make. I always try on a garment first to determine wear the best button placement is around the bust area- so I can prevent any gaping. I then work up and down from that a first button.
Thanks for stopping by my blog! Remember to follow me over on Instagram to see all of my latest makes! @sewmarymac
Mary Anne 🙂
You can purchase the Lincoln pattern HERE. This is an affiliate link. It costs you nothing to purchase from this link, it just helps fund my fabric addiction which allows me to test and review more patterns.
All fabrics used in this blog post were purchased by me.
The Teal quilted knit was purchased from Surge Fabrics. It is available in several colors. You can find it here.
The Navy and Cream Cable knit fabrics were purchased from Joann’s Fabrics a few seasons ago. They are no longer available. 😦
To receive and additional 10% off the pattern price, use this coupon code 10MARYMAC This coupon code can be used at anytime on any pattern….even a $5 Feature Friday pattern. Codes change every quarter, so if this code is expired, visit one of my most recent blog posts for the updated code.


Pingback: Create a Coastal Preppy Wardrobe with Me and Love Notions Patterns |
Pingback: Love Notions Lincoln Top~ Making it Longer |