
*Updated with new photos June 2024/2025
Back in 2020, I did my first pattern test for Love Notions. It was the Sunday Romper. At that time, I made the dress version~ because I “knew” I would look terrible in a romper! My thoughts were: “I’m too old to wear a romper”, “I’m too short to wear a romper”, “Pear shapes can’t wear rompers” and the excuses went on.
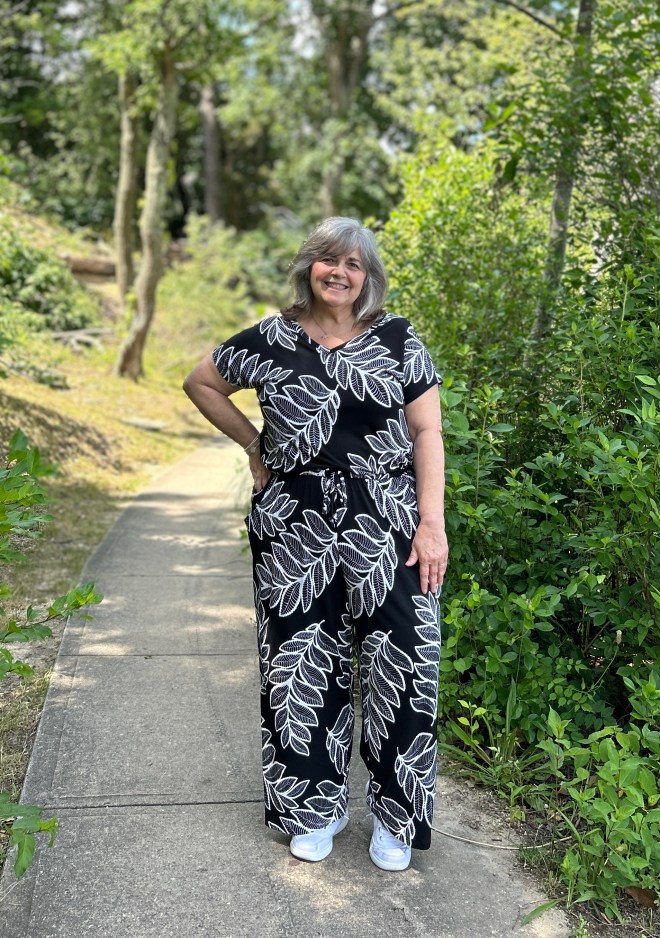
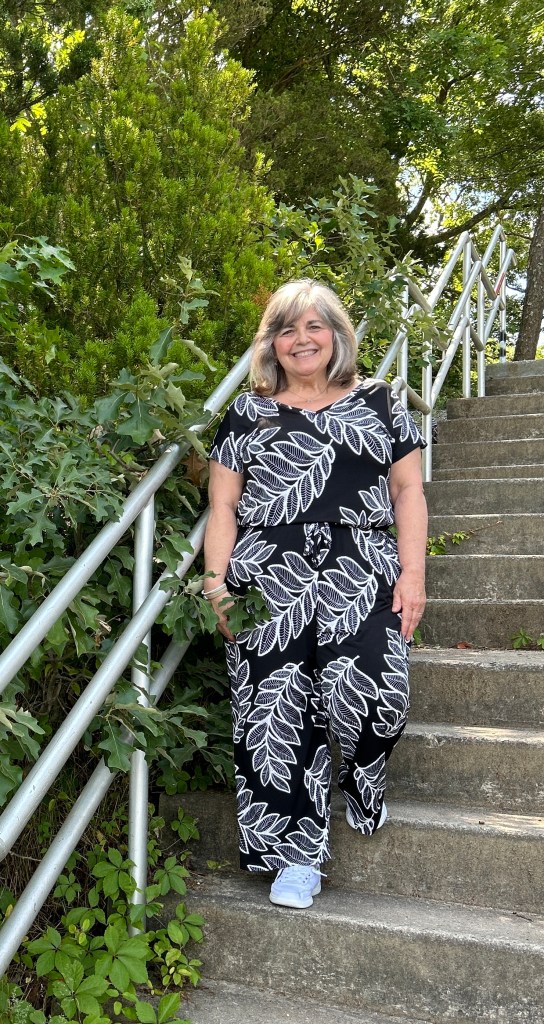
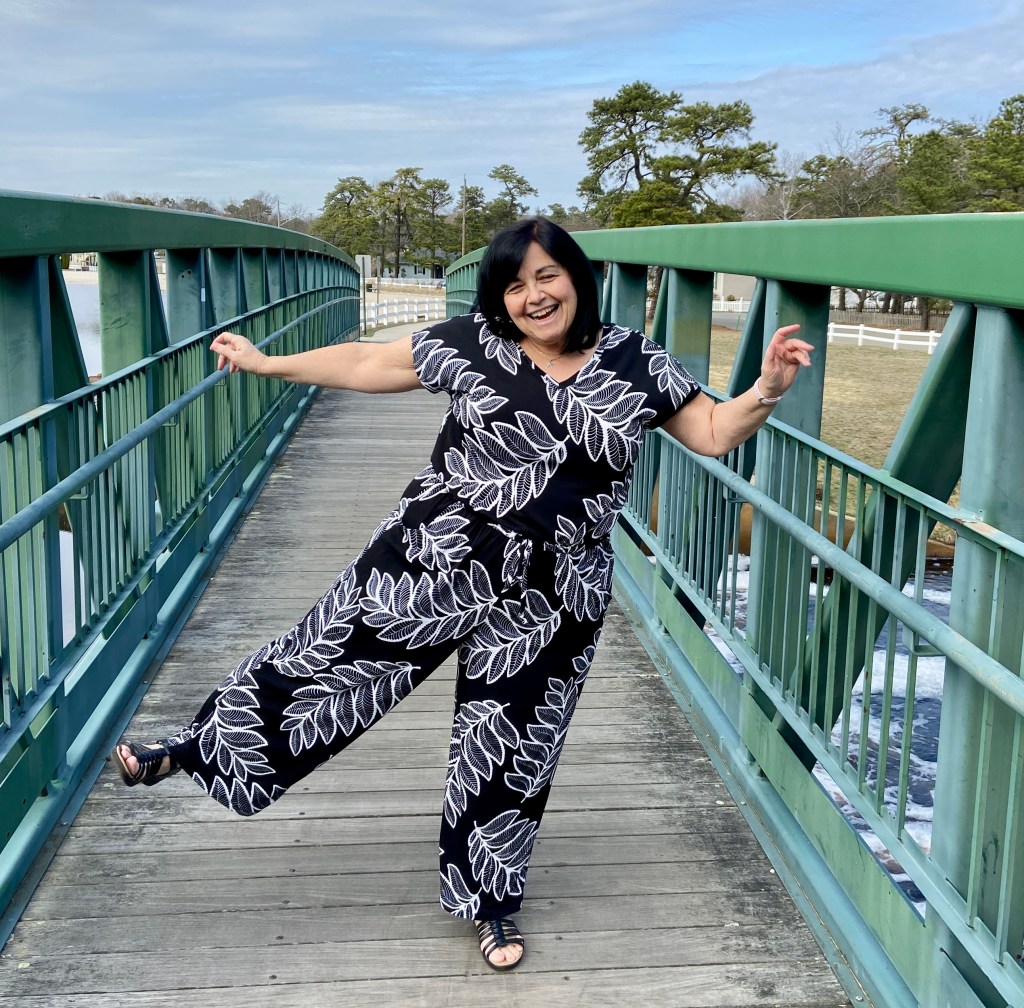
Fast forward to 2022and 2024 and well~ you guessed it~ At 60 + years old, this “petite pear” made herself a romper and she LOVES it!
Regardless of your age, size, shape or height~ we all deserve some secret pajamas! The SUNDAY ROMPER belongs in EVERYONE’s closet! Today, 8/22/25 it’s on sale for just $6! Use my code 10MARYMAC for an additional 10% off.
Details
The Sunday Romper truly is a romper everyone can wear. It has front and back V-neck openings to allow for easy on and off. It has an elastic waist to help make fitting easy and is loaded with options!
- 2 Bodice styles: tank and dolman
- 2 Skirt lengths: knee and maxi
- Shorts, cropped or full length pants
- Drawstring and/or elastic waist
- Front inseam pockets (optional)
The Sunday Romper is a perfect sew for the confident beginner. The tutorial for this pattern (and all LN patterns) is fantastic!

Sizing & Alterations
The Sunday Romper is available in sizes 0-32 with a Full Bust option included. The bodice and bottoms can be made in different sizes to provide a perfect “custom” fit. Isn’t that one of the many plusses of sewing for ourselves?!?! The tutorial provides step by step instructions for getting the right size for you.
Choose the size for the bottom based on your full hip measurement. Choose the size for the bodice based on your high bust measurements. If your measurements put you in different sizes for top and bottom, blend out(or in) the bottom of the bodice to your hip size. If in-between sizes, choose the smaller size.
My high bust puts me in the size 16 (please remember that your sewing size is NOT the same as your RTW size). Since my full bust is 45″, I used the Full Bust option. My full hip puts me in a size 22. When I traced my pattern pieces (yes, I am “team trace”), I graded my bodice out so that it was at a 22 at the bottom. This is necessary so that the waistlines are even and can be sewn together.
I am only 5 feet tall. I did make some adjustments for my height, or lack of it. I did not shorten the bodice at all~ I wanted it to blouse over at the waist. I decided this based on versions I had seen in the Facebook group. I did adjust the length of the legs by about 3 inches.
Probably the most important length adjustment to make when sewing a romper is the crotch length. Please, please, please read this section of the tutorial and measure your crotch length!
My crotch length measures 31″. The size 22 has a crotch length measurement of 33″. It is recommended to have 1″ of ease in the crotch length~ you need to be able to sit down comfortably. This meant I wanted to have a crotch length of 32″. When shortening the crotch length by 1″, that means you must take 1/2″ off the pants front crotch length and 1/2″ off the pants back crotch length. This was a good start for me. I do however think I may take off a tad more the next time I make this romper(yes, there will another one!).
If you are really nervous and unsure of your crotch measurement and alternation, even with taking measurements I suggest making a muslin( from knit) without the pockets. Make your adjustments according to the tutorial~ when sewing the bodice to the pants just baste them together. Tie elastic around your waist where you will be wearing this and check the crotch length. If it is still too long, you can unbaste and simply trim off a small amount off the top of the pants. If the length is good, simply stitch together again with a stretch or zigzag stitch.
Side Note: While typing “crotch” over and over, it reminded me of when I taught middle school. I used to have the 7th grade students make pajama pants. We only had 6 weeks and it was a required class for all boys and girls. If you know anything about 7th graders, you know that they would giggle anytime I would say “crotch”. So, I would say it just once~ and instructed them that from now on it would always be called the “Monkey seam”.

Fabrics
The Sunday Romper is designed for light to medium weight knits such as jersey, modal, cupro and rayon blends. Cotton lycra would work well in the shorter dress version and the shorts, but might not have enough drape for the longer length versions. I always find it helpful to search the Love Notions Facebook group and Instagram for images of a pattern I am working with for the first time. This allows you to see how different fabrics will look in that garment. It is also possible to make just the top of the romper in a knit and use a woven for the bottoms(skirt or pants).
Fabric choice is important!! You must make sure to use fabric that has a good amount of stretch, or you might not be able to pull the romper on. A knit with good recovery is just as important.
What is recovery? Recovery is the ability of a knit to go back to its original size and shape after being stretched. Most fibers don’t have good recovery on their own- this is why spandex is often added to knits to help with that important recovery.
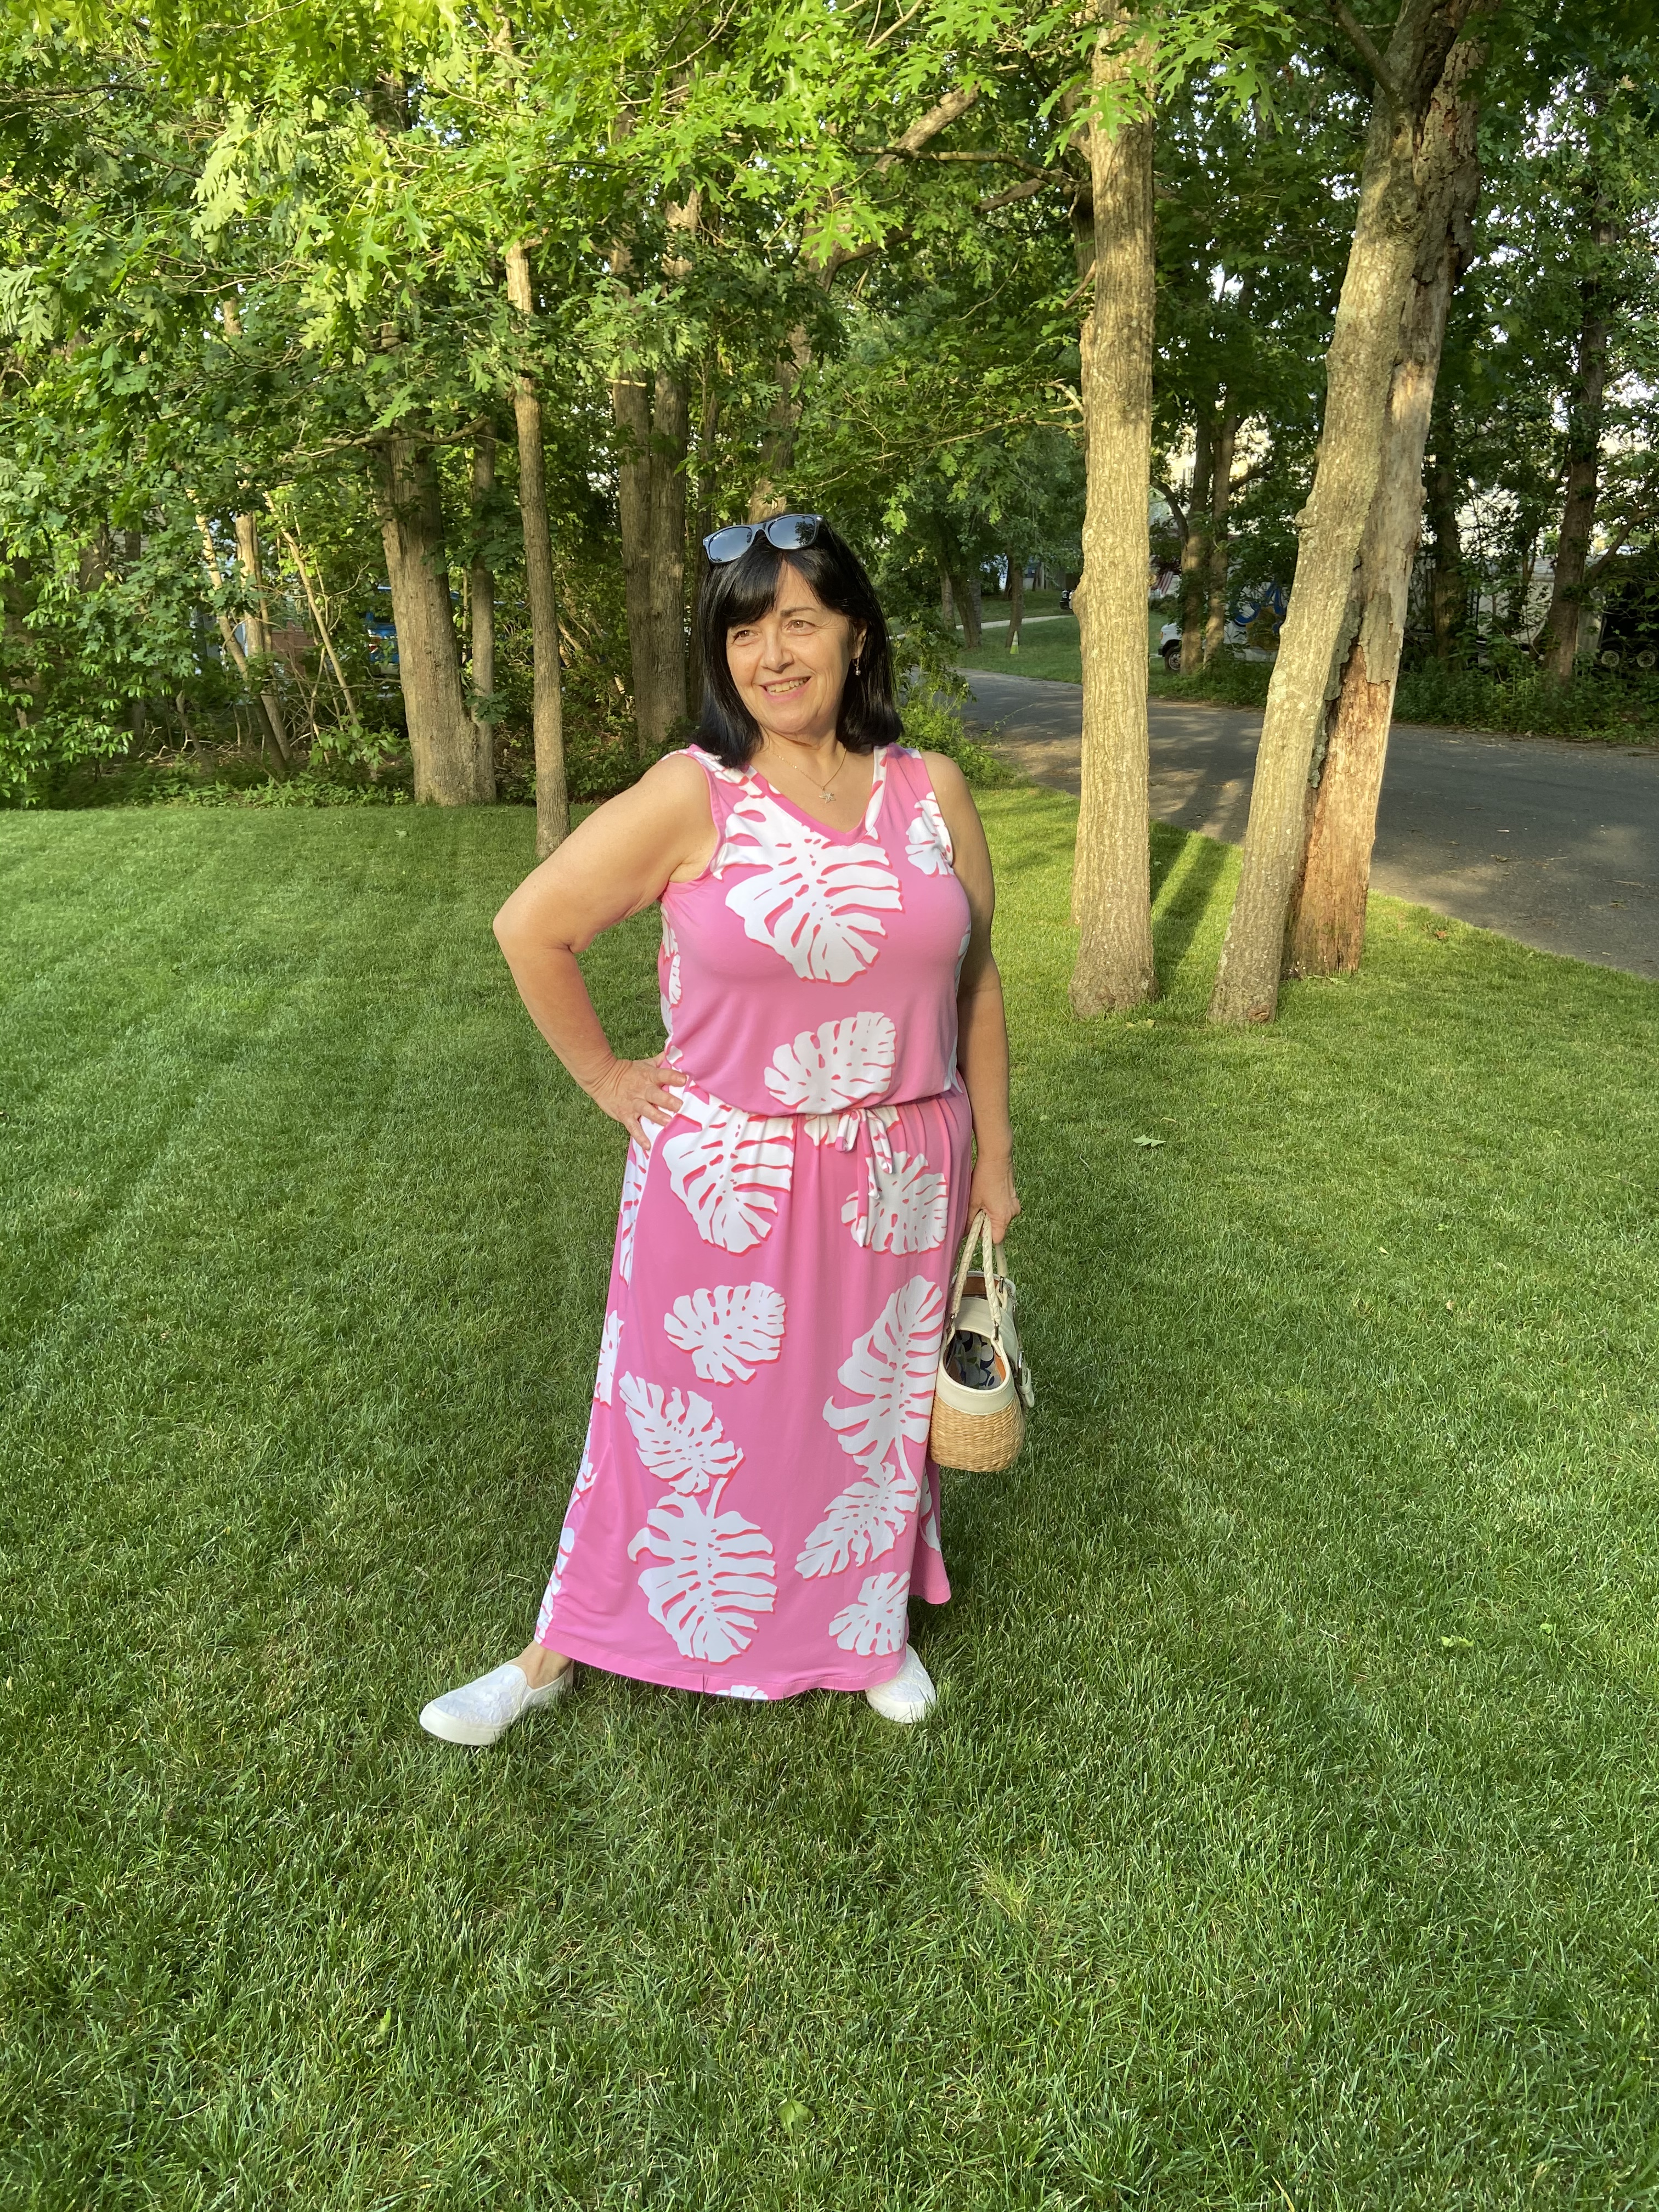
Both my romper and dress version are made from ITY knit. Both have 50% stretch. If you want more detailed information about different types of knits~ you could read through my blog post on the Laundry Day Tee Dress. You can read that HERE.
When pulling this romper on and off, your hips are going through the v-neckline. The neckline will stretch to go over your hips and the recovery of the fabric allows it to go back into shape. Without good recovery as the day goes on your neckline may stretch out of shape until the garment is washed. (Especially if you drink a lot of water!)
This is especially important for us “pear” shaped sewists since we’re pulling larger sized hips through a smaller size neckline. If you want to make certain that your neckline doesn’t stretch out during the day- visit the video that Kim Koluch, a Love Notions Ambassador, has on her You.tube channel. It shows you how to attach clear elastic to the neckline to prevent it from stretching out. Visit her channel HERE.


Sew Mary Mac’s Construction Tips For Your Sunday Romper
- Step 1 (Page 7) I like to do my stay stitching at this point. I think sooner rather than later is the best when trying to prevent your V-neck from stretching out during handling and construction.
- Also after Step 1 (Page 7) I hemmed my sleeves (as per page11, step 4) after stitching the bodice front and back together. I find it easier to work with just the bodice itself-rather than waiting until the end and having to work with the whole garment. (This is just a personal preference and is something I do on many patterns.)
- Step 3 (Page 7) I also topstitched the pocket edge. My ITY knit was still not laying nicely and the pocket bag lining was turning out. On cotton, rayon and modal blends- this most likely would NOT be an issue and under stitching alone would suffice.
- After inserting the elastic and stitching it together, I like to “stitch in the ditch” at the side seams to prevent the elastic from twisting. Make sure your fabric gathers around the waist are spaced evenly. This will ONLY work if you and NOT inserting a drawstring. If inserting a drawstring and elastic, I would do this stitch at the center back. This would also keep your drawstring from being pulled out.
Thanks for stopping by! I truly appreciate all of you that visit! If you enjoyed this blog post, consider subscribing to my blog to stay up to date with all my posts!
Mary Anne 🙂
Remember to follow me over on Instagram to see all my latest makes! @sewmarymac
You can also follow my Facebook Page~ Sew Mary Mac. On this page you will find information on my makes from all pattern companies. If I know of any good sales(pattern or fabric) I will also feature this information. I have had many of my loyal followers send me friend requests on Facebook. I do post in the Love Notions group under Mary Anne MacLean, however this Facebook account is private. There is no sewing content on that Facebook Account.
You can purchase the Sunday Romper HERE.
The Girls Sunday Romper can be purchased HERE.
These are affiliate links. It costs you nothing to purchase from these links, it just helps fund my fabric addiction which allows me to test and review more patterns.
To receive an additional 10% off the pattern price, use this coupon code 10MARYMAC This coupon code can be used at anytime on any pattern….even a $6 Feature Friday pattern. My code does change quarterly, so please always check the newest blog post for an update if you find a code isn’t working.
I am currently a Love Notions Patterns Ambassador. I was given this pattern in return for testing it. As always all opinions are my own.
Fabric Resources
I used ITY knit for both of my Sunday Rompers. The pink tropical was purchased from Fabric Mart back in 2020. The black leaf ITY was purchased from an independent store that I visit a few times a year. Affordable Fabrics (Now called Americana Fabrics) is a great shop with 2 locations in Connecticut. They are both loaded with fabrics~ many designer deadstocks. All fabrics in the store are $3.99 a yard. Every time we go to visit my husband’s family or travel to New England I always stop in to replenish my stash. (Who am I kidding, my stash will never run out!). I love picking up fabric there to kept on hand for wearable muslins and pretesting. The Uncasville location is just a few minutes off I-95. It’s a great place to stop if traveling by- there is a Cumberland Farms just across the street that my husband goes to to get himself a coffee while I shop. EDIT: Uncaseville location has moved to Waterford, CT. It’s even bigger and better! Still just off Route 95 and easy to get to!
If you want to find some ITY knit, I feel these 3 online shops offer the best selection.
Zelouf Fabrics This is my FAVORITE shop for ITY knit. I discovered them last year, and have made a few Laundry Day Tee dress with their ITY.


Beautiful rompers!
LikeLike
Thank you!!!
LikeLike