
…A Pattern Hack Blog Post


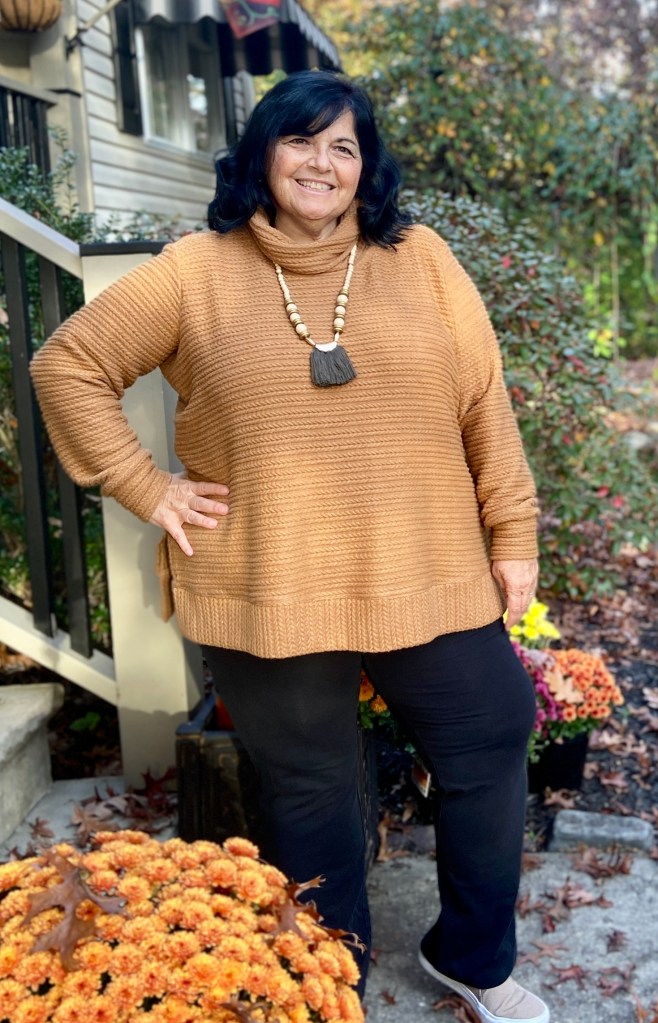
Every Autumn I am always excited to add a few new Love Notions Sloanes to my wardrobe. I’ll be honest, I already have about 50!!! Yes, I have been called the “Sloane Queen”. Since the Sloane Sweater is the Feature Friday $5 pattern this week, there is no better time to grab this versatile pattern! ($5 sale is over, but you can always purchase it with 10% off using my code listed at the end of this post.)
Last Fall I hacked the Sloane to have a funnel neck and I found I wore that version all winter! Then Spring came and I hacked the Sloane again to have a split hem. So naturally I decided to combine both of these hacks into one awesome sweater! I know this is going to get worn a lot this Winter!
If I’m being honest here, I typically don’t find apparel fabric that I love at Joann Fabrics. But, a few weeks ago I spotted this ribbed sweater knit that I really liked! Then it went on sale 40% off and I had an additional 20% off coupon~ so it came home with me!
This blog post is going to be short and simple with directions on completing the funnel neck and split hem hacks, If you want more details about the Sloane such as sizing and alterations that I make to fit me, visit this blog post HERE. This post also includes a ton of information on the different options , fabric types to use and ways to color block this pattern. It’s worth a visit~ there is a ton of detailed information there.
1. Getting Started
- To make this hacked version of the Sloane you will be using View B, the banded version.
- Cut your front, back, sleeve and cuff pieces exactly like the pattern
- Follow the directions below to cut your funnel and band pieces.

2. Creating the Funnel Neck
Creating this funnel neck was simple to do and you can adjust it to your liking. This might not work for heavier fabrics such as Cotton Spandex French Terry, but worked nicely with the sweater knit I used. It would also work well with waffle knits or any knit that has some drape. After I made the funnel neck the first time, I made a pattern piece that I keep with my Sloane pattern so I always have it ready to use!
To make this Funnel for a size Large I did the following:
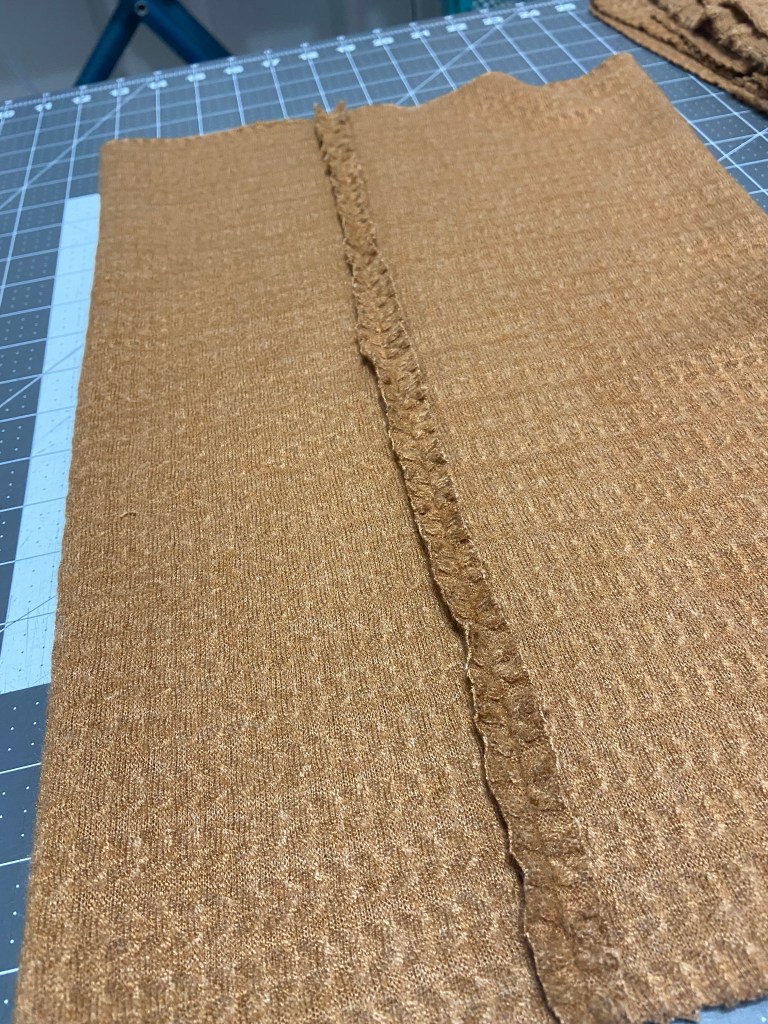
- Cut a rectangle 23″ X 17″
- The 23″ is the width, cut with the stretch of the fabric. This might need to be cut larger or smaller depending on the size you are making. The Large neckline measures 26″- therefore the funnel is about 89% of my neckline.
- The height is 17″. You can adjust this to your personal preference. I suggest cutting it this height, sewing it together and slipping it on. If you don’t want it this high you can cut in down.
- Fold the collar in half right sides together and sew the seam. Remember the greatest amount of stretch should be going around.
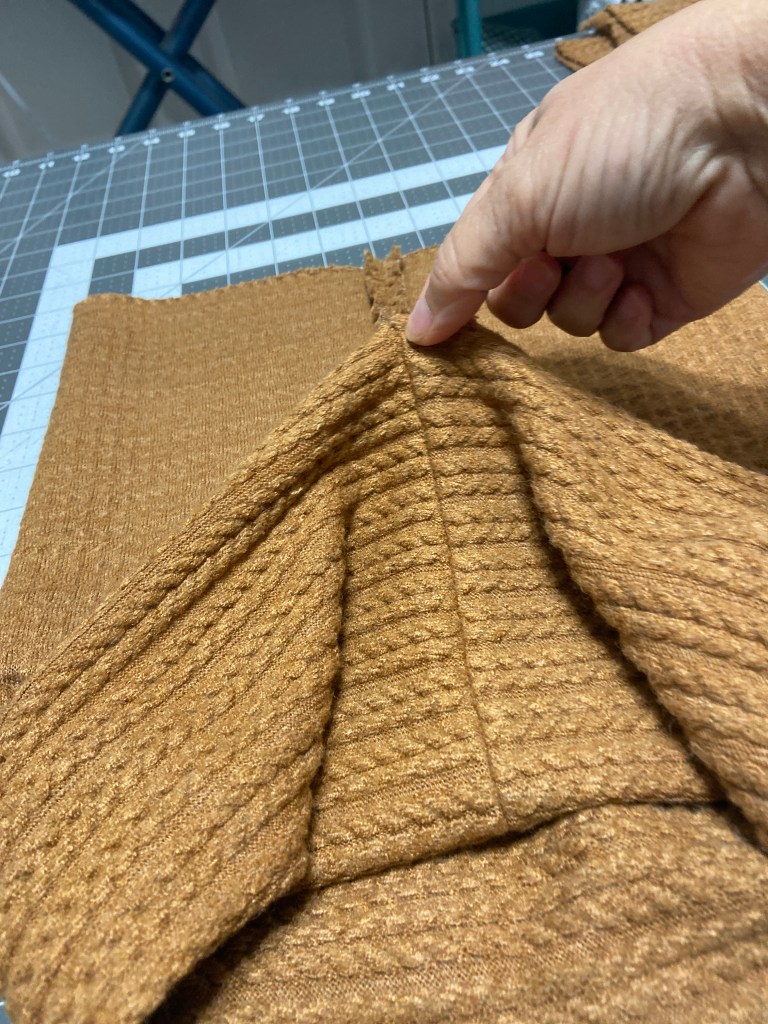
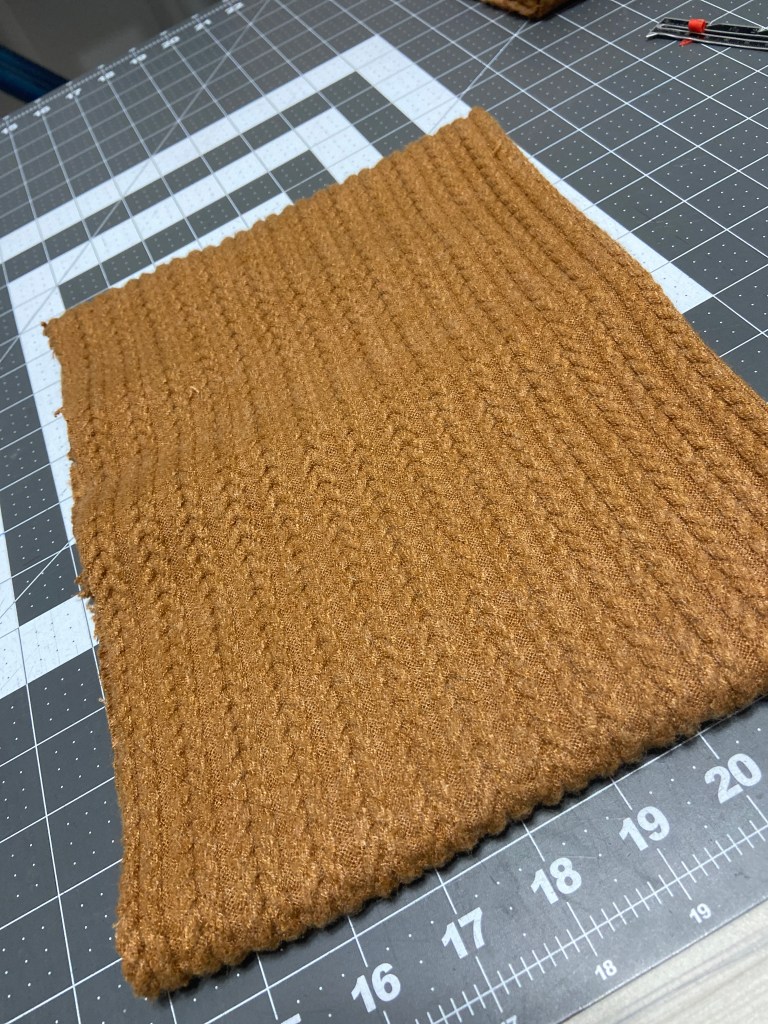
- Press seam open and fold collar over onto itself so wrong sides are together.
- This is constructed just like you would sew a cuff.
- Mark your quarter points on the neckline and the collar. (At this point you should have already attached your front and back at the shoulders as directed in the tutorial.)
- Place the seam of the collar at the center back of the neckline.
- Pin collar to neckline matching the quarter points.
- Sew stitching gently to fit.
- I suggest basting with your regular machine first, then serging. It is always easier to take out machine sewing rather than a serged seam.
- Press the seam towards the body. Press well to remove any waviness.
Note: I always attach my neckbands, hoods or in this case funnel neck to my Sloane before I sew up the side seams. I find it easier to manipulate when sewing. This is a personal preference.
3. Creating the Split Hem
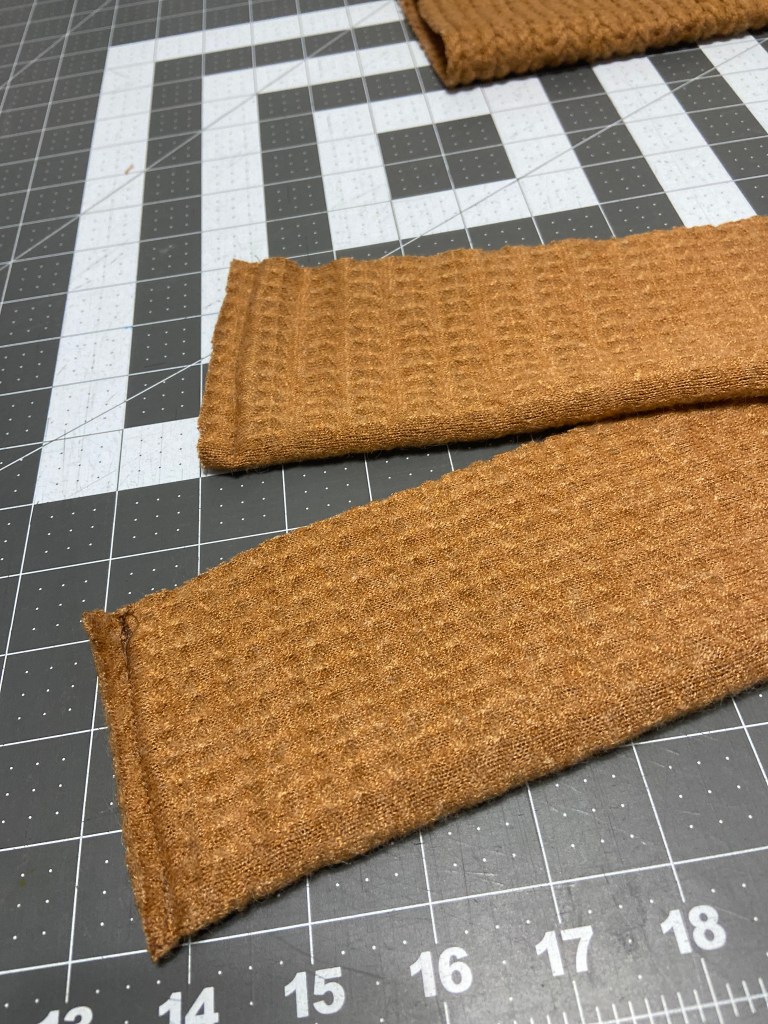

Cutting the Bands and Construction
- When cutting the band pieces, lengthen them so they are the same width as the bottom of the front and back. (This can be adjusted to your personal preference)
- Sew bands RST with a 3/8″ seam. Turn and press. Set aside. (If you would like, you can baste the long raw edges of the bands together making them easier to attach later.)
- Attach the sleeves to the armscye (same as the pattern tutorial). Do NOT sew underarm and side seams yet.
- Finish all side seams of sleeve and top BEFORE sewing them together. You can skip this step if you wish. But if your knit ravels you would want to make sure you do this. I always do this, as I like the insides of what I make to be nice and neat.
- Decide how far up you would like your side hem slit to be. I slipped mine on and placed a pin where I wanted mine to be open to. For me this was 4″ up from the bottom edge.
- Mark 4″ (or what you prefer) up from the bottom of both the front and back.
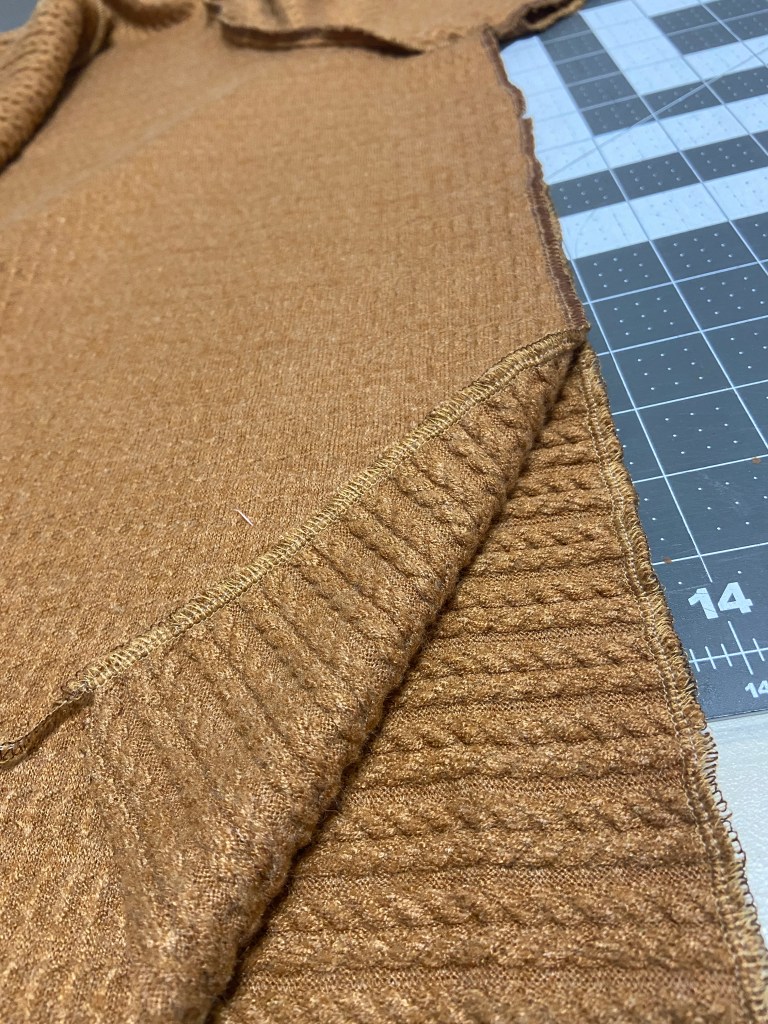
- Align front and back with RST. Match the underarm seam and your pin markings from above.
- Sew with a 3/8″ seam with a conventional machine, beginning at the sleeve edge down to the pin marking.
- Press slits open and topstitch the edges in place.


Attaching the Bands
- Mark center points of the front, back and band pieces.
- Pin the front band to the front piece RST, matching the center points. Be sure the ends of the bands line up with the side slits.
- Repeat for the back and back band.
- Stitch band to top/back with a 3/8″ seam. I recommend basting this step first, so you can check the sizing of the band.
- I suggest using a conventional sewing machine for this step, as it is very easy to stretch out the bottom bands.
- After attaching the bands, serge the seam and press seam allowance up towards the top.
- Topstitch through the top and band, making sure the seam allowance stays up.
I’m really happy with how this Sloane turned out and I’m excited to make another one! I have decided I will make a few changes to my next version. Remember that is the beauty of sewing~ we can make changes so our clothes fit us exactly the way we want them to!!!
- Instead of cutting my bands the same width as my front and back pieces, I will make them about 1″-2″ shorter. By doing this I will have to stretch the bands slightly when attaching them. This will pull the sweater in just a bit at the bottom, so it doesn’t flair out so much.
- I will adjust the height of my side slit. I have a very full high hip(it measures more than my hip), because of this the 4″ mark hits me right at the fullest part of my hip. I think I will lower my slit to about 3″ up from the bottom.
My next version will be gray sweater knit with a wide vertical rib. Be sure to keep an eye out for it! I’ll post it to both the Love Notions Facebook Group and Instagram. If I’m really organized, I’ll come back here and add it to this post!
Thanks for stopping by! I truly appreciate all of you that visit! If you enjoyed this blog post, consider subscribing to my blog to stay up to date with all my posts!
Mary Anne 🙂
Remember to follow me over on Instagram to see all my latest makes! @sewmarymac
Purchase the Sloane Sweater pattern HERE.
This is an affiliate link. It costs you nothing to purchase from this link, it just helps fund me to build my fabric stash which allows me to test and review more patterns.
To receive an additional 10% off the pattern price, use this coupon code LOVEMARY10. This coupon code can be used at anytime on any pattern….even a $5 Feature Friday pattern.
For more detailed information on the Sloane Sweater be sure to visit this blog post. Believe me, there is a ton of info there!
As I stated this fabric was purchased from Joann Fabrics. As of the day I published this blog post(11/18/22) this fabric was still in stock. It is from the Fall Ember Collection~ Brown Sweater Rib Knit Fabric. Click on link below to see fabric.


Thank you very much for this lovely hack! I’m on the LN Facebook group and just had to see how you did this. Would you tell me if this fabric you used would be considered a “light” knit, and do you think with the pulled-in band and slit it might work with a “medium” knit? I have just had a very frustrating experience with light knit and need to have a winning sew next 🙂
LikeLike
Is it possible to make a true funnel neck by extending the body of the garment without attaching any sort of neck piece separately?
LikeLike
Pingback: Sewing For My Post-Holiday “Fluffiness” |
Pingback: Love Notions Ends The Year With An Encore!! |