
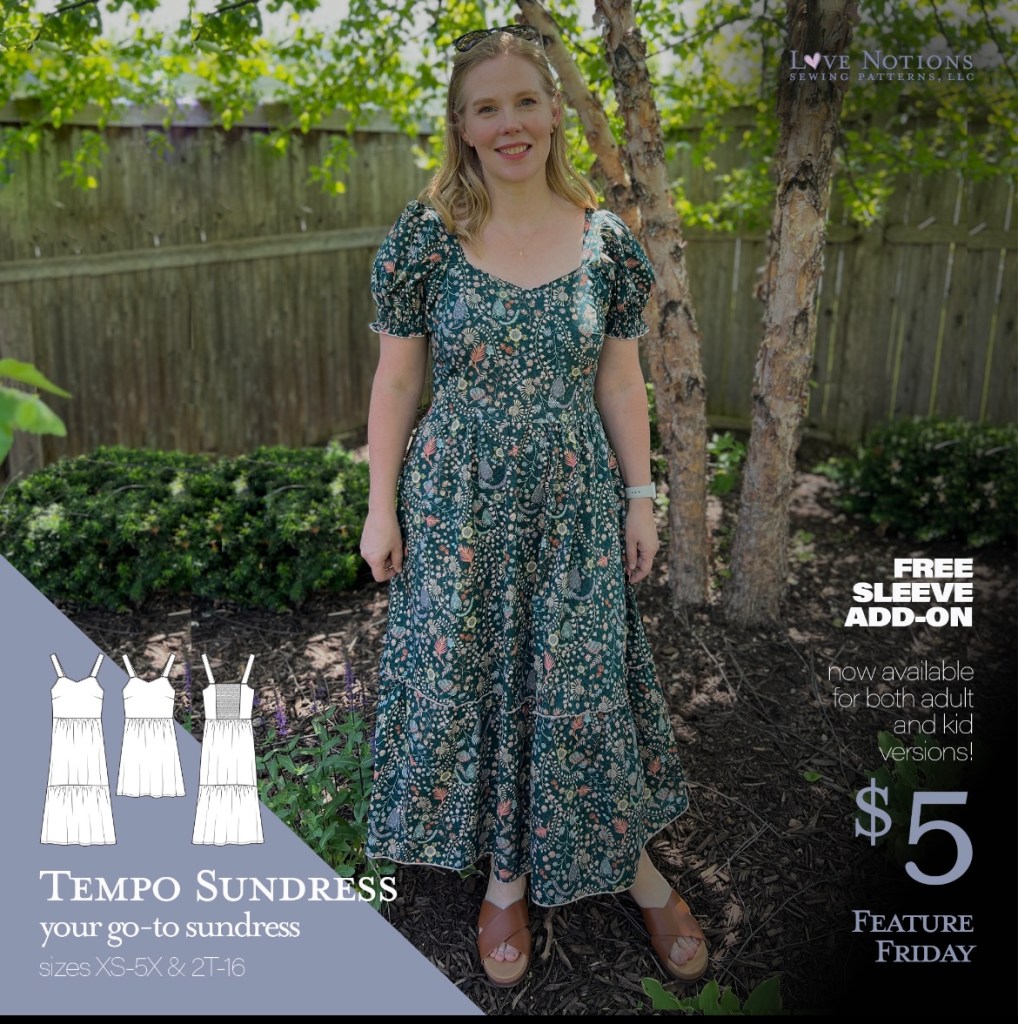
New for 2024..An add on Puff Sleeve!!!
As a Love Notions Brand Ambassador, I had the privilege of testing the new sundress, the TEMPO!
Edited: Scroll down to see my newest version of the Tempo and details for my wider ruffled strap 🙂
Edited June 24, 2021: Exciting news! The Tempo is now available in kids sizing!!!!
The Tempo Sundress now has a free add on for a Puff Sleeve! Just look how pretty that is!! (It’s available on the girls pattern as well!). How adorable does this look on Tami (the owner and designer behind Love Notions) look in this Tempo!
Today, May 31, 2024 the Temop (Ladies and Girls) is on sale for $5. Remember to use my code 10LOVEMARY for an extra 10% off.
I don’t own anything like this. To be honest, it was totally out of my comfort zone. I made my first fit test dress, and I wasn’t sure I even wanted to continue and make the final garment! After Tami addressed the few fitting issues that most of the testers had- I thought why not? I am so glad I made a final version!!!
One of the great things about Love Notions patterns is that testers of all sizes are part of the testing team. Fitting issues for ALL sizes are taken into consideration. When buying and making a LN pattern you can be assured that someone close to your shape/size has made this.

The Details
So here are the details. The Tempo dress is the perfect easy fitting sundress. It features a shirred back panel, which means no buttons, no zipper, you simply pull it on! It is available in sizes XS to 5X. There are 2 lengths, a knee length and a midi length. And the most important detail to me…the Full Bust option! I LOVE not having to make a full bust adjustment on a pattern!
Oh and POCKETS! This sundress has pockets that are anchored to the bodice so they don’t flop around. Don’t skip the understitching step for the pockets…it really helps to keep the side seam nice and smooth.
If you’ve never shirred before, it is much easier than you might think! If written directions aren’t enough for you, there is a video link in the tutorial for more details. There is also the option of making an elastic back panel, but honestly the shirring is so easy. It’s always good to try a new to you sewing technique. That’s how we grow as sewists!
All you need to make this sundress is fabric, interfacing, elastic thread(or elastic) and thread!
Sizing
I measured in-between the L and XL for the high bust. My waist fell into the XL. I chose to make the XL. Typically I go with a Large graded to an XL for Love Notions patterns to keep them from being too big at the neck and shoulders, but since this just had straps I went with a straight XL. It was the perfect fit for me.
I am only 5 feet tall, so I did shorten this dress some. I took 1″ off the skirt portion and 1″ off the bottom ruffle. The dress is still a bit longer than the intended fit, but I love it!

Fabric
The suggested fabrics for this pattern are 100% cotton, crepe, rayon challis, voile, lawn, rayon gauze, silk and linen.
I selected this beautiful drapey rayon challis from Raspberry Creek Fabrics. Their rayon challis is a dream to work with. It’s not quite as shifty as other rayons. This particular print isn’t currently in the shop. It is only available on DBP at the moment. But the exciting news is that soon(and maybe now) you will be able to order this print, or almost any RCF print on rayon challis. I had been hoarding this piece in my stash for a few years, and knowing that I can now get more if I wanted gave me the courage to cut this piece up!
I made my first test garment out of a cotton poplin, which is perfect for the shorter version. I think quilting cottons would also be great for the short version. Personally I prefer drapier fabrics for the long version like rayons, lightweight linens etc. I think this dress would be adorable in double gauze! Raspberry Creek Fabrics has a nice selection of double gauze and rayon challis.
Ok, now lets be totally honest. As a full breasted women in her late 50’s I’m not always comfortable exposing my shoulders as much as this dress does. After decades of carrying around larger breasts, without all the great support bra options there are today, I have indented shoulders. I am pretty self conscious about them. Most people wouldn’t even notice it, but I do. Because of this, I did a small pattern hack to make me feel more confident in the Tempo. I made shoulder tie straps instead of basic straps. I feel the bow hides that indent that I hate! The other problem with the indent in my shoulder is that the basic straps were getting folded up/stuck in them and I was constantly adjusting them. I discovered this pretty quickly since after I took my photos for the release, I wore the dress all day!

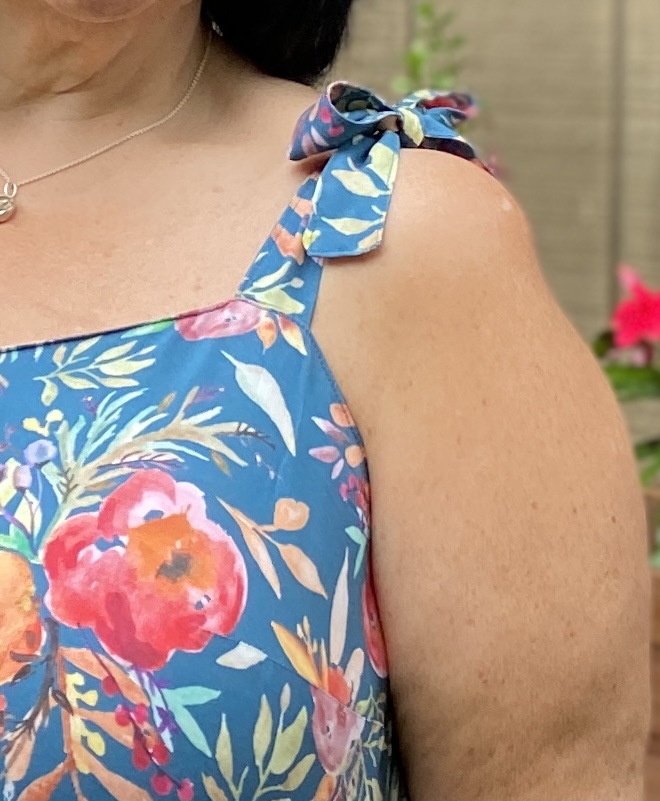
Shoulder Strap Hack
To make the tie straps, I just cut out 4 straps instead of 2, but I did lengthen them by 4″ to allow for the bow. Sew across one of the short ends so that it is finished after turning right side out. Then attach the straps where indicated on the bodice front and back. That’s it!
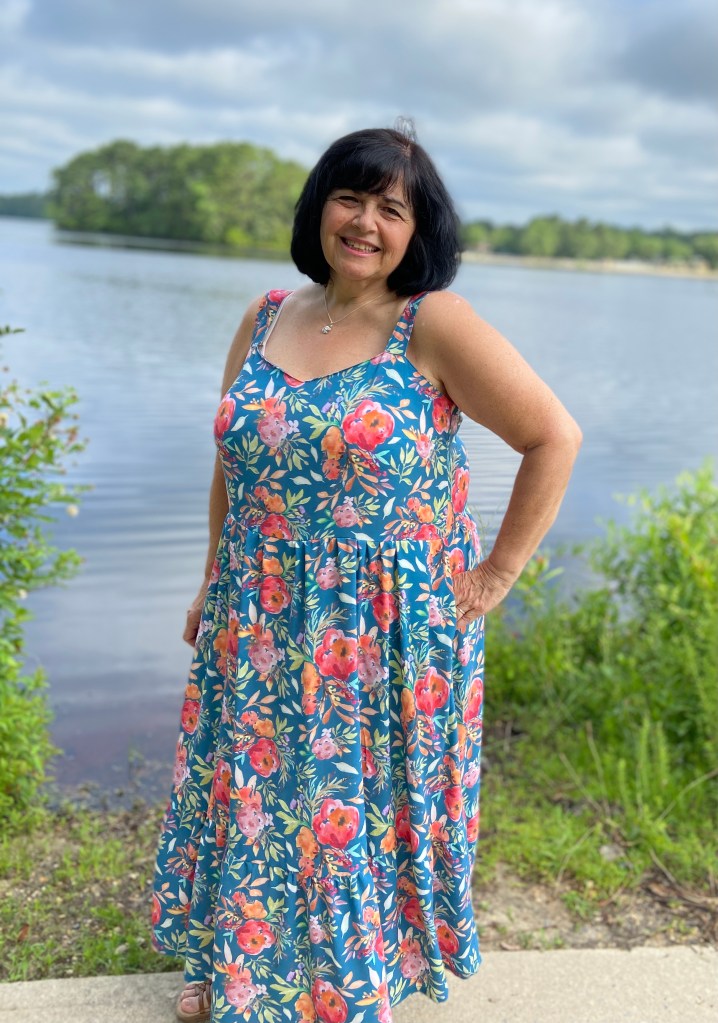
My Newest Tempo
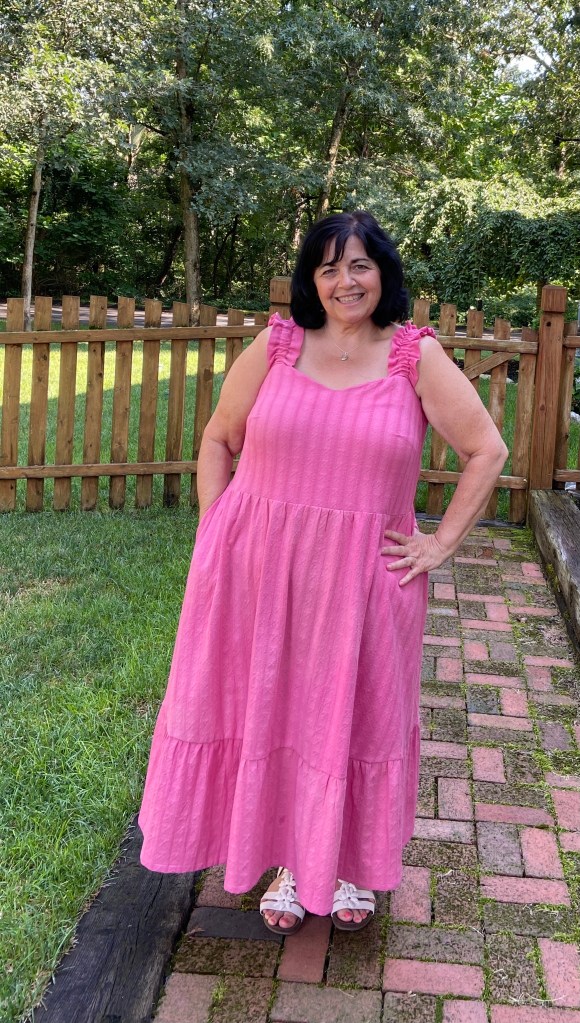
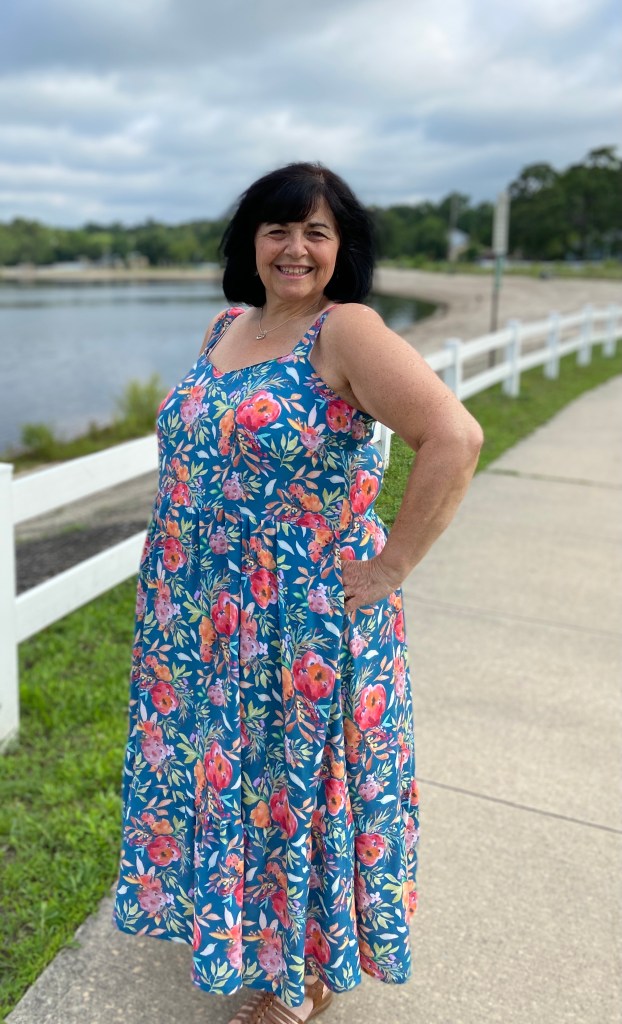
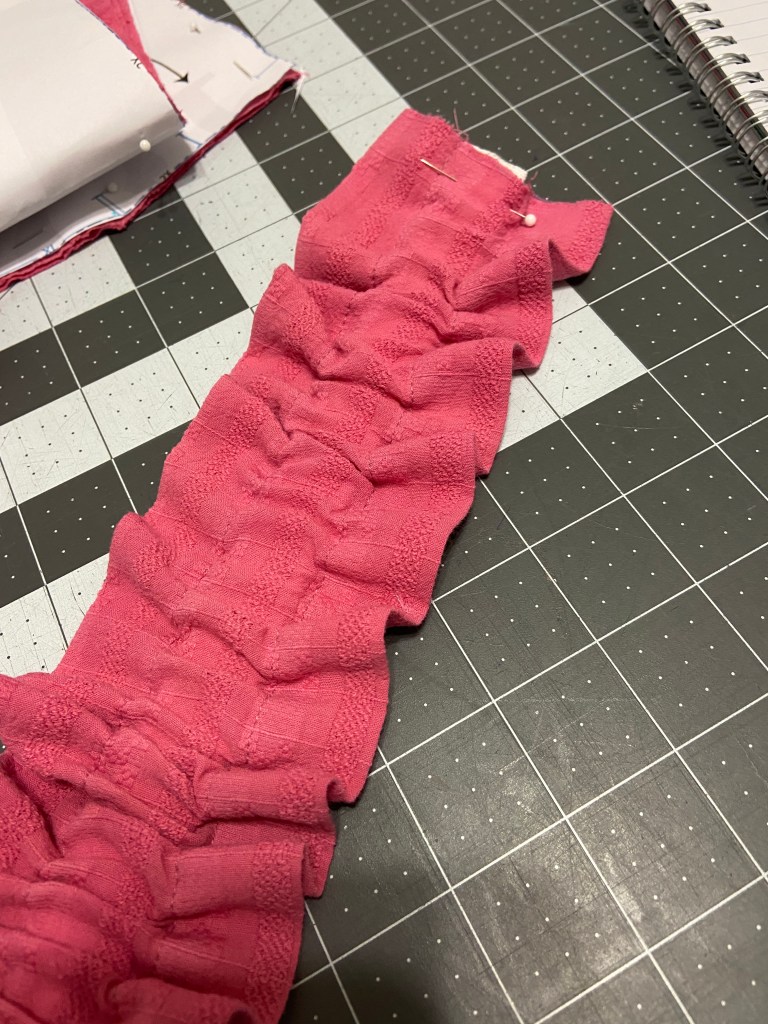
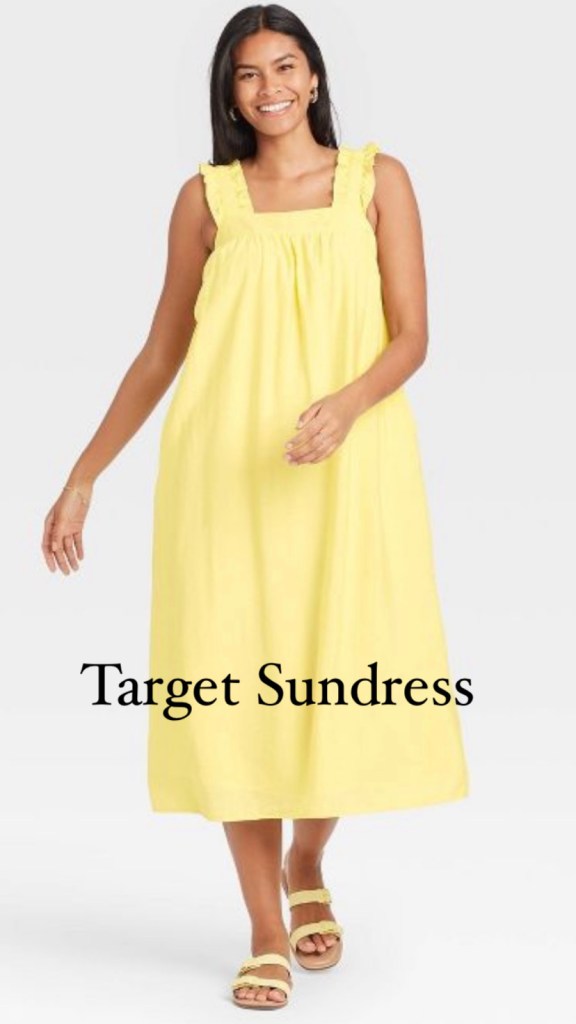
As a larger breasted woman, my bra straps are a tad wider than average. This makes it hard to get total coverage with a regular strap. I saw an ad for a sundress from Target with the cutest elasticated ruffle strap so I decided to copy it! That is probably one of the thing I love most about sewing. I love seeing RTW clothing in stores, in advertisements or online and copying them!
Determining the strap length: I started with the length of the strap for my size, which was 14″. The ratio I prefer for gathering is 1.75 of the original length. 14 X 1.75 = 24.5
So my strap length will be 24.5″. I wanted my straps to be 3″ wide.
Cut two straps 6.5″ X 24.5″
Cut two 14″ pieces of 3/4″ elastic
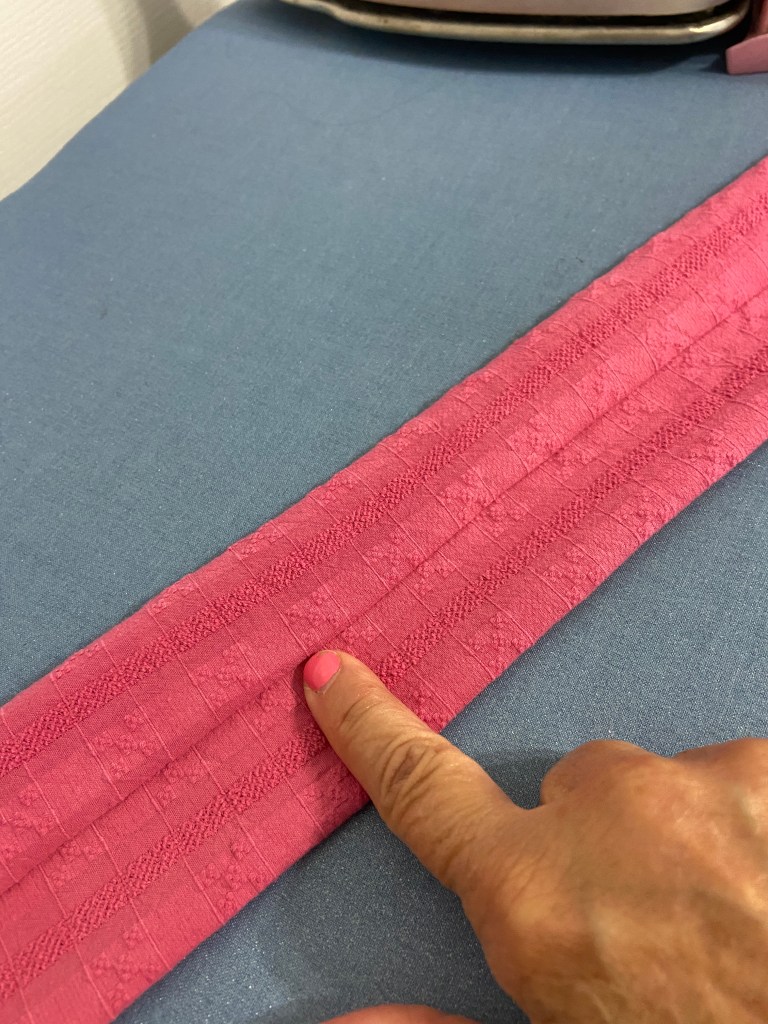
Press, making sure the seam is in the middle of the underside.
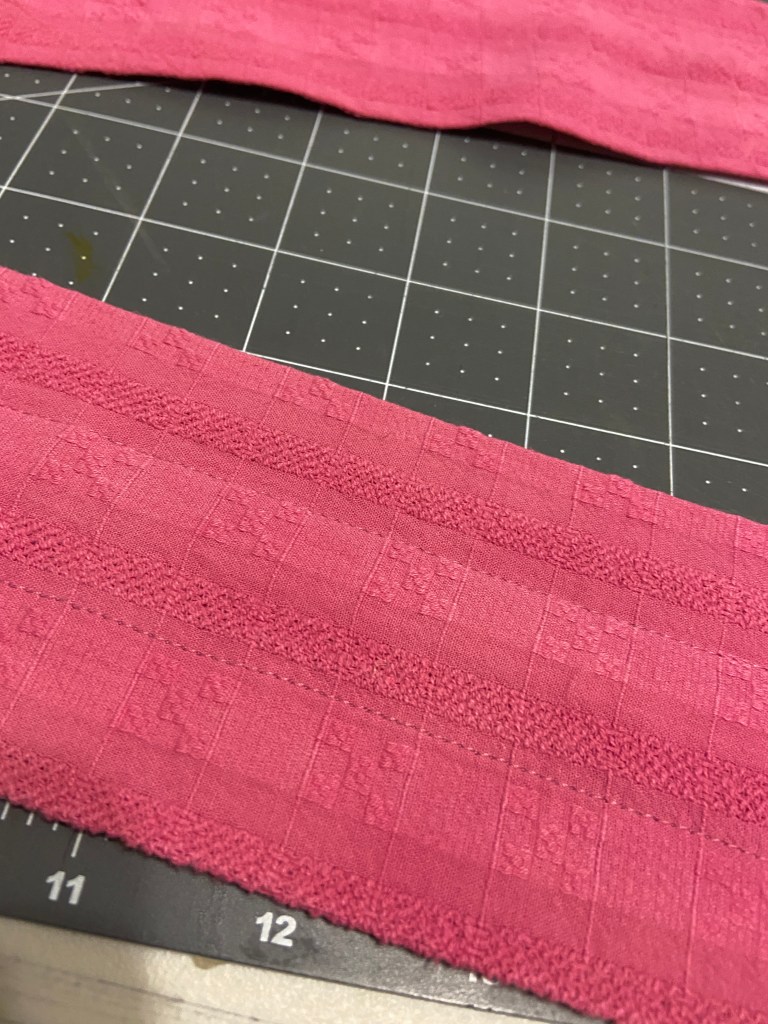
Sew straps right side together in a 1/4″ seam. Turn right side out.

Stitch 1″ from each long edge.
Insert elastic. Baste across the short ends, holding the elastic in place.
Attach the straps to the bodice according to the directions. I suggest basting the straps at this point.
Try on and test for fit and placement of straps. You may want to tighten the elastic or move the strap a smidge to the right or left.
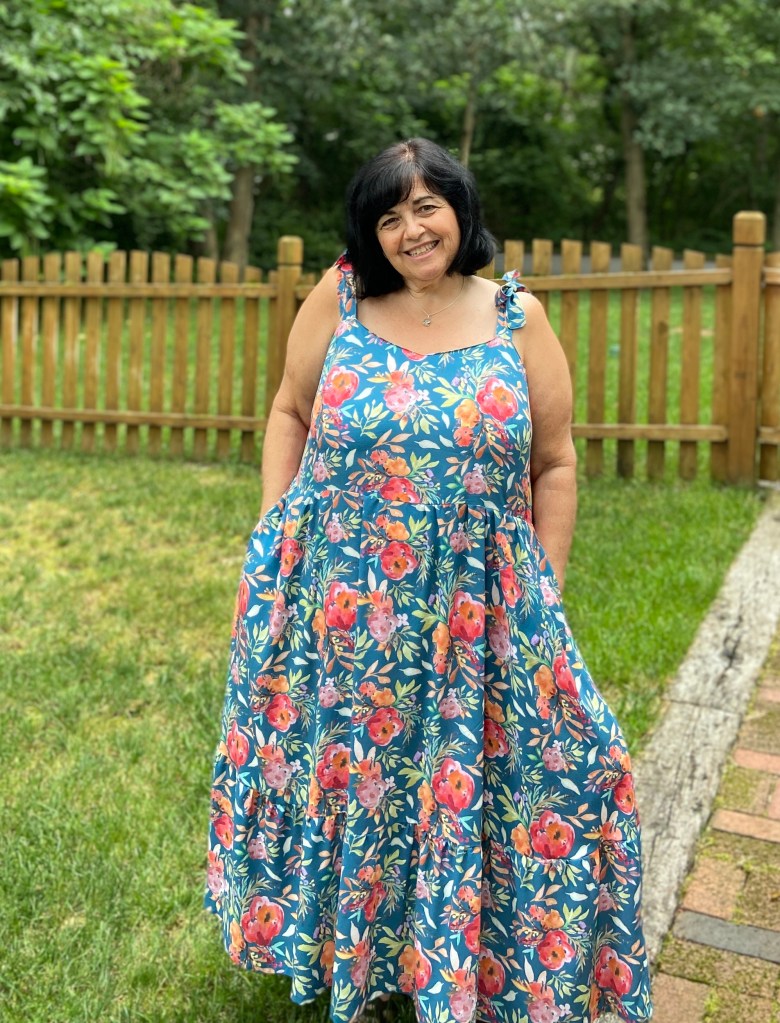
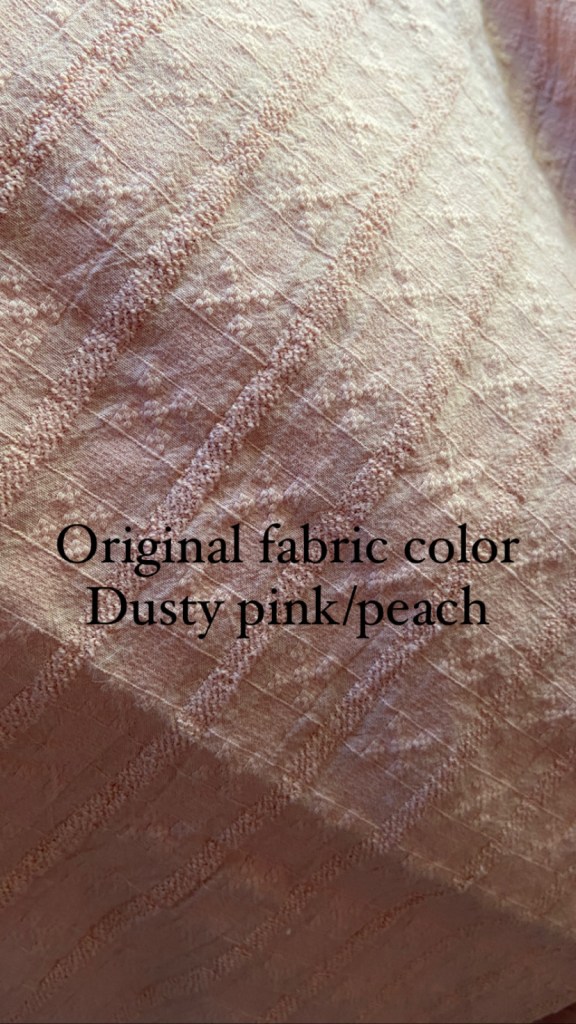
This pink version is made from a 100% textured cotton from Alyssa May Designs. This was originally a very pretty peachy/pink- but it didn’t look the best with my skin tone. I dyed it with Rit liquid dye in the washing machine. I used equal parts Petal Pink and Fuchsia to achieve this color.
Alyssa May Designs has so many beautiful woven fabrics. I just stocked up on a bunch of solid color textured cottons. Check them out HERE.
Sew Mary Mac’s Tips for Making the Tempo
- If using a lightweight fabric I highly suggest interfacing the should straps.
- Try on the bodice before attaching the skirt!
- Check strap placement and adjust as needed. Be sure to wear the bra you intend to wear with the Tempo!
- Mark the center front of the bottom of the skirt and the top of the ruffle, this will help you to get even gathers.
Thanks for stopping by my little blog!
MaryAnne 🙂
Remember to follow me on Instagram to see all my latest makes.
Be sure to check out all the other great posts about the Tempo! The other LN Ambassadors made some amazing dresses!
Purchase the Ladies Tempo pattern HERE. This is my affiliate link. It costs you nothing to purchase from this link, it just helps me add to my fabric stash so I can test more patterns! Use my code 10LOVEMARY for an extra 10% off.
Now available in Girls sizing: Grab the Tempo for Girls HERE
I received this pattern for free as a Love Notions Brand Ambassador/Pattern tester. All opinions of this pattern are my own.
The fabric used for this dress was purchased by me from one of my favorite online fabric shops, Raspberry Creek Fabrics.

They are both very pretty! I especially love your ruffle strap hack!!
LikeLike
Excellent tips, thank you for sharing. Just bought this pattern. Hope to make one soon.
LikeLike