
………A Mini Pattern Hack Blog Post
The Tinley Skort(and skirt and shorts) is the Feature Friday pattern over at Love Notions today! (5/16/25) The pattern is just $6 ~ so If you didn’t grab it during last week’s big sale be sure to grab it today. You can use my code LOVEMARY10LN for an extra 10% off. You can get the pattern HERE.
When the warm weather comes, I pull out my Tinley Skorts. I find them to be perfect for bike riding, walks, hiking and even just lounging around. If you don’t own this pattern~ I really think you should give it a try! This blog post is just about a simple hack for the elastic back waist. If you’d like to read all the details on the Tinley, please visit this blog post that includes fitting and sewing tips. Read that blog post HERE.

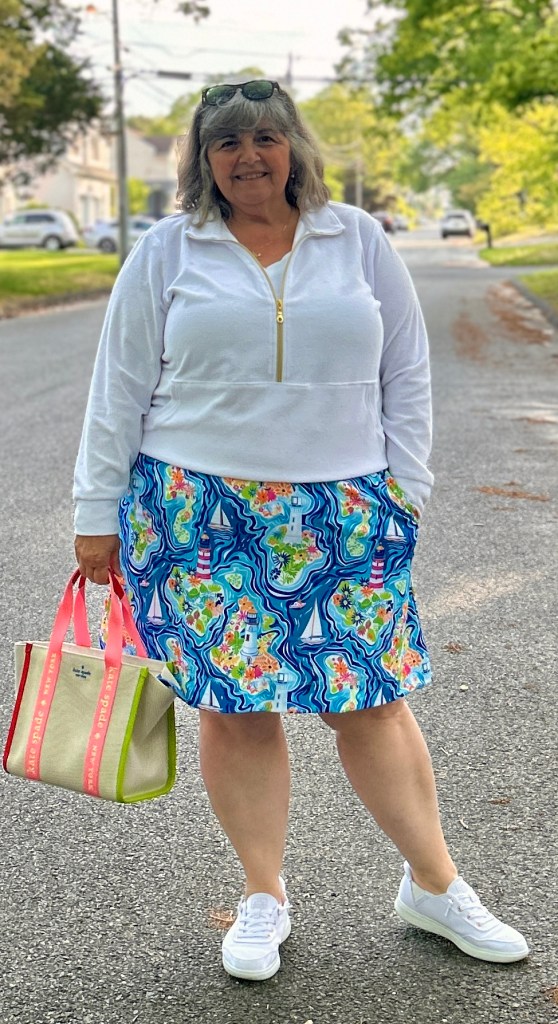
My favorite fabric ever to use for my Tinley Skorts is Swim knit. I buy all my swim knits from Raspberry Creek Fabrics. I love having “Lilly P” type prints custom printed to get just the look I love. If you’d like to read more about other fabrics that work well with the Tinley pattern, you can visit THIS blog post.
Hacking The Back Waist With One Wider Elastic
Although I have no issues with the construction of the back waist with 3 rows of elastic, I noticed in the Love Notions group many people asked if it could be sewn without making three channels for 3 pieces of elastic. Sew…..I decided to test it out for all of you that have wondered. And I love the way it turned out!
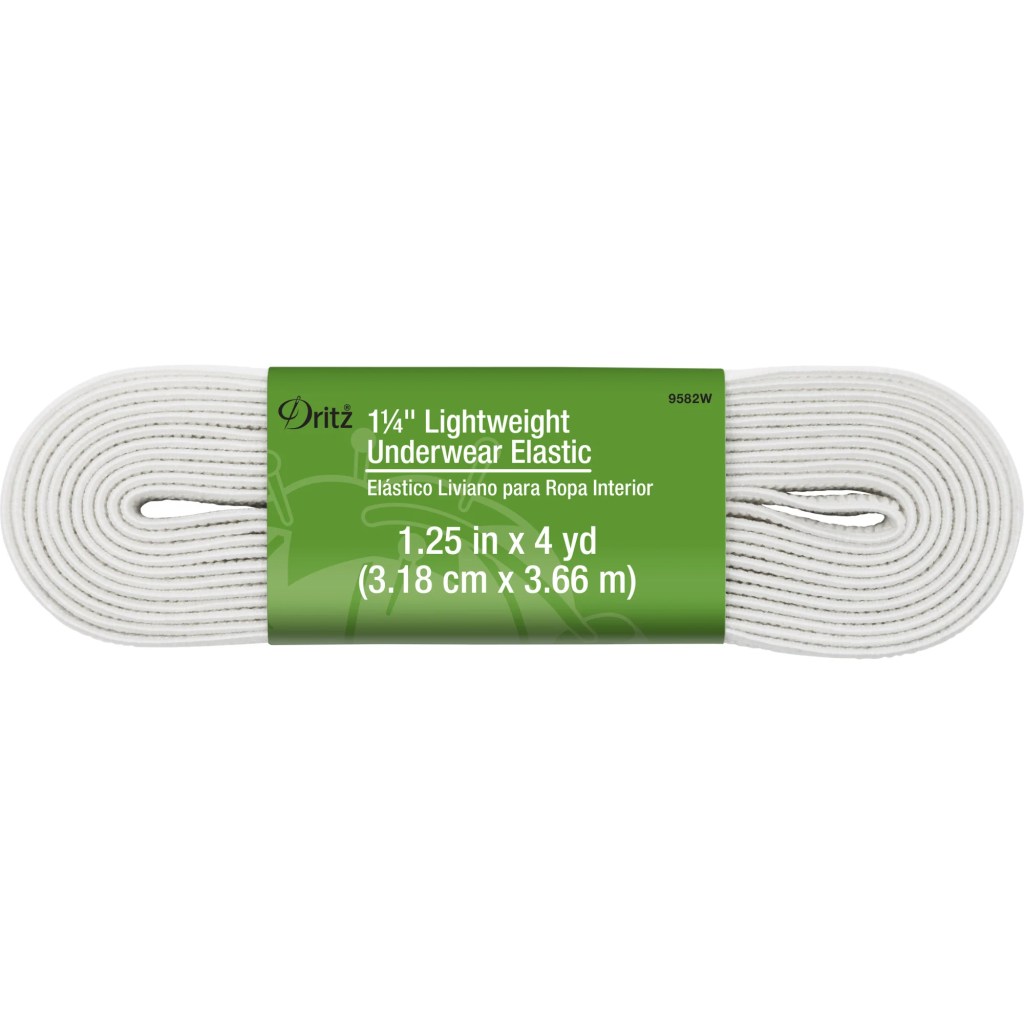
First, I used 1 1/4″ elastic for my version. I happened to have on hand Fritz Lightweight Underwear and Pajama Elastic. This is a very soft elastic and seems very breathable. Since I wear my skorts in warm weather outdoors, I thought this would help to keep my back was it less sweaty.
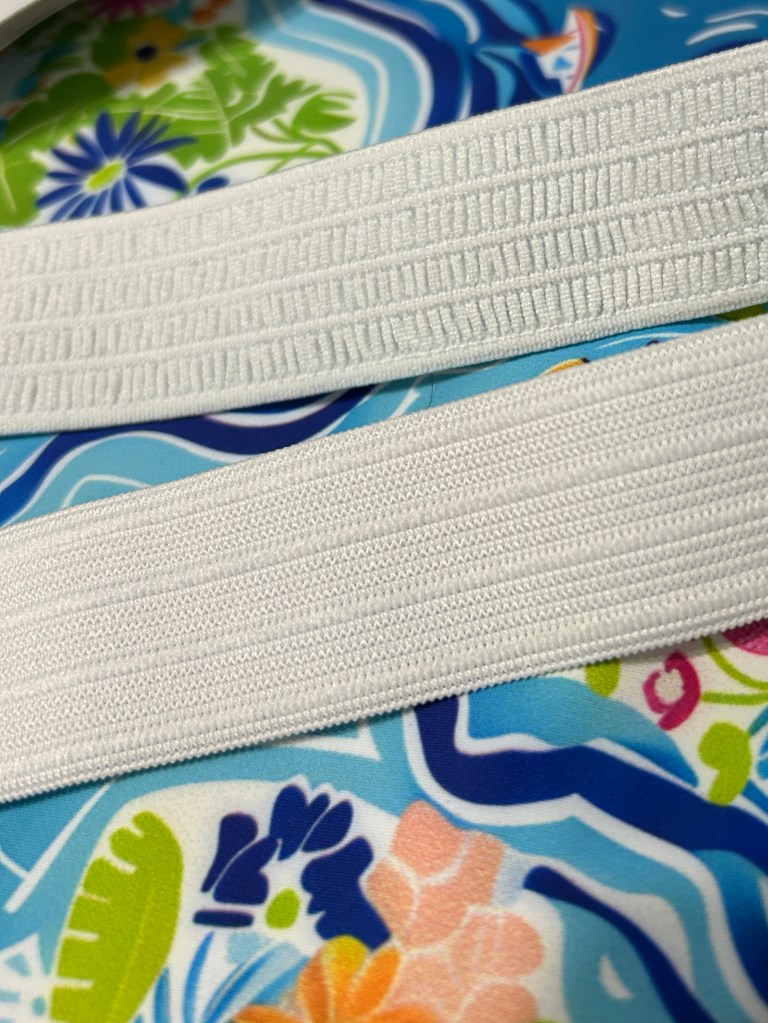
Here is the elastic I used along with another I had in my stash. Both of these will work great for this hack. If you prefer a stiffer elastic for the back waist you could purchase any 1 1/4″ wide elastic.
How to Construct the Back Waistband Piece
- Cut the back waistband piece exactly as the pattern is designed
- At Page 11, Step 5 ~ press wasitband in half using “Best Press” or starch to keep the fold in place
- I like to pin then the waistband together to keep it in place so it doesn’t shift for the next step
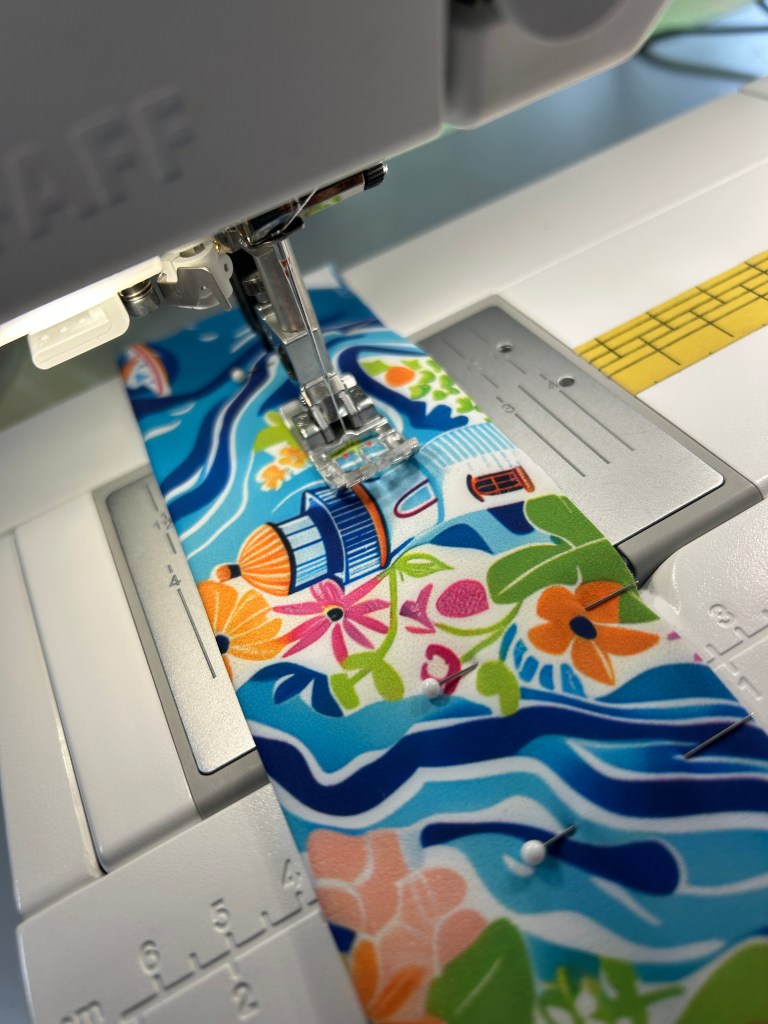
- Stitch 1″ away from the raw edges down the length of the waistband
- Insert the elastic and sew across the short ends to secure the elastic. Use the elastic chart in the tutorial for the length of elastic to use for your size.
- See photo below
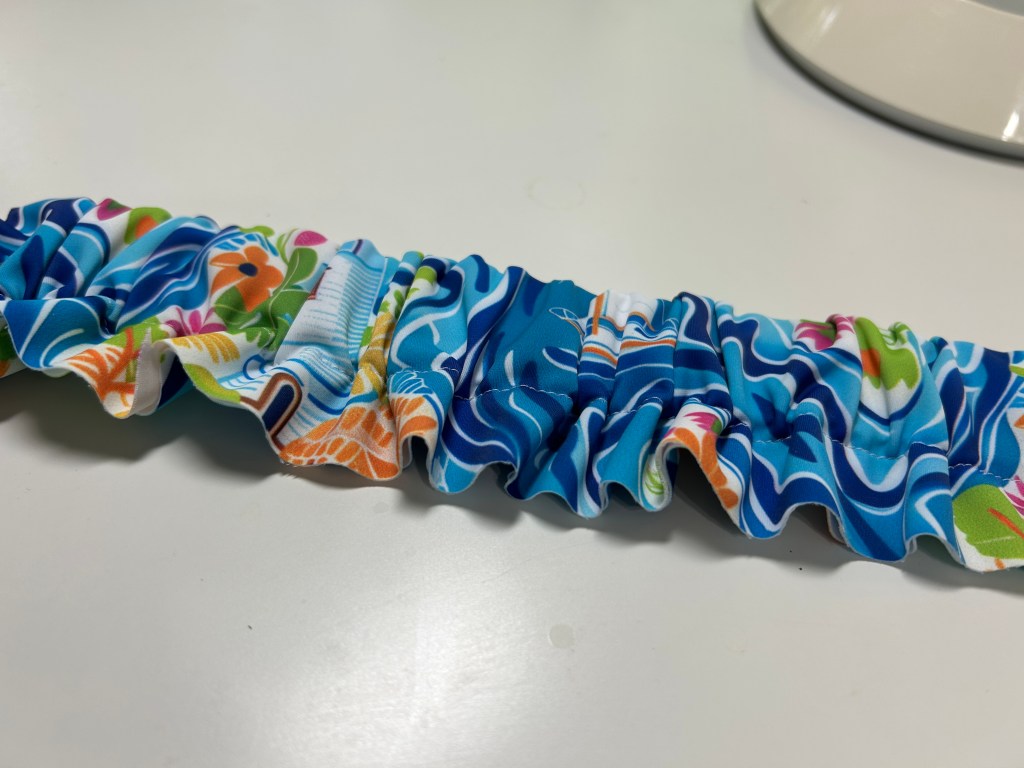
- If you’d like, you can leave the back waistband just like this or you can stitch through the fabric and elastic as I did.(my preferred method)
- Evenly distribute gathers across back waistband.
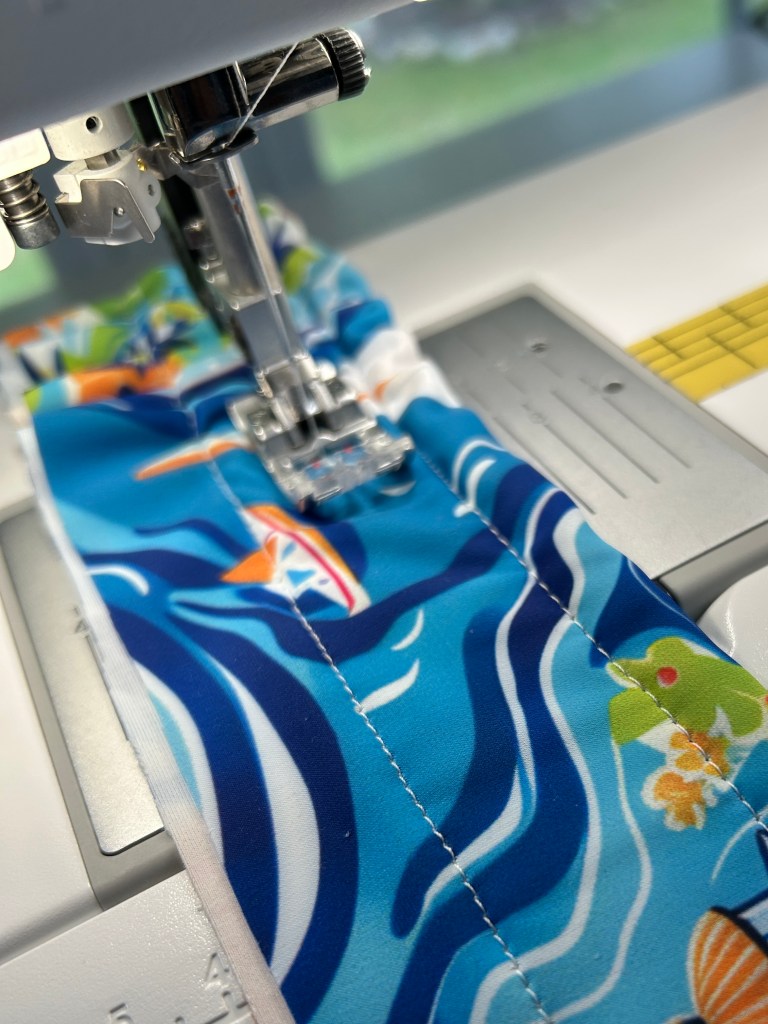
- You will stitch 3 rows of stitching through the waistband and elastic, stretching the waistband flat as you go.
- The first row of stitching should be 3/8″ away from the folded edge.
- Stitch a second row 3/8″ away from the first.
- Third row of stitching will be 3/8″ away from the second.
- Continue with the tutorial on Page 11, Step 7 to complete your skort/skirt/shorts.
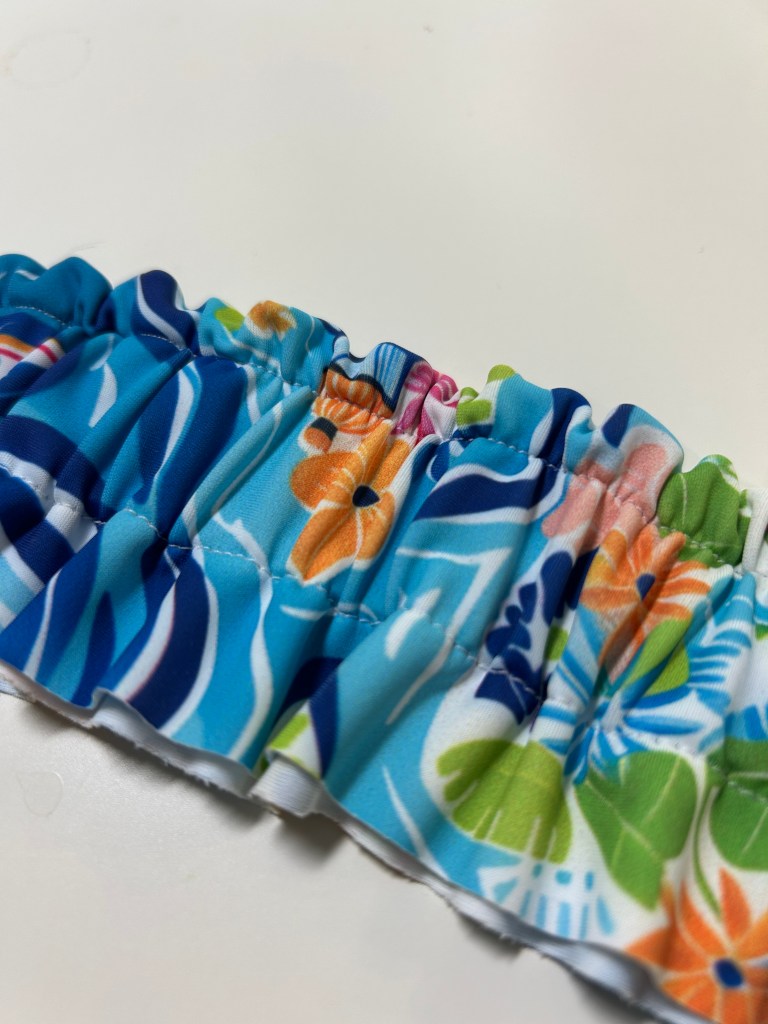

Close-up of the completed back waistband after being attached to the skort.

This was the easiest little hack I’ve done in a long time and I’m really happy with the way it turned out. I took my new skort out for a trial ride last night and I actually found it to be a tad more comfortable than my versions with the 3 rows of elastic. How was this even possible!!! Guess I need to stock up on this elastic!! I hope you give it a try!


Thanks for stopping by! I truly appreciate all of you that visit! If you enjoyed this blog post, consider subscribing to my blog to stay up to date with all my posts! Be on the look-out for my future Tinleys! (Of course there will be more!)
Remember to follow me over on Instagram to see all my latest makes! @sewmarymac
You can also follow my Facebook Page~ Sew Mary Mac. On this page you will find information on my makes from all pattern companies. If I know of any good sales(pattern or fabric) I will also feature this information. I have had many of my loyal followers send me friend requests on Facebook. I do post in the Love Notions group under Mary Anne MacLean, however this Facebook account is private. There is no sewing content on that Facebook Account.
You can grab the Tinley pattern here.
This is an affiliate link. It costs you nothing to purchase from this link, it just helps fund my fabric addiction which allows me to test and review more patterns.
To receive an additional 10% off the pattern price, use this coupon code LOVEMARY10LN .This coupon code can be used at anytime on any pattern….even a $6 Feature Friday pattern. My code does change quarterly, so please always check the newest blog post for an update if you find a code isn’t working. This code is good through June 2025.
Fabric Resources
This swim print is a custom print from Raspberry Creek Fabrics. It can be found in the Designers Studio and printed on any fabric you choose. Cheryl Graham Designs is one of my favorite “shops” in the Designer Studio. If you’re looking for “Lilly P” like designs this is THE place to look!
Raspberry Creek Fabrics Swim knit is high quality and UPF 50+. It’s the perfect weight for tops, skirts and dresses and isn’t too clingy. And of course- it’s perfect for swimsuits! The best thing about RCF Swim is that it is available in the cutest prints with coordinating checks, stripes, polka dots and solids! I also find RCF swim easy to sew with. It’s thick enough that the edges don’t roll and isn’t too slippery.
To read more about sewing with RCF swim fabric you can visit this blog post.
Note: You may have seen online that Raspberry Creek Fabrics is moving and Diana, the present owner has sold the company. Rest assured that Diana will still be working with the new owners. The swim base will NOT change!