
…A Mini Pattern Hack Blog Post
This mini blog post will cover a few hacks/changes I’ve made to my newest version of the Love Notions Timbre Top and Dress.
- Creating a Ruffle Cuff Bishop Sleeve
- Lining the Bodice For Eyelet or see-through fabrics
- Pattern changes needed when working with fabrics with a border
For more detailed information on the Love Notions Timbre Top and Dress visit this blog post.
The Timbre Top and Dress is the $6 Feature Friday pattern today, 8/1/2025. For an additional 10% off, use my code 10MARYMAC.

I created this “Ruffle Cuff Bishop” sleeve simply by adding a bias tape casing to the inside of the sleeve, and then inserting 3/8″ wide elastic. Keep reading to learn how.
Bias Tape
Before we get to the step by step directions, let’s talk about the bias tape. I highly recommend making your own. Handmade bias tape truly elevates your Timbre Top or Dress. There are many tutorials online. You can even find one here in the Love Notions Blog.
- When cutting bias strips for your neckline make 2 additional strips for the sleeves.
- I made 2 strips, 20″ X 1 1/4″ for my size XL sleeves.
- On both long edges, fold and press 1/4″.
- For this Eyelet fabric I made my bias tape from the rayon challis I used for the underlining.


Working With A Decorative Border
Working with an Eyelet border fabric may take extra time to adjust the pattern and cut the fabric…but you save time since there is NO hemming involved! Fabrics with a Decorative border won’t work for a curved sleeve, so it won’t work for the Flutter or Puff sleeves of the Timbre. The Short or Bishop sleeve work perfectly!
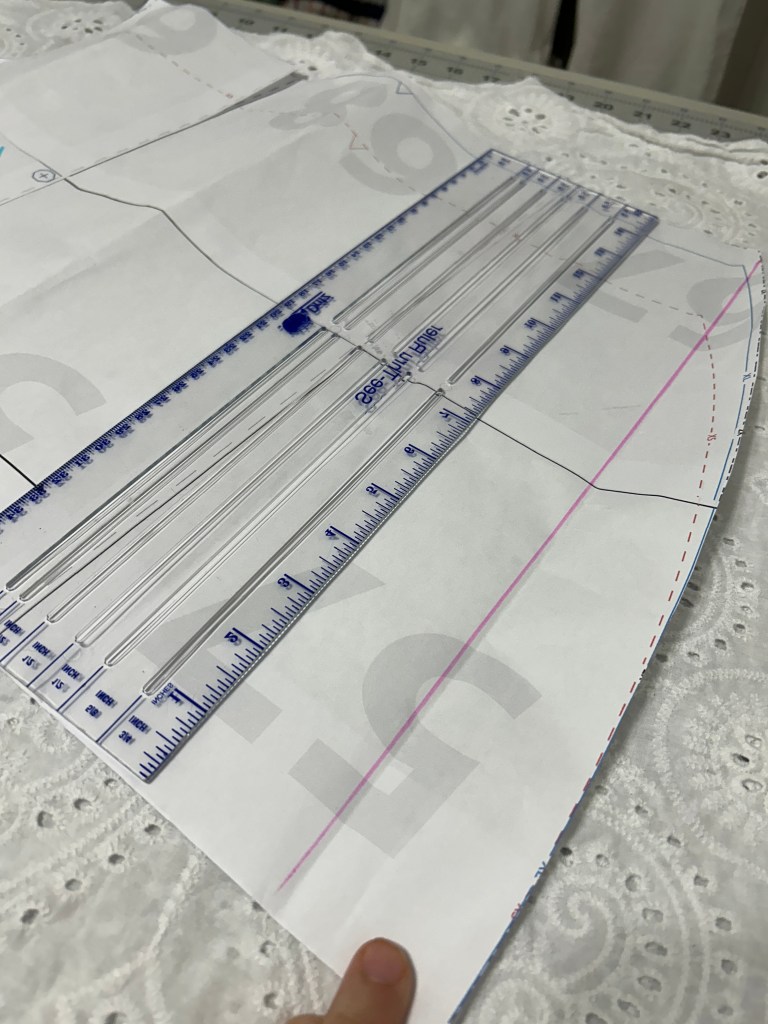
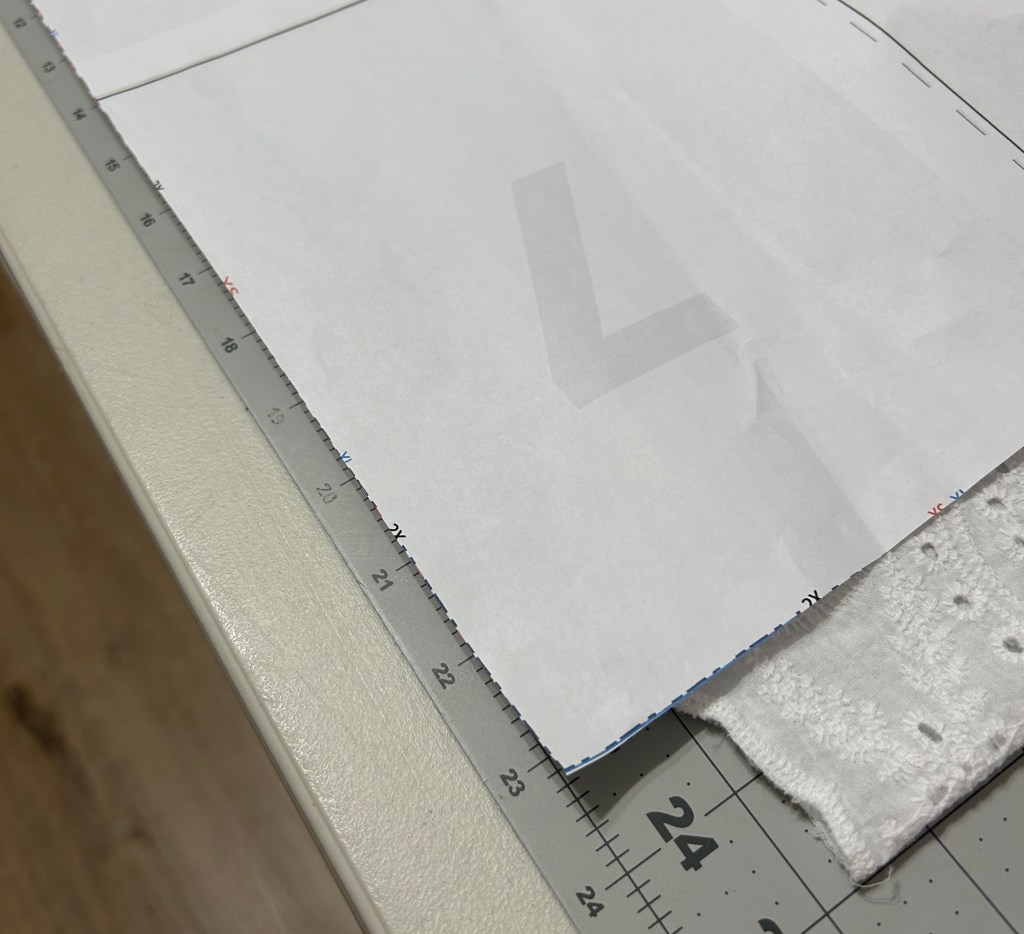
Prepping Your Pattern
- Make sure that the pattern pieces are straight at the hemline. The back of the Timbre top works perfectly. Since I was using the Full Bust Front pattern piece, I needed to straighten out the front hemline. Note: the FBA front pattern piece is curved at the hemline to allow for the larger bust.
- Remember to take the hem allowance off your pattern piece, otherwise your top may be too long and you won’t be able to shorten it later. I took 1″ off the length of my pattern.
- Adjust the length of your sleeve pattern as well~ see sleeve section below.
Lining The Bodice
I chose to underline my Eyelet Timbre Top rather than lining it or wearing a camisole underneath. If I were to sew an actual lining, the seams would be visible through the holes of the eyelet.
Underlining simply means that you are attaching a background to your eyelet fabric and then treating them as one piece of fabric. To create your underlining pieces, simply use your pattern and cut duplicates. I used my favorite white rayon challis from Raspberry Creek Fabrics. See below for fabric resources.
- Cut top pieces from both your main fabric and underlining fabric.
- Hem the underlining BEFORE attaching it to the main fabric.
- Baste the RIGHT side of the underlining to the WRONG side of the main fabric, 1/4″ away from the raw edge. Do this for both the front and back pieces.
- Trim the underlining to the basting stitch along the neck edge. This is so it won’t be too bulky when gathered with the elastic.
- The front and back are now ready to be assembled with the sleeves according to the tutorial.
- Typically when sewing with eyelet I prefer to sew French seams, however with the underlining, I felt that they would be too bulky. As long as your serger thread matches, it won’t be noticeable at all!


Sleeves
Start with the Bishop Sleeve pattern piece. I shortened the pattern one inch since my eyelet has a border edge and was not going to be hemmed. If you are hemming your fabric, you may not need to shorten your sleeve at all. I suggest cutting a sleeve from some muslin and sewing it up and trying it on your arm to determine the correct length for you. You can also simply try on your Timbre since it will already be assembled to determine the length.


- Sew sleeve underarm seam as indicated in the pattern directions. Your Timbre is now fully assembled.
- Hem the bottom edge of the sleeve with a narrow hem if your fabric does not have a border like mine.
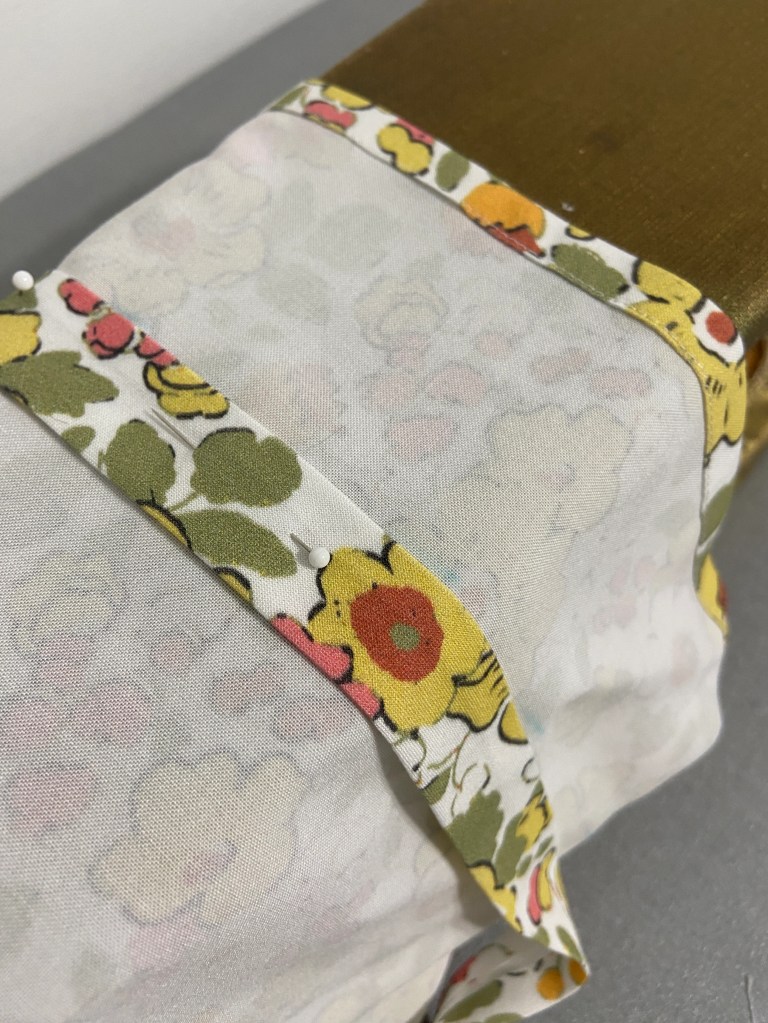
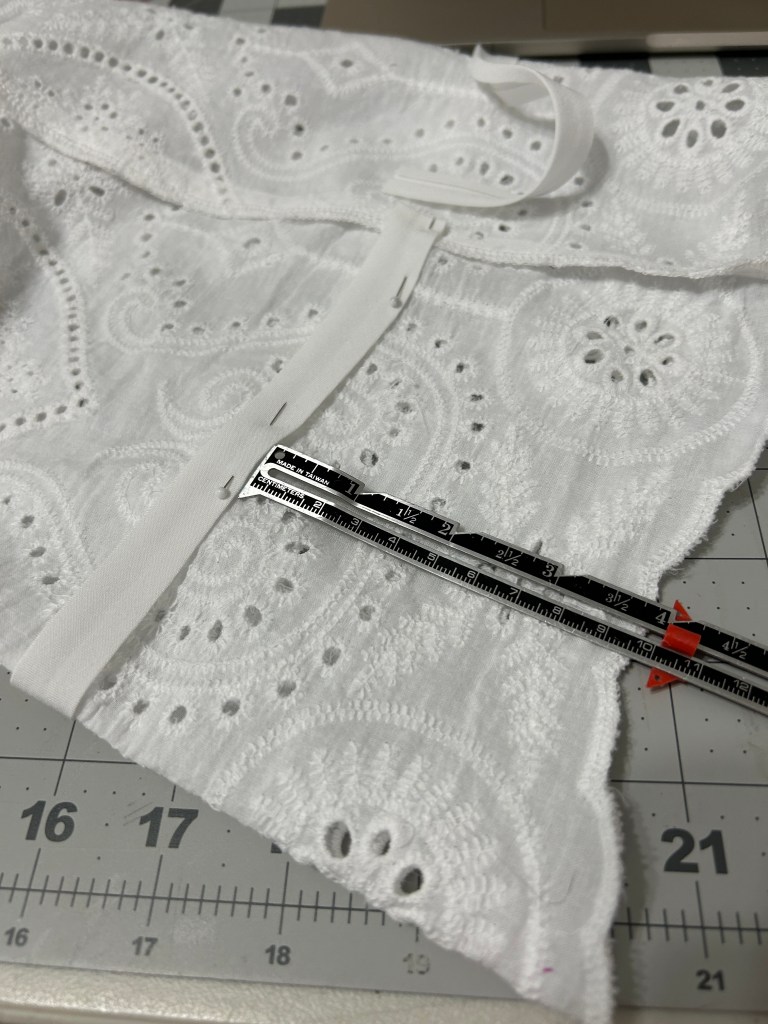
- Measure 2 1/2″ or 3″ up from the sleeve hem and mark. The farther away you place the bias tape~ the wider your ruffle will be. I measured mine 3 1/2 since my fabric had a large border.
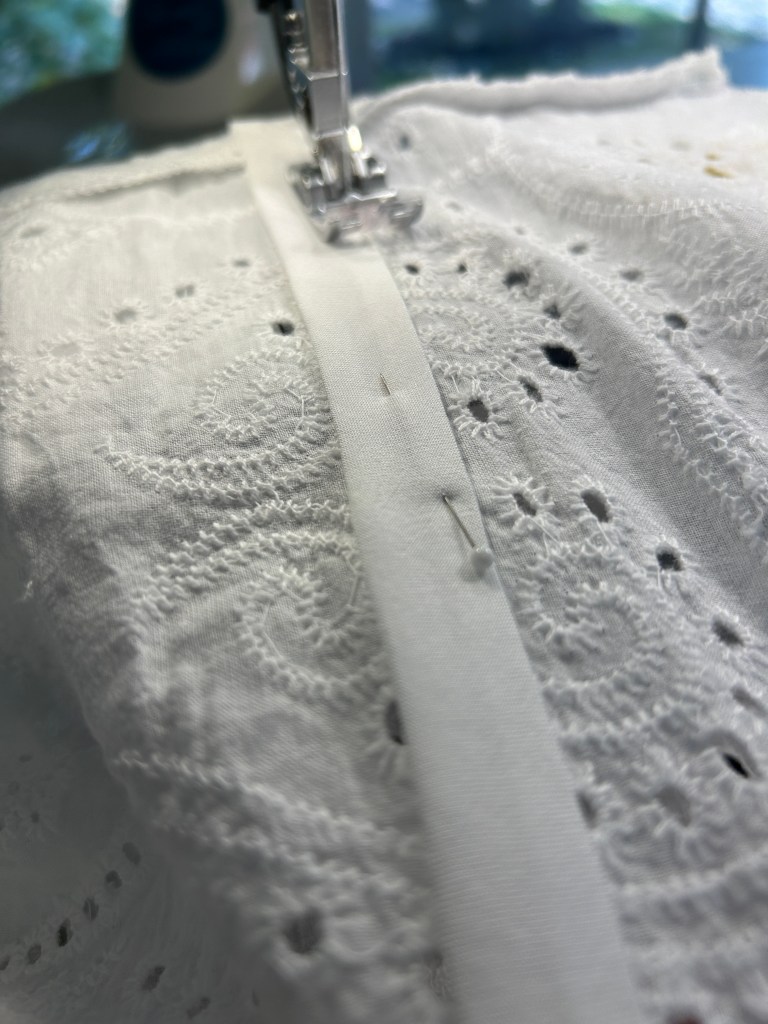
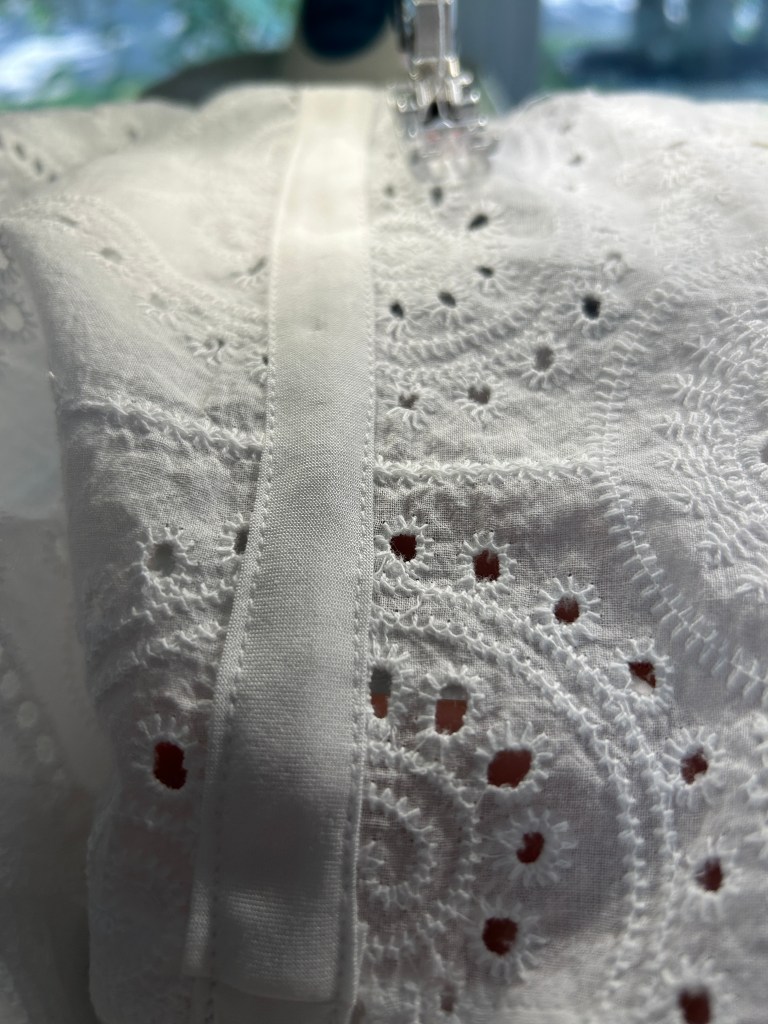
- Pin the wrong side of the bias tape to the wrong side of the sleeve, placing the bottom edge of the bias tape along your markings.
- Fold under the beginning and end 1/2″.
- Stitch along both long edges of the bias tape.
- Insert elastic, tighten as desired. I used 3/8″ wide elastic. Stitch ends of elastic together with a stretch or zig-zag stitch.
- Slip stitch the opening closed. (TIP: I typically do this AFTER I have worn the top, so I can double check the elastic tightness)
For more information on the Timbre Top and Dress, such as sizing, fabrics and more sewing tips visit this Sew Mary Mac Blog Post.
See this was a much easier hack than you may have thought! I’m excited to sew up a short sleeved Eyelet version soon~ Guess I can go shopping for some now!!! I’d love to see your versions in the Love Notions Facebook group.


Thanks for stopping by! I truly appreciate all of you that visit! If you enjoyed this blog post, consider subscribing to my blog to stay up to date with all my posts!
Mary Anne 🙂
Remember to follow me over on Instagram to see all my latest makes! @sewmarymac
You can grab the Timbre Top and Dress pattern HERE.
This is an affiliate link. It costs you nothing to purchase from this link, it just helps fund my fabric addiction which allows me to test and review more patterns.
To receive an additional 10% off the pattern price, use this coupon code 10MARYMAC.This coupon code can be used at anytime on any pattern….even a $5 Feature Friday pattern. My code does change quarterly, so please always check the newest blog post for an update if you find a code isn’t working.
Fabric Resources
I found this super soft bordered eyelet fabric in the NYC garment district. It was so much softer than typical cotton eyelet fabric~ it had to come home with me. If you are ever in the NYC be sure to check out the shop we call “The Janky Store”. It always has a sign saying they are having a “Going out of business sale”, but clearly they aren’t. Its A Material World is located at 257 W 39th Street. (Right next door is another of my favorites~ AK Fabrics). Both of these shops are hit or miss~ but you never know what you may find.
II use white rayon challis from Raspberry Creek Fabrics all the time for lining and underlining. I’ve used it to line a Caprice Skirt and often use it for inside yokes on my Rhapsodys and Arias so that the fabric design doesn’t show through to the outside. You can find it HERE.


Very pretty top!
LikeLiked by 2 people